Well, here we go
again. I started getting interested in racing last year (2008). I
bought a nice 1978 Firebird and ran it for the last half of the
season. Over the winter tore it apart in the interest of speed (went
from 14.2 to 10.6 in he 1/4 mile). To see that build click
HERE.
Blew up two engines in the process
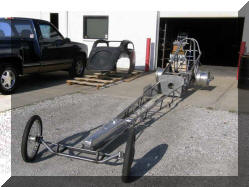
Found that that was not fast enough and got hooked on Nostalgia
racing and have decided to build a Front Engine Dragster.
This build will be different then past builds as I will relay on
builders to do a lot of the work. Quite frankly at the speeds that I
will be traveling I do not trust myself to weld together my own
frame. I thought about buying a kit and bringing it here and having
it assembled. I decided to purchase the frame and have it build by
the person selling the frame.
I sold the
El Camino (it went to the
Netherlands) to fund the project. I was really surprised that the
cost of the project does not look as bad as I thought it might. On
the other hand I have already started to add "extras" to the project
so who knows how much it will end up costing.
You can buy complete dragsters of E-Bay for well under $20,000, but
my problem is I am 6' 4" and weigh 250 pounds (on a good day, I will
be going to the gym over the winter to see if I can do something
about this). My shoulders measure 25" across.
I have been told by many people that it is VERY important to feel
conformable sitting in the dragster and I was unable to find any
completed dragsters that I would be able to sit in. Building one
from scratch is far more expensive that buying one already put
together.
|
|
Chick here
for a selection of U-Tube Videos on the dragster and other projects |
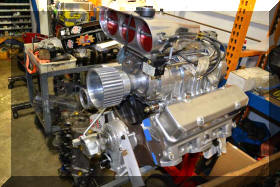 |
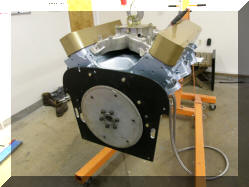
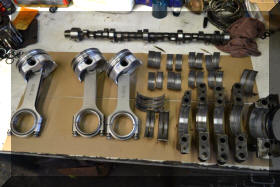
I have started a blower engine build for the
dragster.
Click
here for that
build |
 |
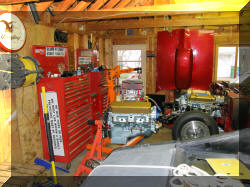
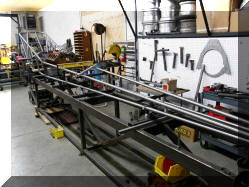
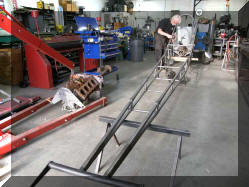
The process starts. I did a lot of
research on the web, talked to a number of people who are in the
sport and narrowed the search to three shops, and visited two of
them.
To see the visits click
HERE |
 |
We are getting the Firebird ready for sale
to create room for the FED
To see that process click
HERE |
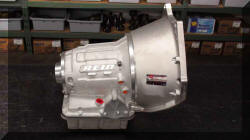 |
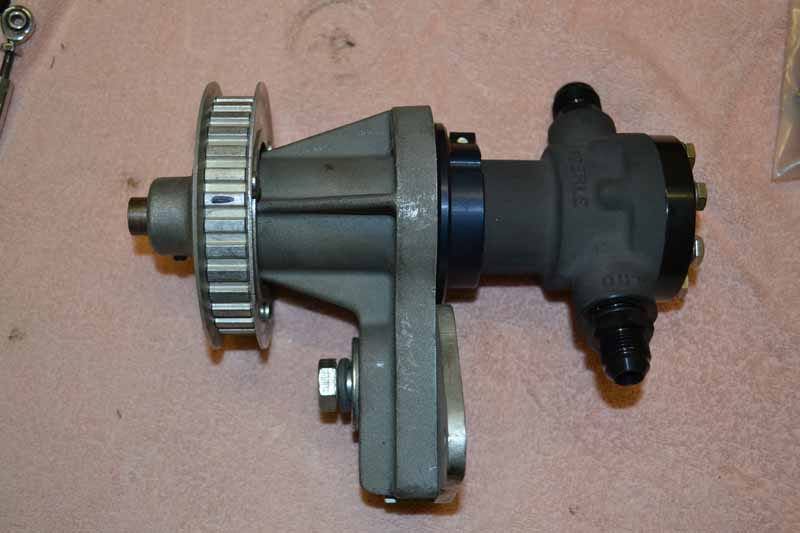
Here is the PowerGlide Transmission that has
been built by Rutland Transmission Service, 4415
Spring Stuebner Rd., Spring,
TX 77389,
(281) 350-1365
lrmotorsports@aol.com for
the Front engine dragster.
To see that process click
HERE |
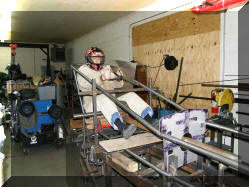 |
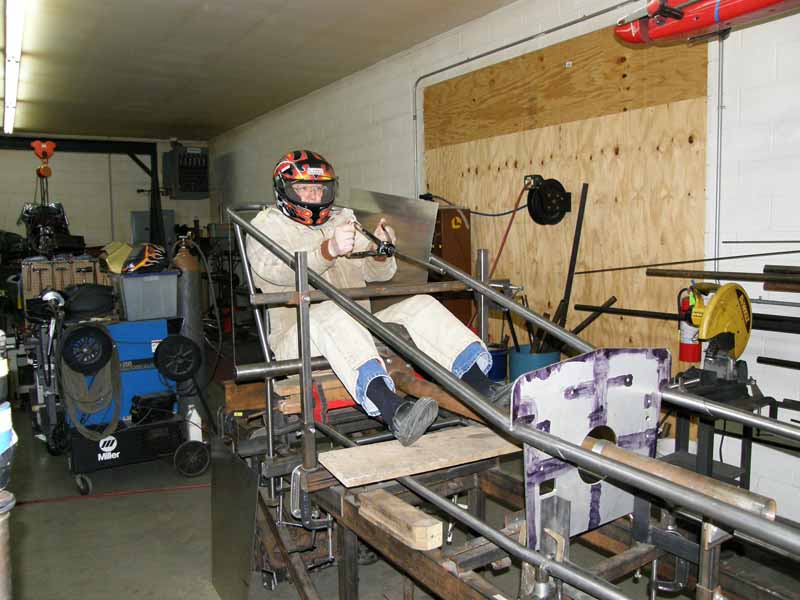
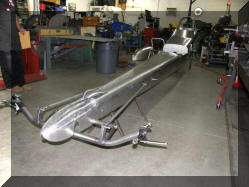
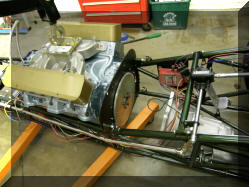
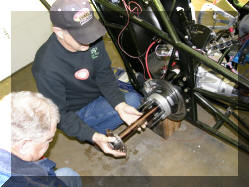
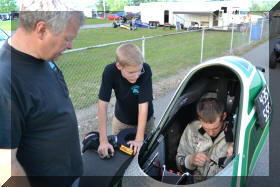
More progress to report. I took a trip out to
Roo
Man's shop for my first
fitting in MY chassis. To see that and more dragster history,
click
here |
 |
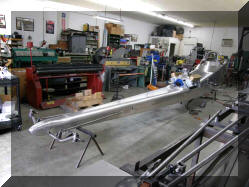
More progress to report. I took a trip out to
Roo
Man's shop for my second
fitting in MY chassis. To see that and more dragster history,
click
here |
 |
More progress to report. I took a trip out to
Roo
Man's shop for my third
fitting in MY chassis. To see that and more dragster history,
click
here |
 |
More progress to report. I took a trip out to
Roo
Man's shop for my fourth
fitting in MY chassis. To see that and more dragster history,
click
here |
 |
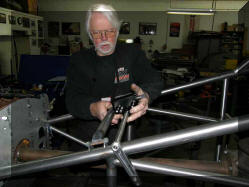
More progress to report. I took a trip out to
Roo
Man's shop for Look see.
To see that, click
here |
 |
More progress to report. I took a trip out to
Roo
Man's shop for Look see.
To see that, click
here |
 |
More progress to report. I took a trip out to
Roo
Man's shop for Look see.
To see that, click
here |
 |
More progress to report. I took a trip out to
Roo
Man's shop for Look see.
To see that, click
here |
 |
More progress to report. I took a trip out to
Roo
Man's shop for Look see.
To see that, click
here |
 |
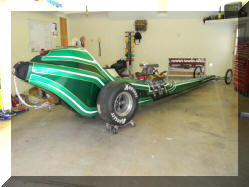
Paint! More progress to report. I took a trip out to
Roo
Man's shop for Look see.
To see that, click
here |
 |
It has been
awhile since I produced an update. I'm going to jump ahead to
12/27/2010 and start there.
To see that, click
here |
|
Worked on the starter and Mid plate today
To see that, click
here |
 |
I went to bolt up the torque converter to the
flex plate. It did not go as smoothly as hoped.
To see that, click
here |
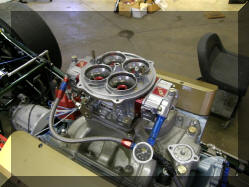 |
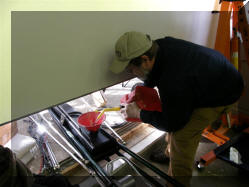
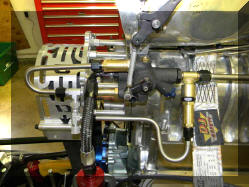
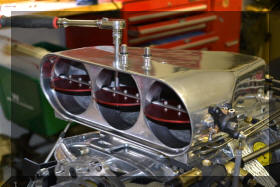
Carburetor, starter, fuel lines
To see that, click
here |
 |
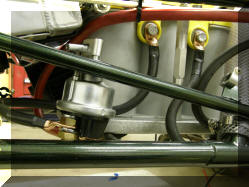
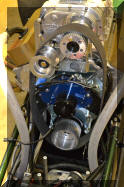
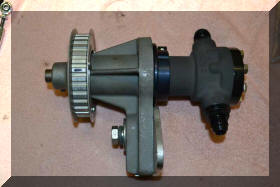
Fuel system is complete, coolant is almost
done, electric is not too far away
To see that, click
here |
 |
Starter Cables
To see that, click
here |
 |
More wiring and so neat work on the air scoop.
To see that, click
here |
 |
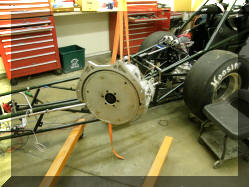
Headers and rear end work
To see that, click
here |
 |
Fluid now in two more systems with only one to
go.
To see that, click
here |
|
|
|
|
|
|
 |
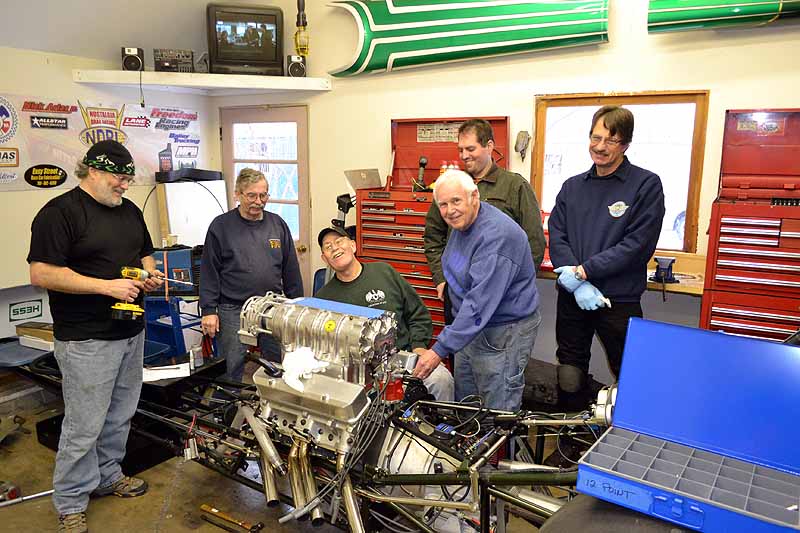
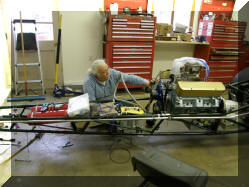
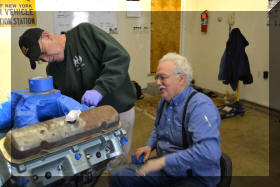
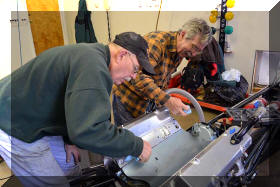
Had another unofficial car nuts meeting
today. To see that, click
here |
 |
It has been
awhile since I produced an update. I'm skipping around but will go
back and fill in the gaps so keep checking the site for past and
future updates. To see that, click
here |
 |
All together in one piece again. To see that, click
here |
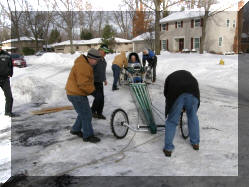 |
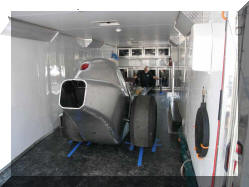
The big move from the garage to the trailer
for the trip to Indiana To see that,
click
here |
 |
Progress 2011 08 14 Click
here |
 |
Time to go faster To see that,
click
here |
|
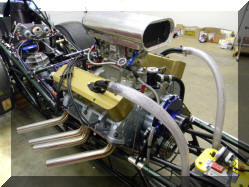
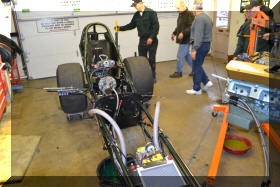
The engine has been on the Dyno!
http://www.youtube.com/watch?v=1m2jRDBoIcw&feature=youtu.be
652 HP |
 |
Click
here
to see Misc tasks to put the engine back into the dragster, Paint
the engine, New coolant system to use all the ports in the heads
instrad of just the front one. |
|
|
 |
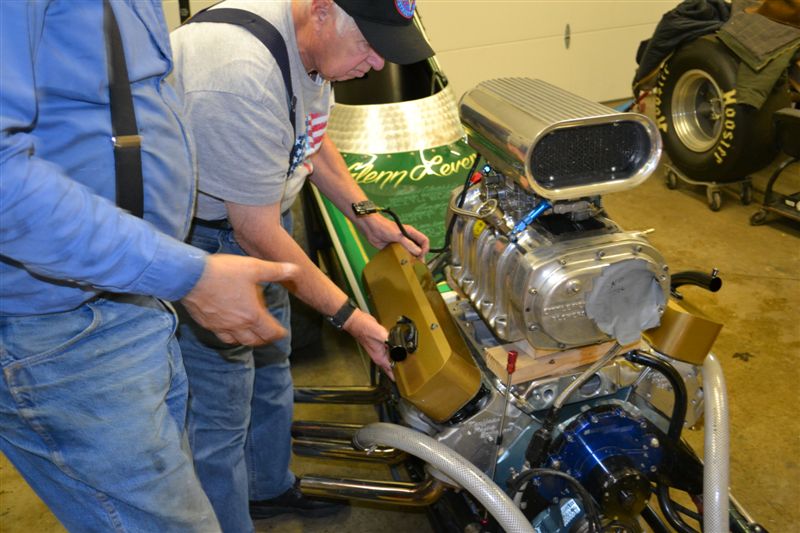
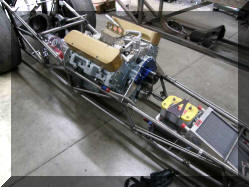
Well racing
season is over and it is time to start thinking about next season
2013. I want to go FASTER so we are installing a
blower, click here |
 |
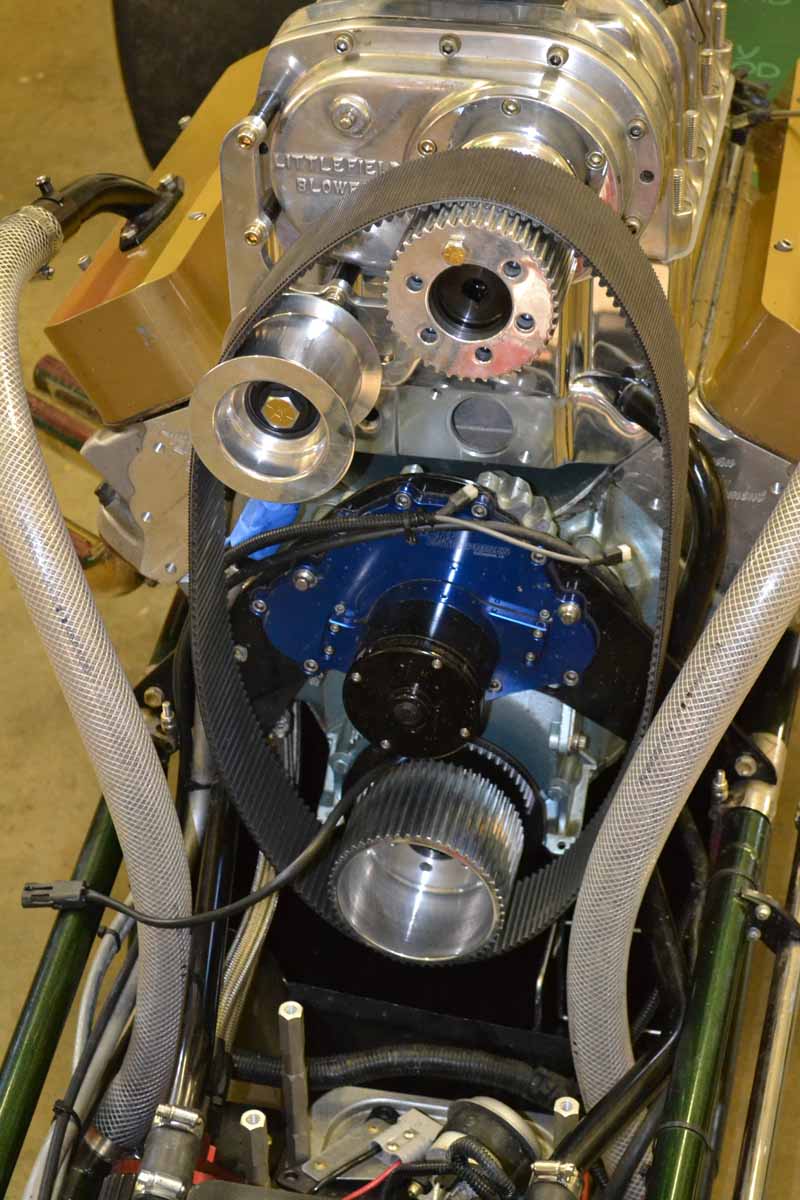
This is the
second week on installing the blower, and we have gotten closer to
the belt system being useable,
Click here to see the
details |
 |
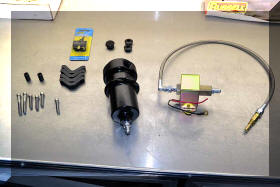
See the
finial fitment of the blower drive and the very start of the remote
fuel pump mount here. |
 |
The Car
Nuts got together toady and worked on the Fuel system, wiring and
throttle cables, to see that click
here |
 |
This update
is for two weeks, it includes burn down tubes, old fuel line, seat
belts, water outlet, blower restraint bag and plate straps gasket
fitting and modifications to the intake and valley pan. Click
here. |
 |
Well it is
all apart AGAIN, we did make some progress, made a bracket for the
fill tank, got the blower bag put back on (modified), Click
here |
 |
New update
with a number of small tasks completed, Coolant fill tank, Intake
bolted on, Front gasket between the timing chain cover and engine
plate replaced. To see that click
here |
 |
Lots going
on here, blower studs installed, pulleys purchased, Belt guard
problems, Coil mounted, TDC found and marked,
The biggie
is the fuel system is back from FIE.
Coolant
system, Click here |
|
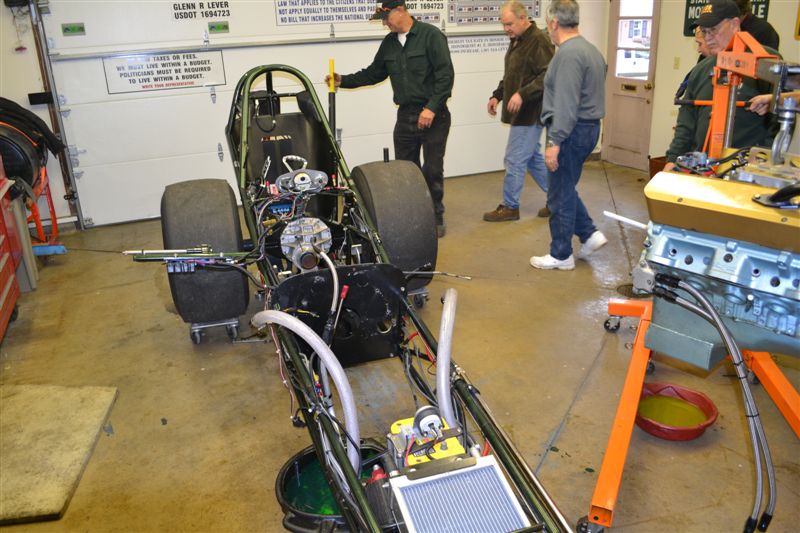
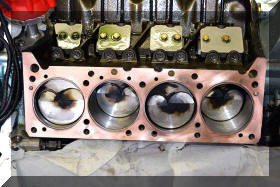
Here is the
newest BLOWN Pontiac powered dragster as of yesterday.
I now have to pull it all apart again as the right head is dripping
water (solid copper head gaskets will do that |
http://www.youtube.com/watch?v=r6zRsObuerw&feature=youtu.be
|
 |
Ok, it came
apart again, had a coolant leak on the right head, made an
improvement to the coolant system. To see that click
here. |
 |
Self primer
installed |
 |
Time to
take a look at the engine after 200 runs,
click here |
|
|
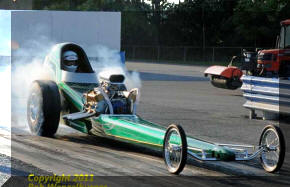 |
Some action shots at the Drags
To see that, click
here |
|
|