|
REMEMBER TO CLICK PICTURES FOR MORE DETAIL /
LARGER PICTURE
|
|
Well it has once again been some time since I
have done an update on the progress on the blown engine in the
dragster. |
 |
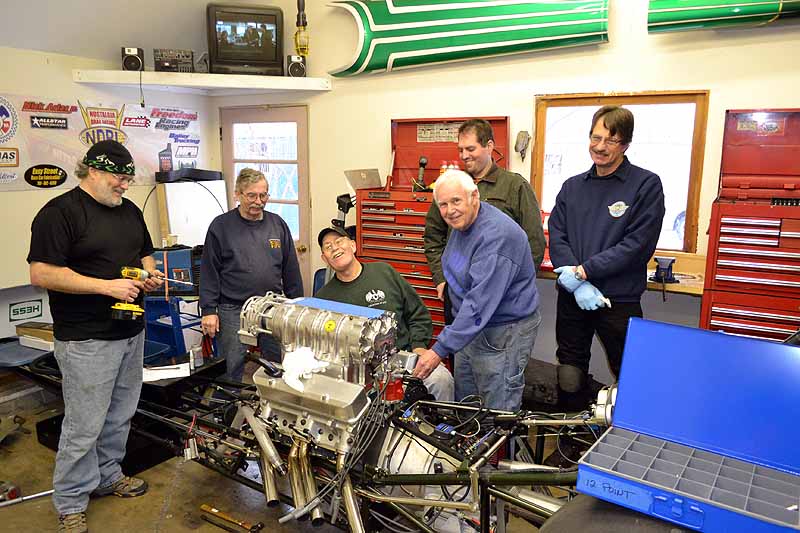
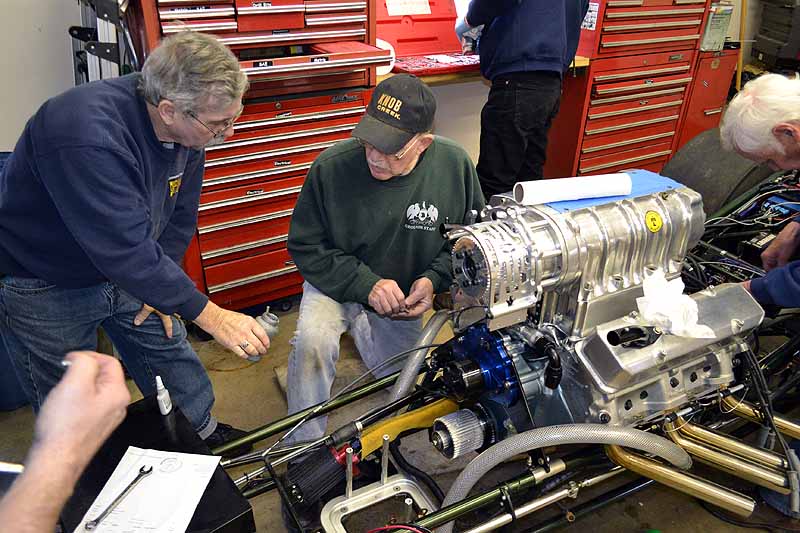
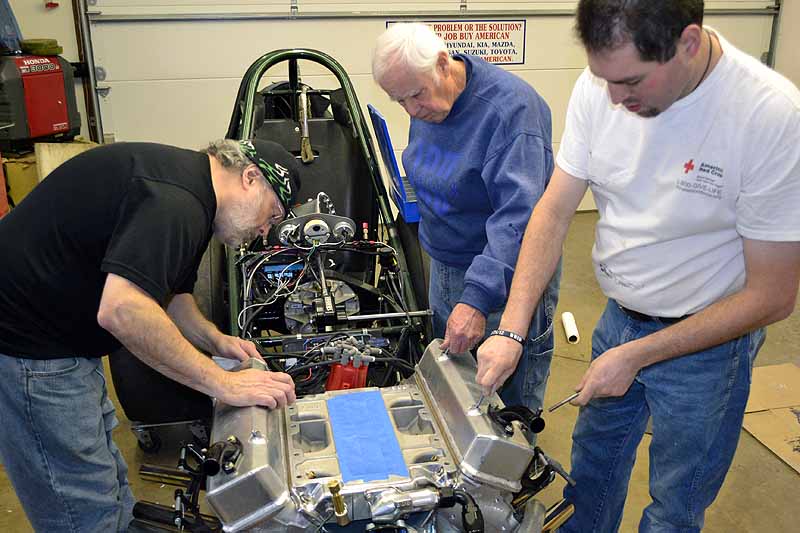
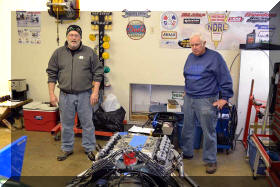
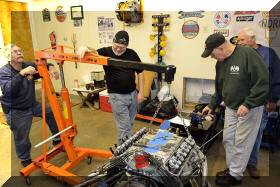
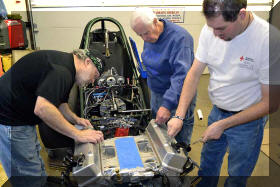
We had a great turnout of car nuts this
weekend, but this update will encompass a number of weeks that have
passed. We had George Lever, Bob Way, Tom Deyle, Lee Bracey, Jerry
Croston, and Bill Cleary, this weekend. |
 |
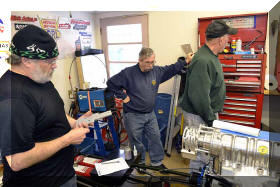
There was the usual standing around and bench
racing. Dreaming of spring and the smell of tires roasting, but we
did get a lot accomplished also. |
 |
 |
|
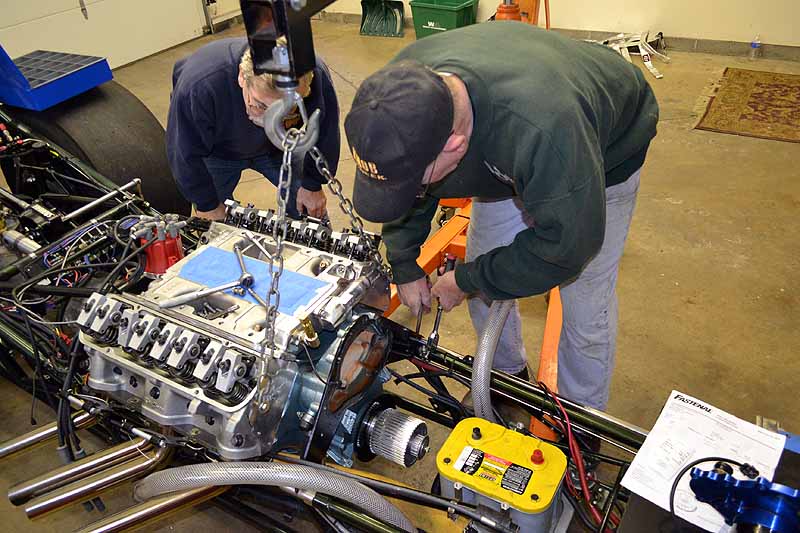
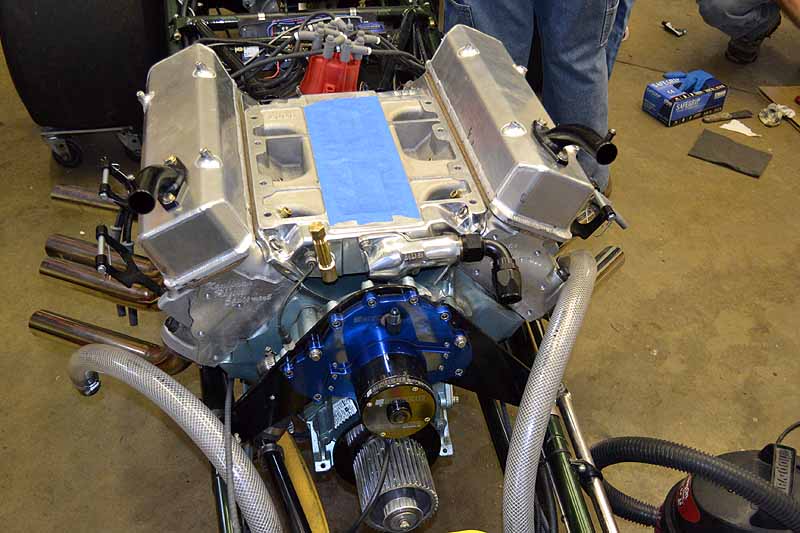
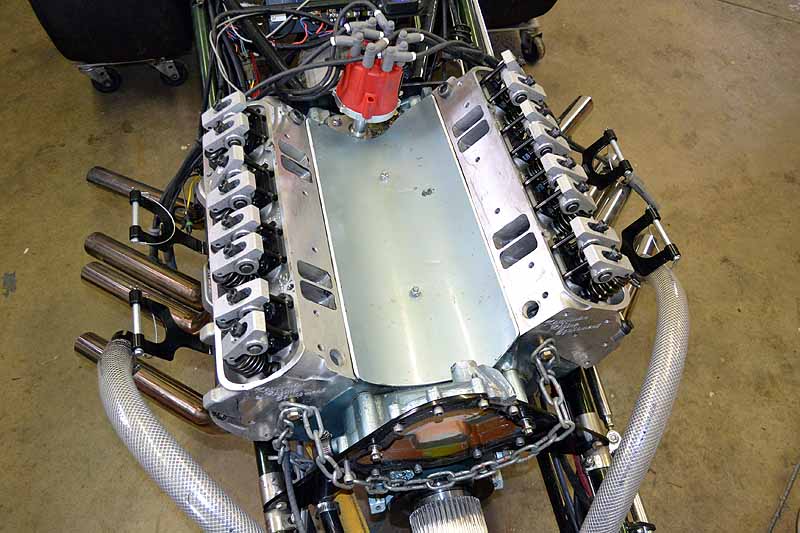
The first thing we did was to
chain up the front of the engine and support it with an engine hoist
so that the front engine plate could be removed. I have removed and
replaced the water pump a number of times and have noticed that the
gasket in-between the front engine plate and the time chain cover
separated each time. I though I would be proactive and remove and
replace it with a new one before it started to leak, so..... |
 |
 |
 |
 |
|
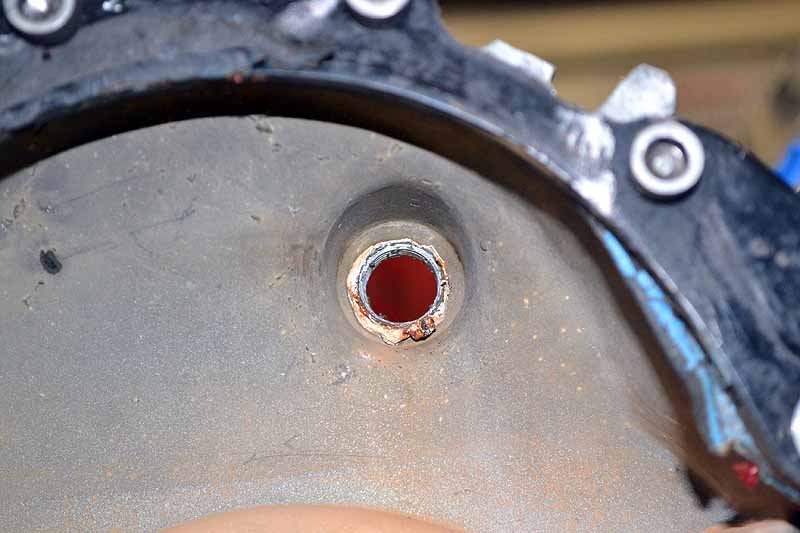
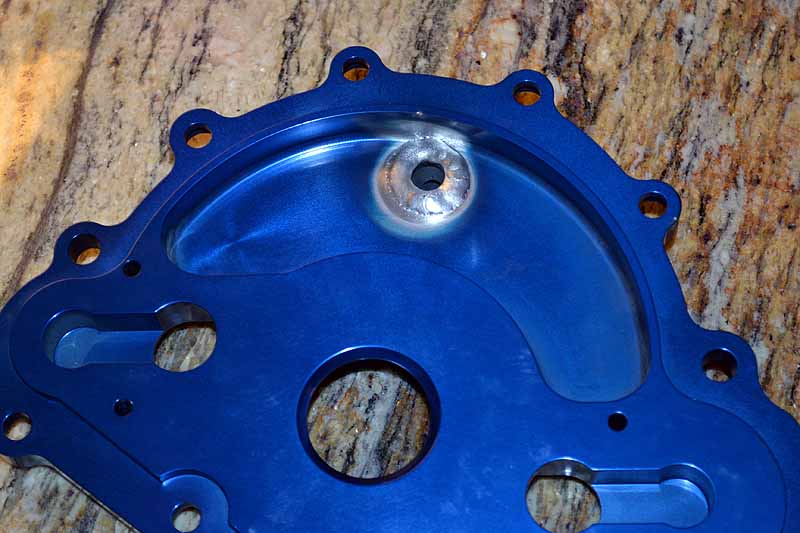
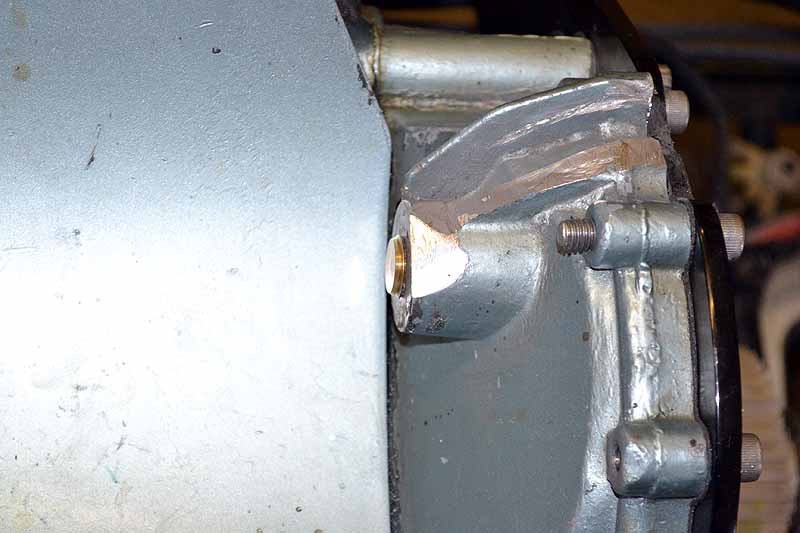
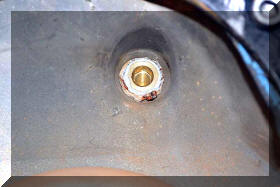
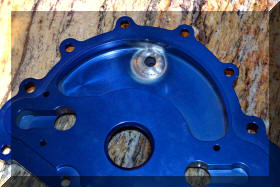
Now this is a case of two
birds with one stone, while the pump is off the bypass hole needs to
be plugged as the blower intake does not have a provision for it.
BDS wants you to run a plastic line to replace it, but we have
something better in mind, if you read far enough through this thread
you will see what we have in mind, but for now we just need to plug
the hole |
 |
 |
|
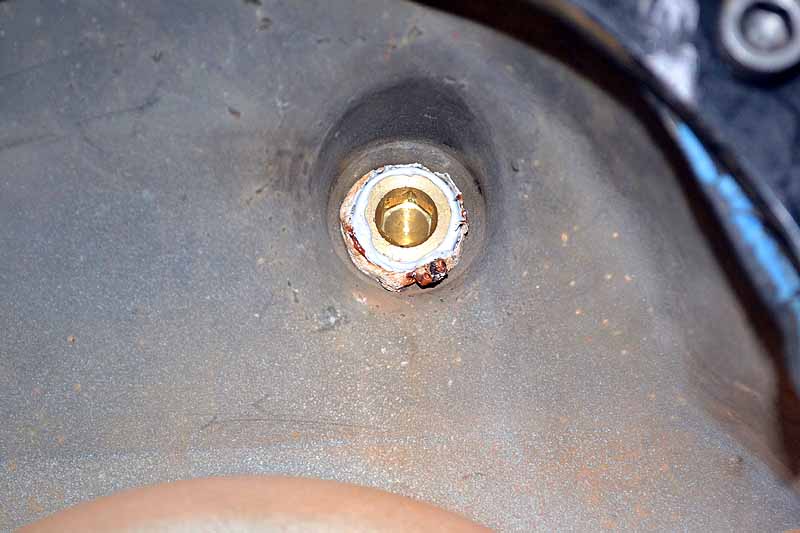
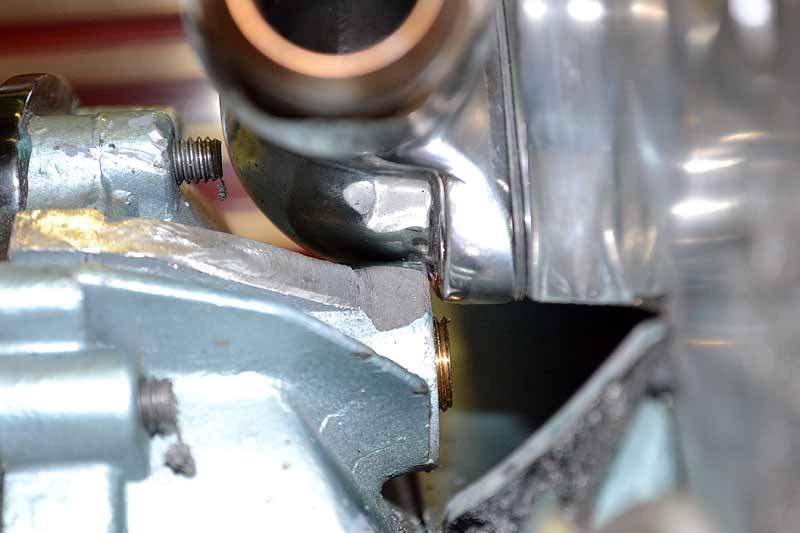
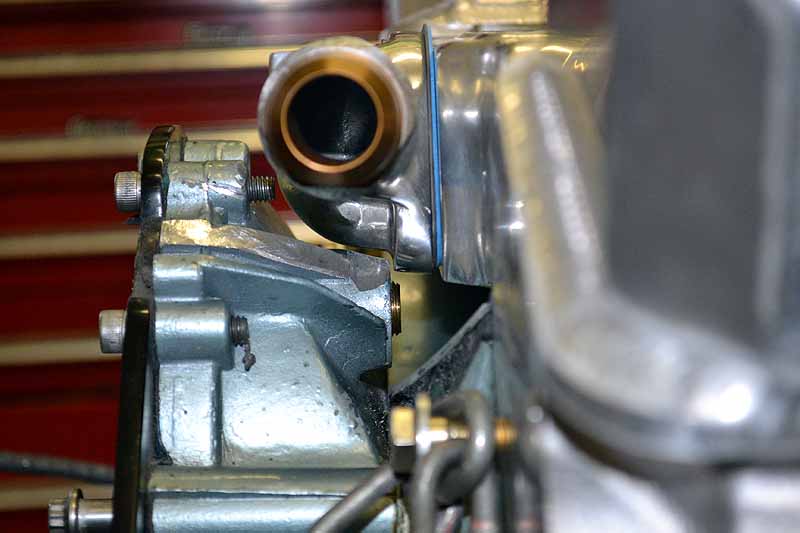
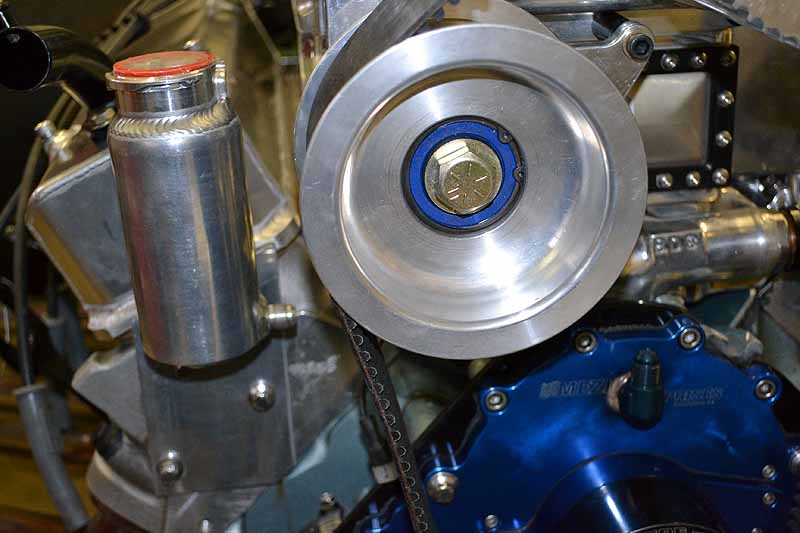
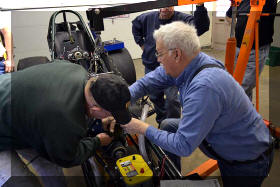
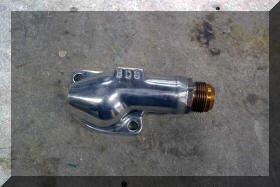
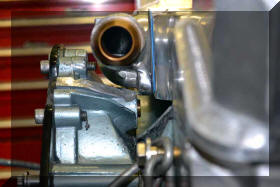
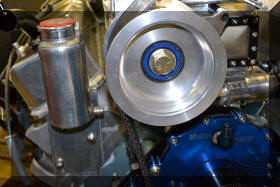
And now the pump can go back
on, if you look close you will see that there is a fitting that has
been put in the face of the pump. |
 |
 |
|
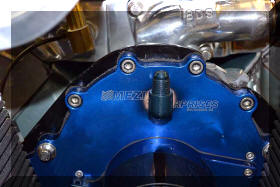
Here is a closer look, I do not think it is
going to leak! |
 |
 |
|
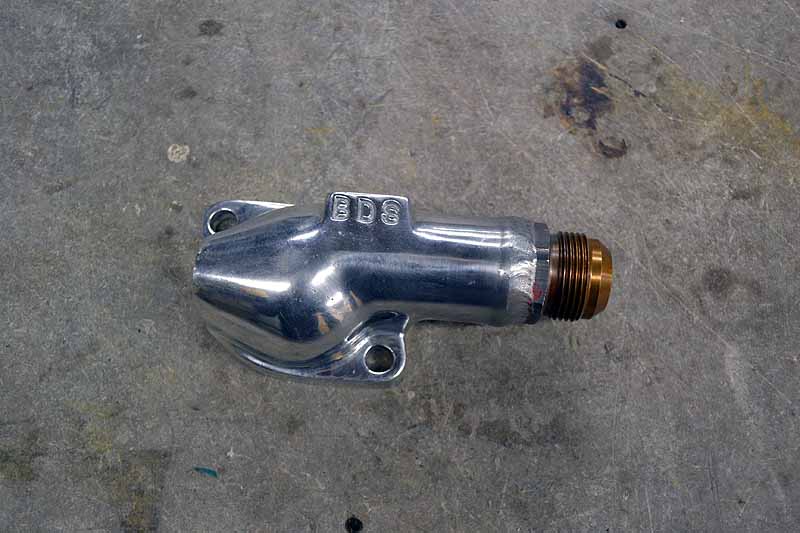
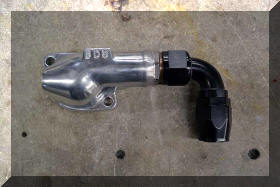
While we are on the subject of
welding and modifications the water outlet has also been modified
and welded up, and i do not think that will leak either |
 |
 |
|
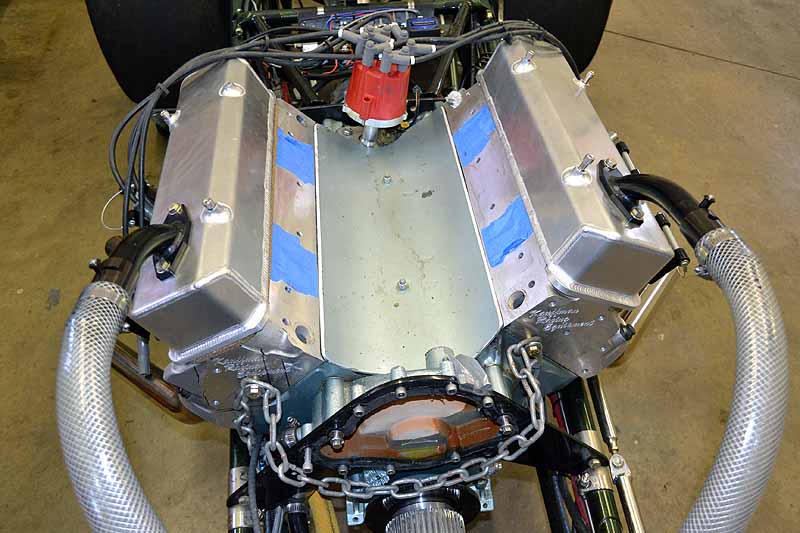
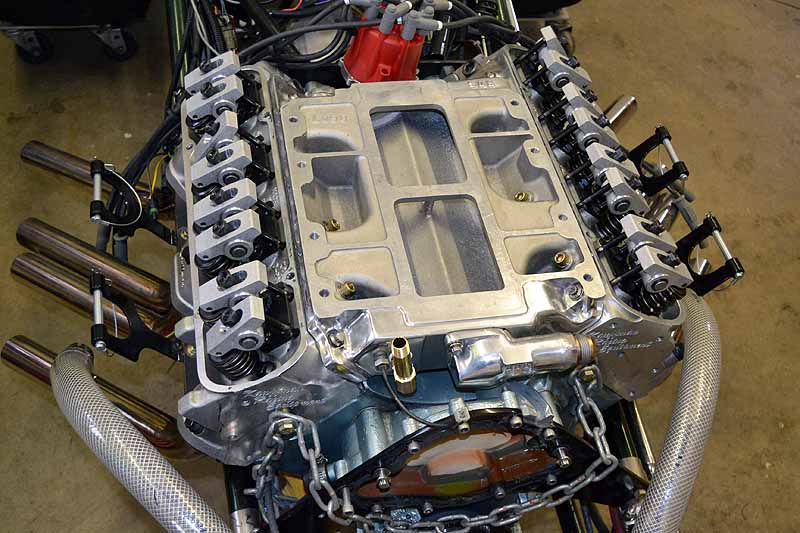
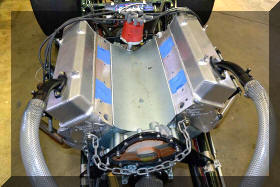
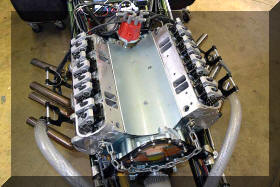
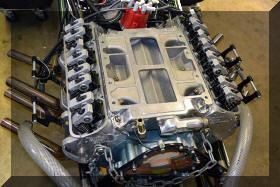
Now we can make a slightly more substantial
move forward. Lets bolt the intake on and torque it down |
 |
 |
|
Well, not quite so fast, I
really wish the aftermarket would get it's act in gear. It seems
like you always have to make modification to make their parts fit.
Such is the case with the water outlet and the stock timing chain
cover. If the timing chain cover was not ground down a little ithe
water outlet would have hit the cover. |
 |
 |
 |
So now it fits nicely |
|
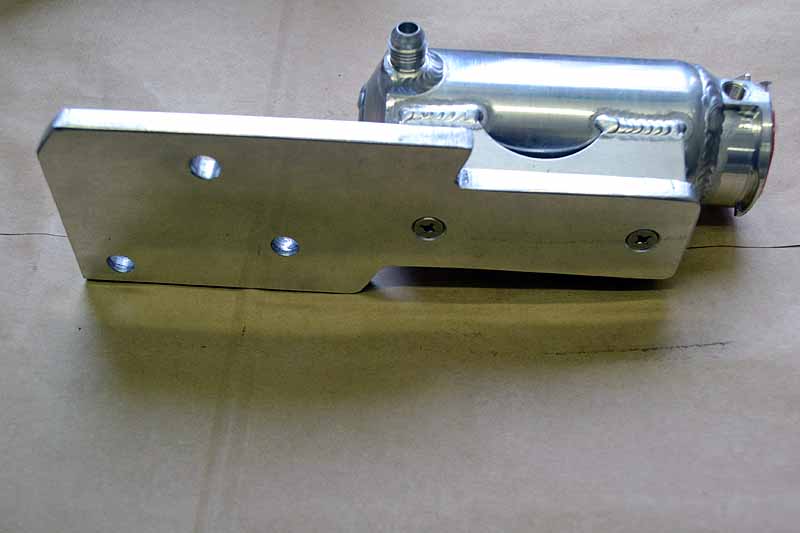
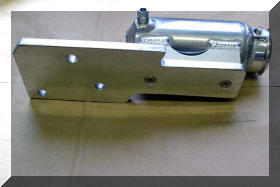
Ok, above I mentioned that I
had a new and improved idea on how to handle the bypass. I put a
fitting in the top of the water pump and created a fill can off to
the side on the right head. The line has not been run but there will
be a line that runs from the fill can to the top of the pump
allowing air to escape. In addition an air relief has been added to
the water crossover in the intake manifold |
 |
Everyone jokes about me when it comes to ant
seize, but stainless steel bolts and aluminum threads do not like
each other. Here we are bolting the water fill bracket we made in
the last update to the front of the head |
 |
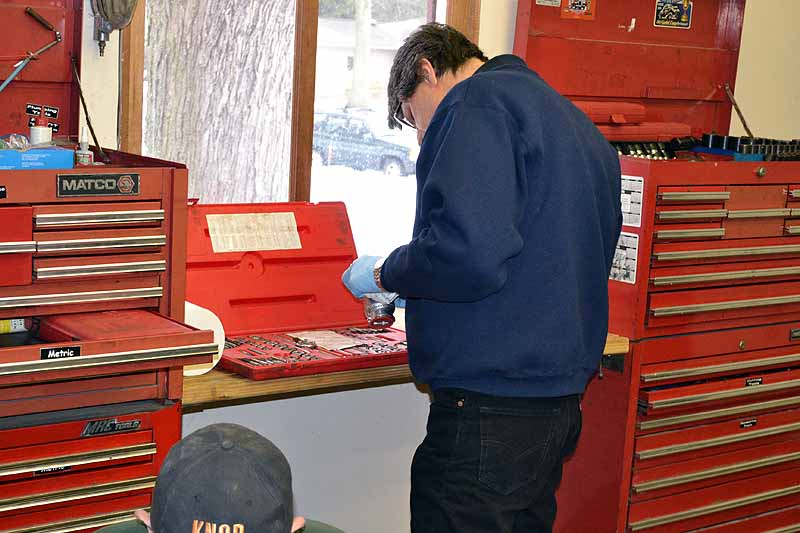
Once again the aftermarket has come through
the thread in the fill can (even though manufactured in the USA)
were metric and were of the zert nut verity and were screwed up, we
had to retap them |
 |
 |
 |
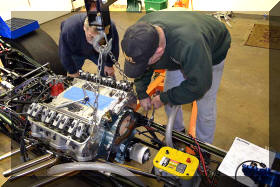
Valve covers and gaskets were installed |
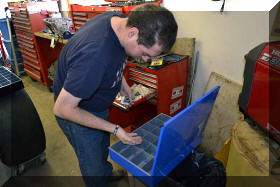 |
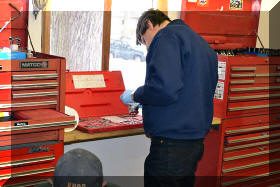
I have to give a big shout out thank you to my
son for taking the time to sort all the twelve point stainless steel
bolt and nuts for me |
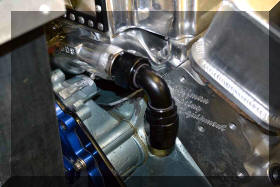 |
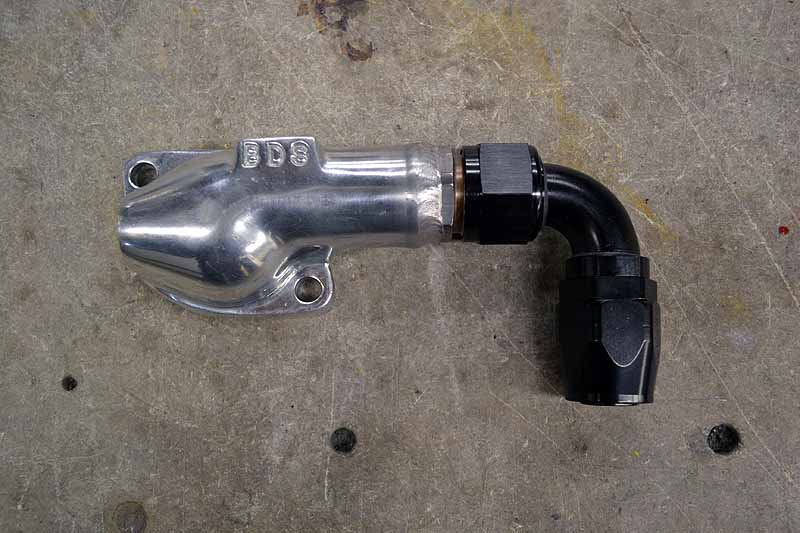
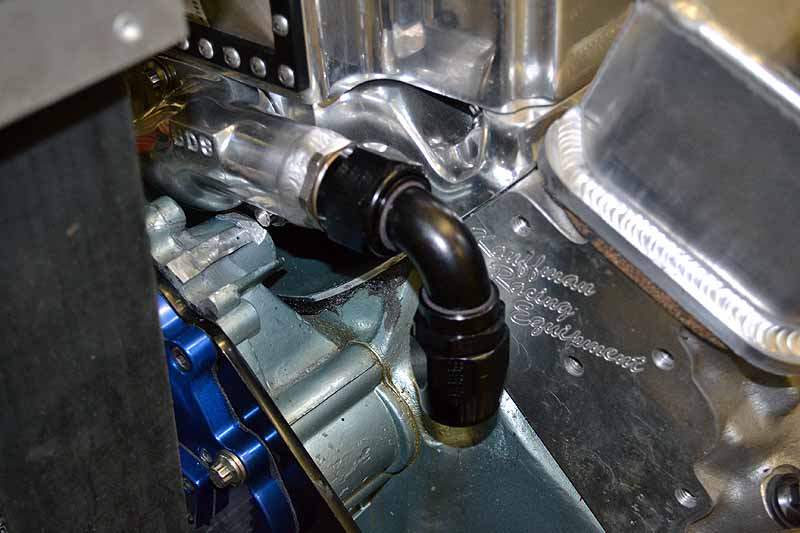
This will give you an idea what the routing of
the coolant line will look like. |