|
REMEMBER TO CLICK PICTURES FOR MORE DETAIL /
LARGER PICTURE
|
|
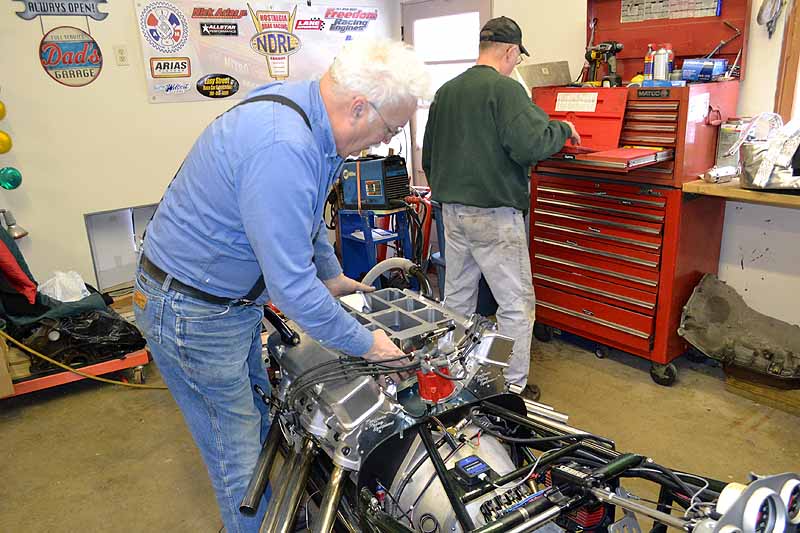
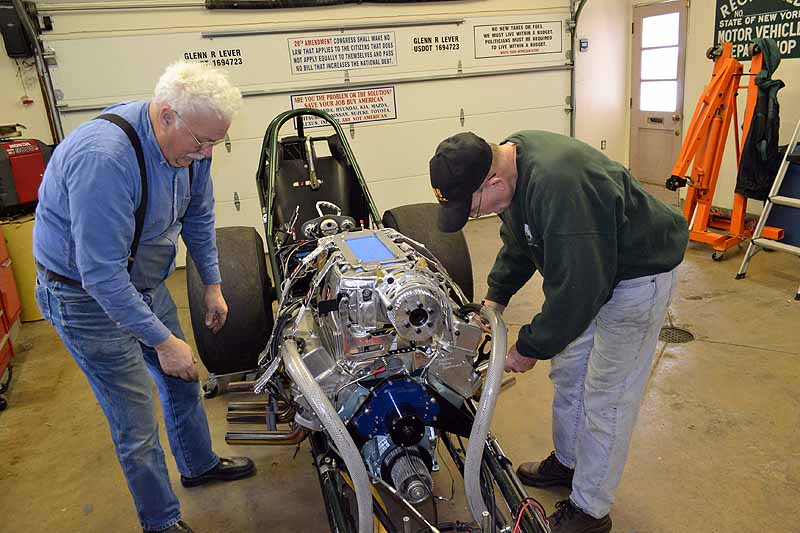
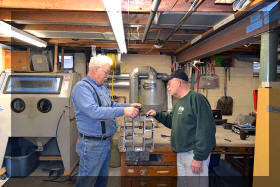
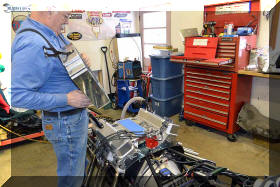
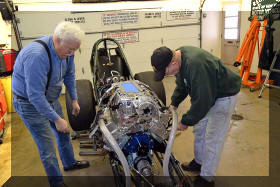
It does not feel like we made
much progress this weekend. Tom was over and so were both of my
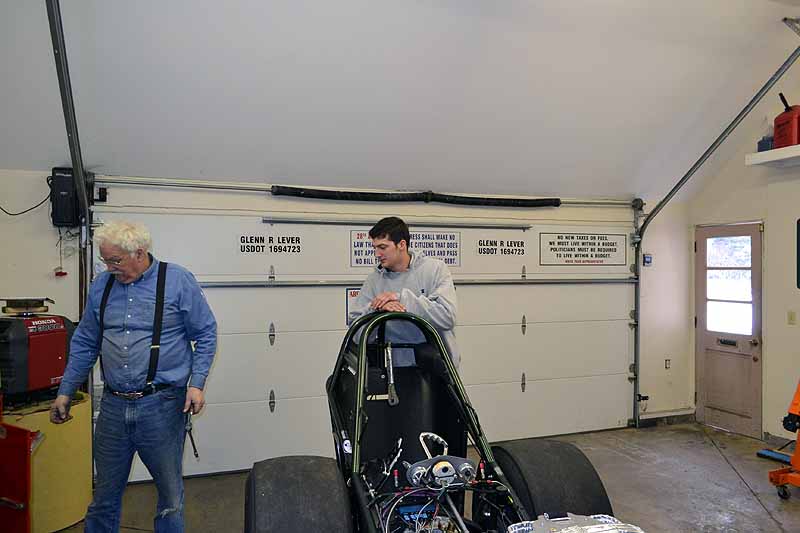
sons. Number one son stayed behind the camera so I have no pictures
of him, but I did get a picture of the number two son.
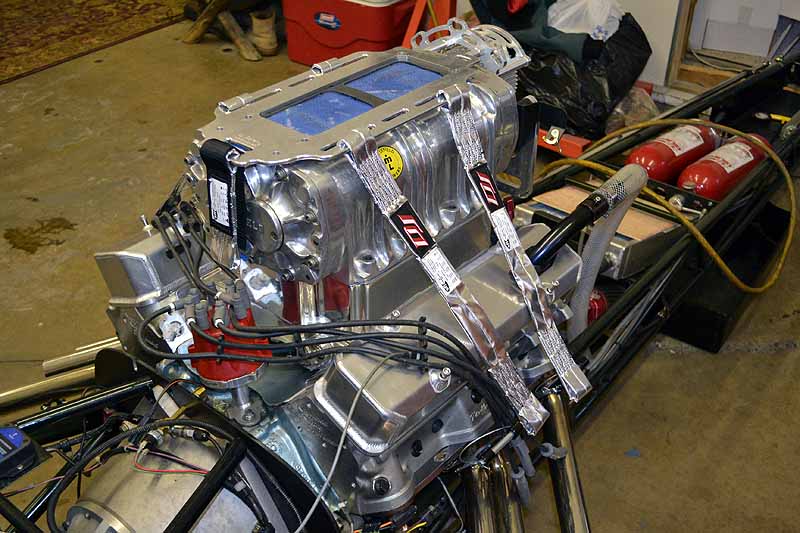
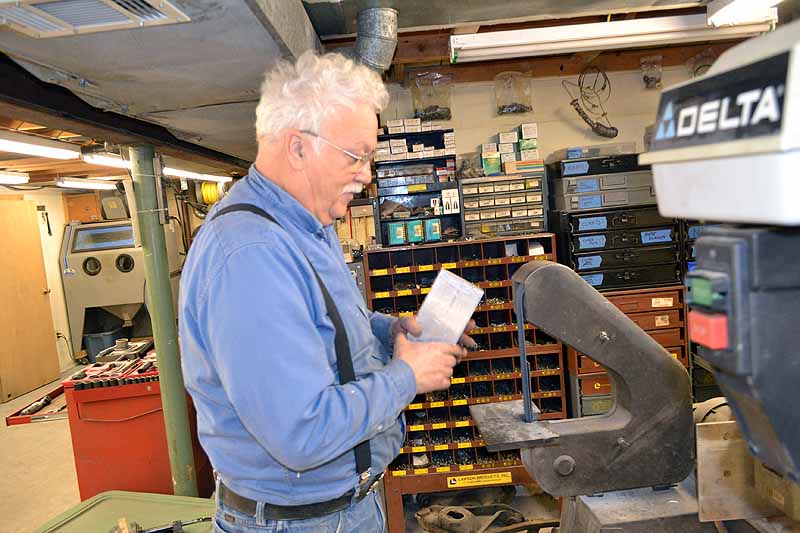
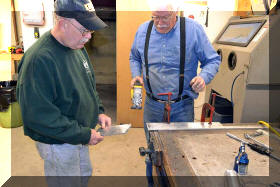
Fist task was an easy one. the
blower bag is back from DJ with the modifications talked about in
the last update, so that was put on. |
 |
 |
|
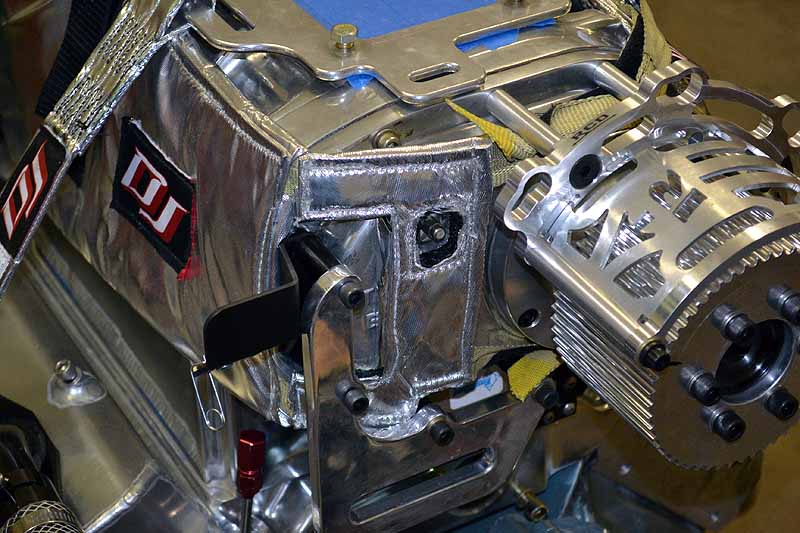
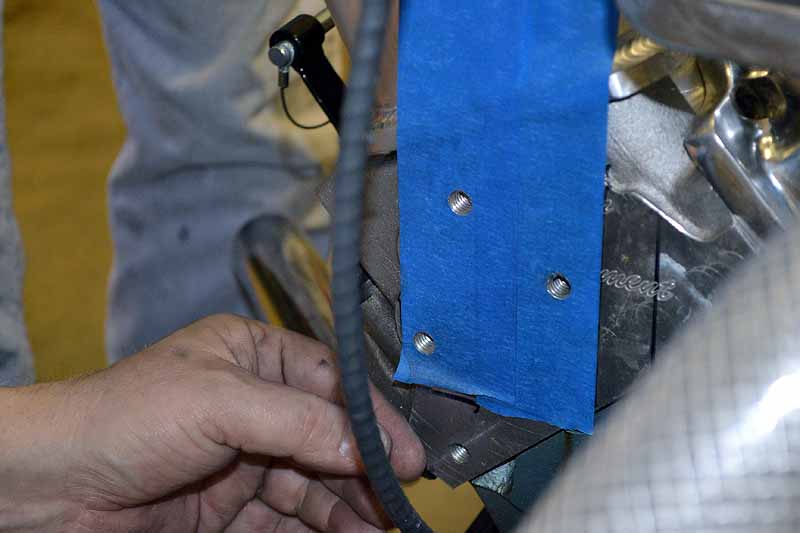
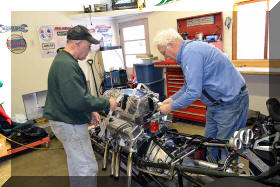
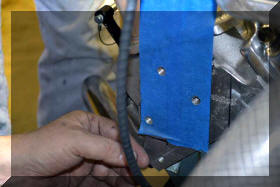
Ok, now that the blower bag is
on and fits we can move on to installing the rear restraint strap.
as you can see there is no restrain bracket currently on the rear.
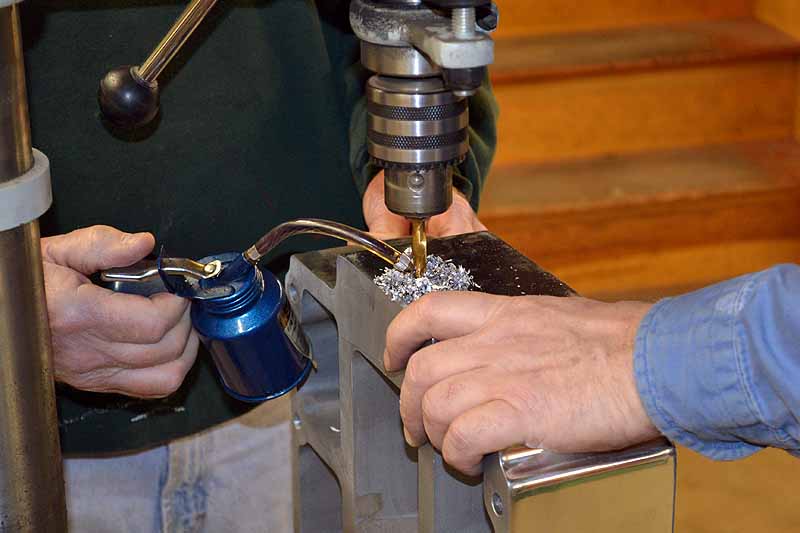
The first step was to remove the blower, and the spacer and drill a
hole in the back of the spacer. |
 |
 |
|
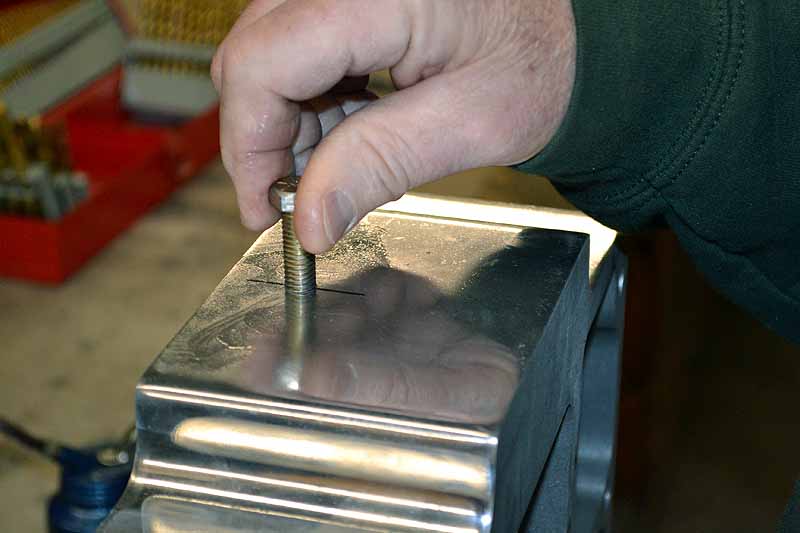
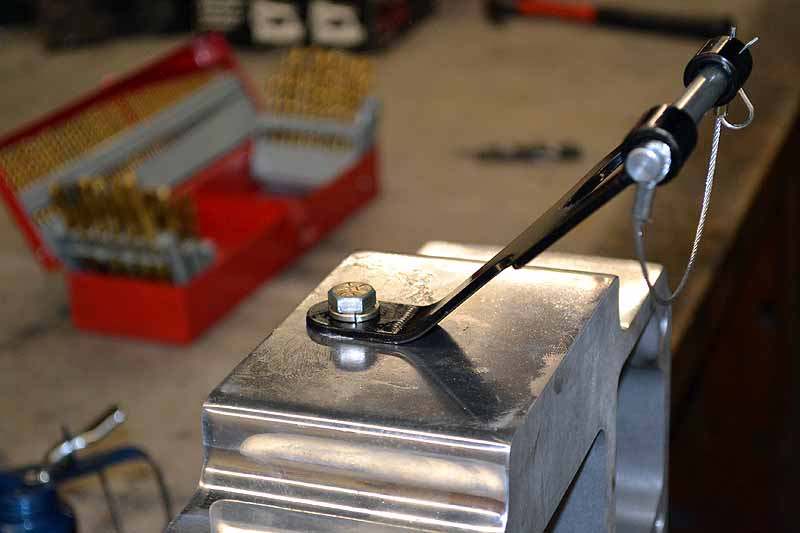
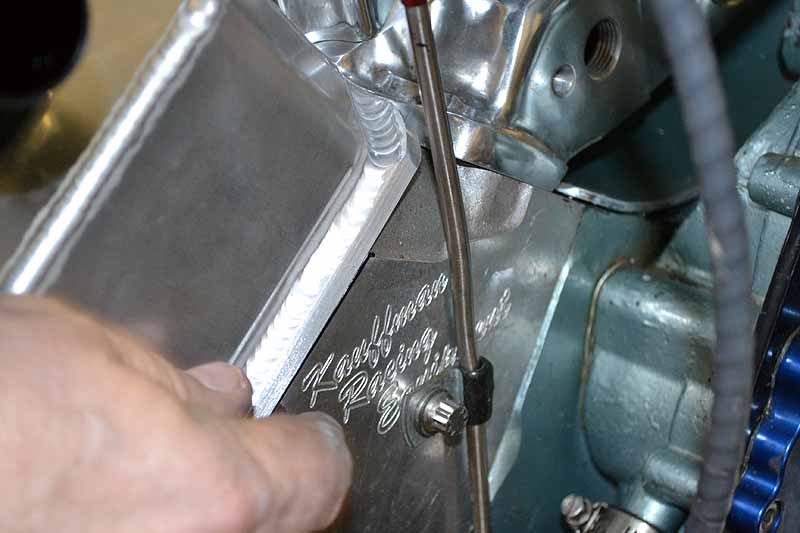
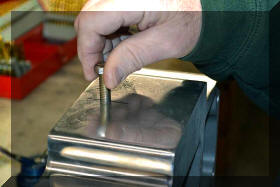
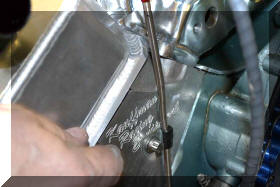
This area of the spacer is
quite thick and we did not have to drill all the way through to give
us enough hole depth to put a bolt in to hold the restrain strap. |
 |
 |
|
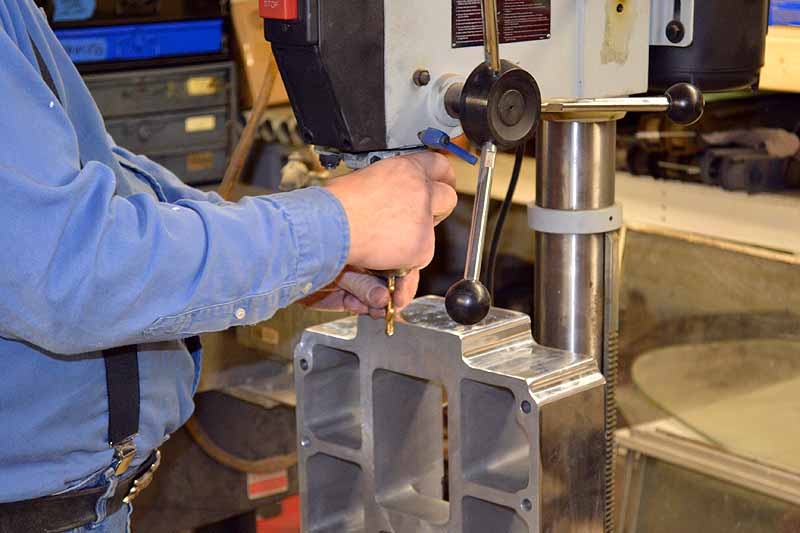
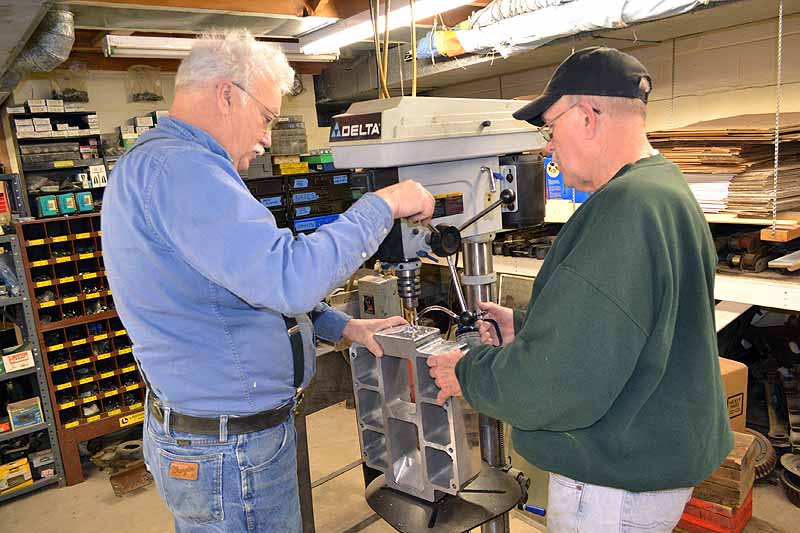
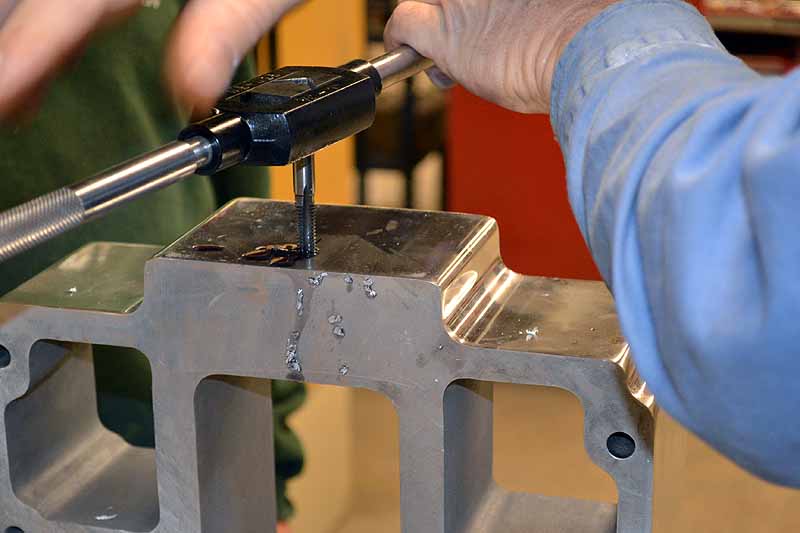
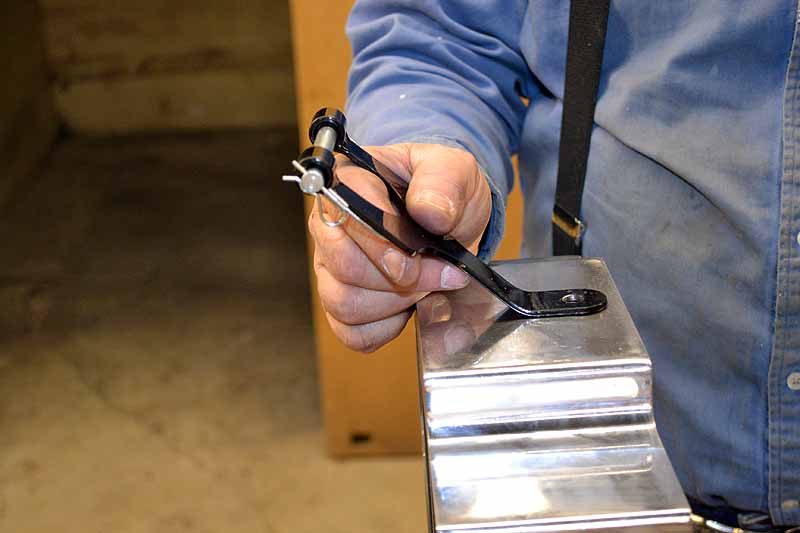
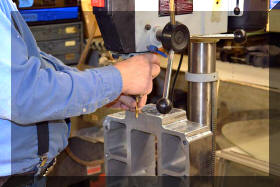
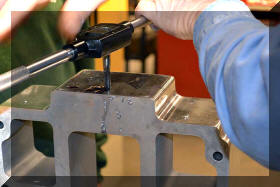
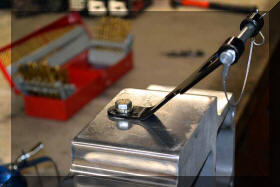
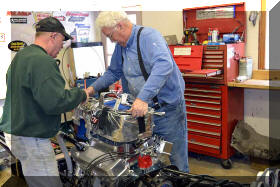
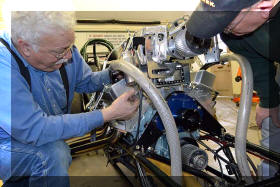
Now it is time to tap the
hole. As you can see this is like a county job, a simple task takes
a lot of workers, her there are three, myself, Tom, and number one
son taking the picture. |
 |
 |
 |
 |
 |
 |
 |
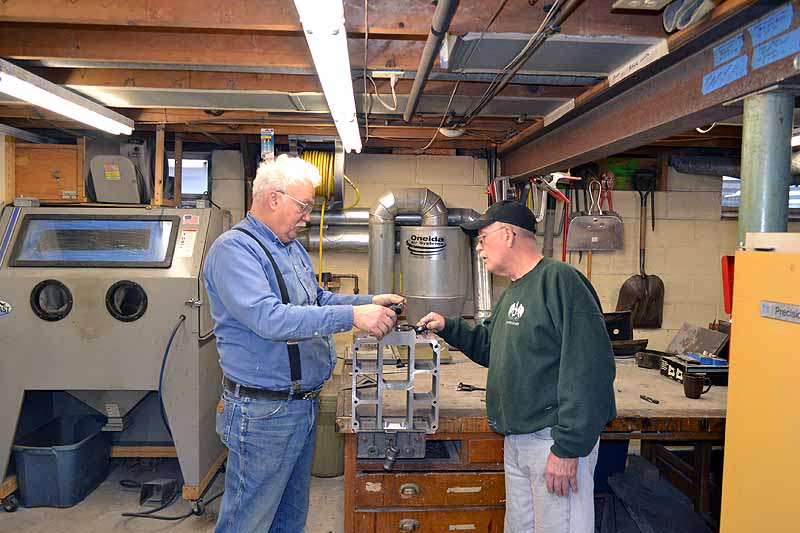
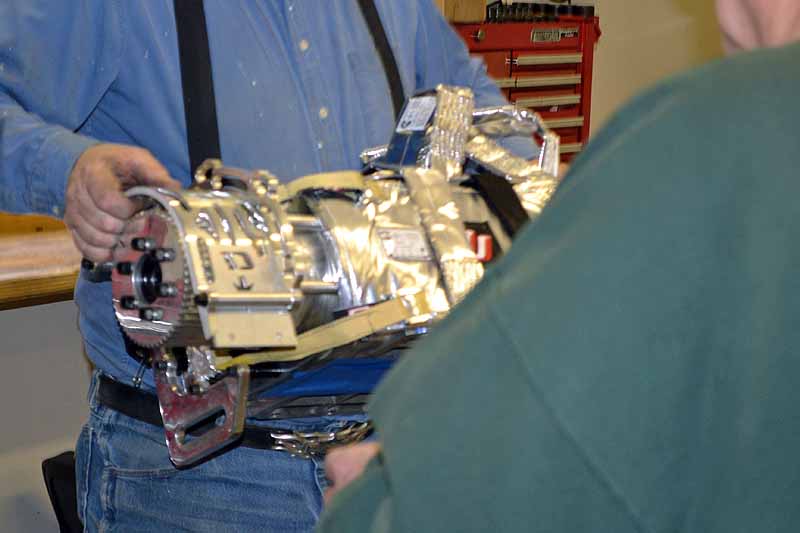
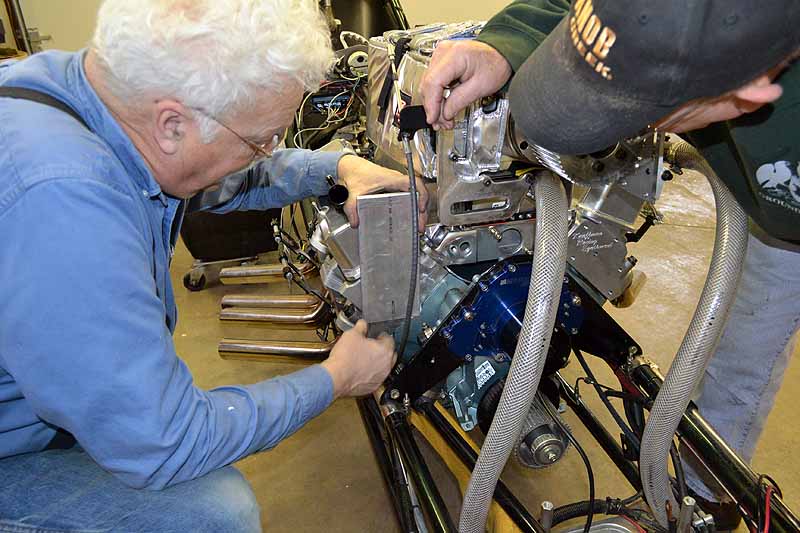
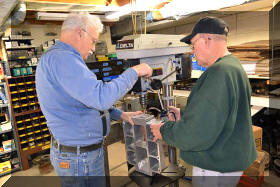
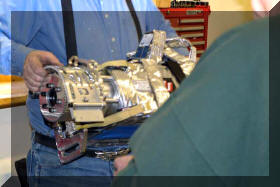
Time to put the spacer with the bracket back
on the intake, this stuff gets heavy. So this is what that looks
like. |
|
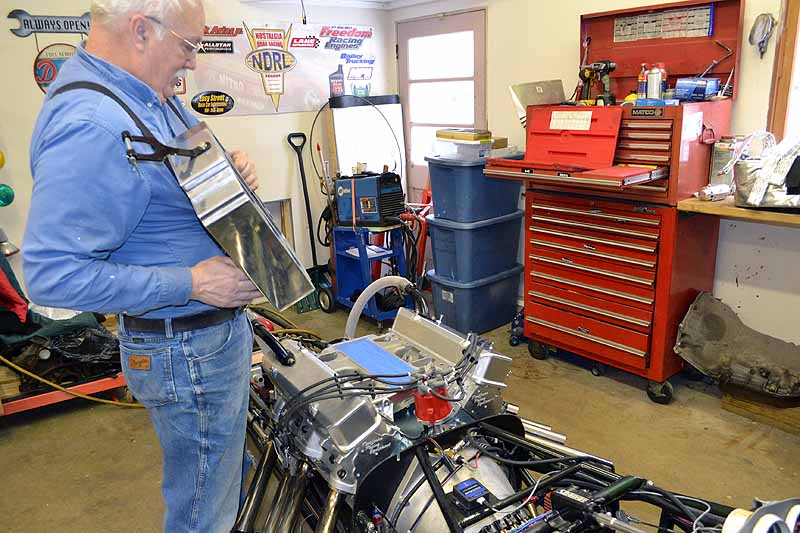
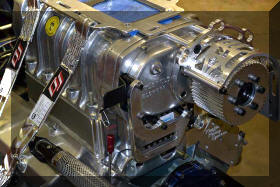
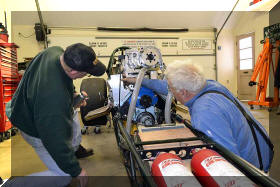
So lets put the blower back on to see what it
lookls like. |
 |
 |
 |
Did someone put lead weights in this thing, no
need to go to the gym today |
 |
 |
 |
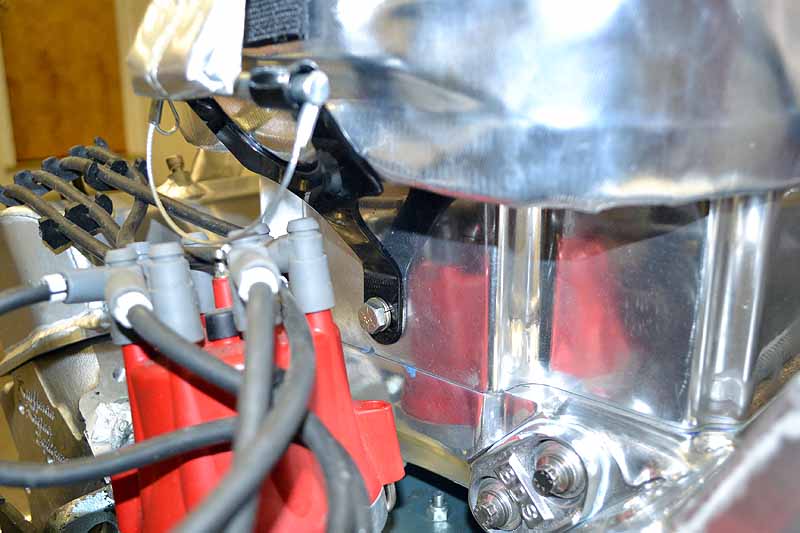
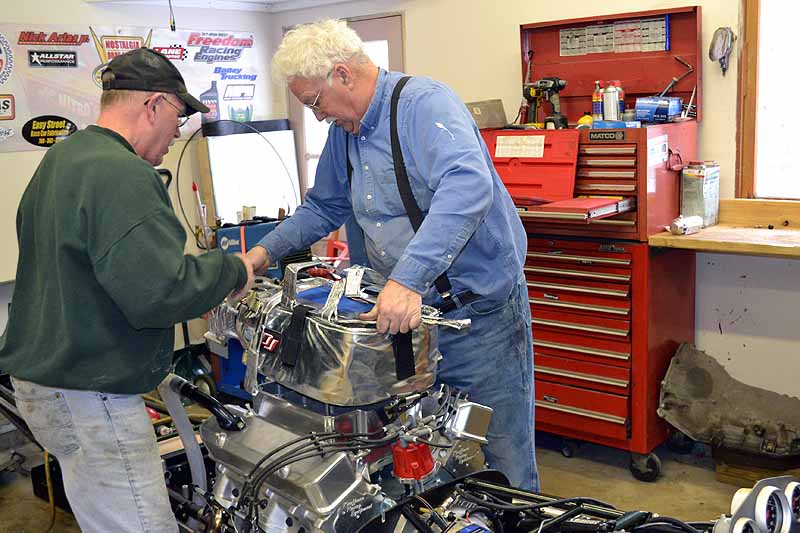
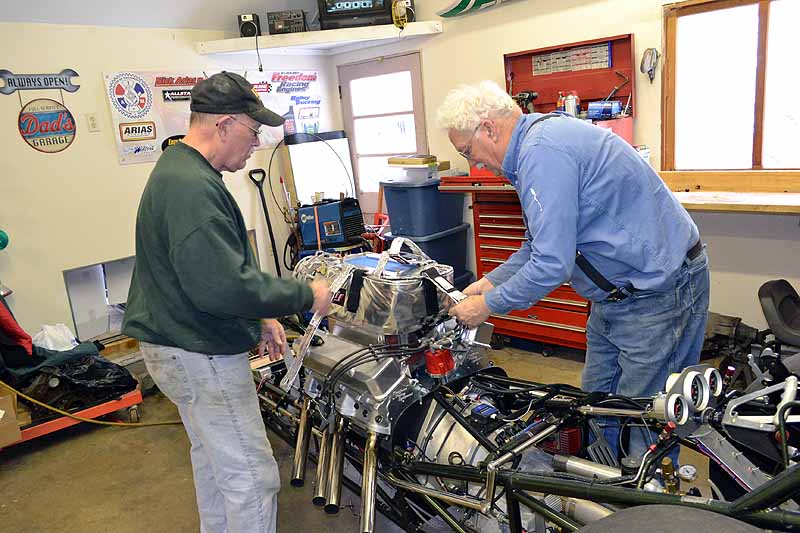
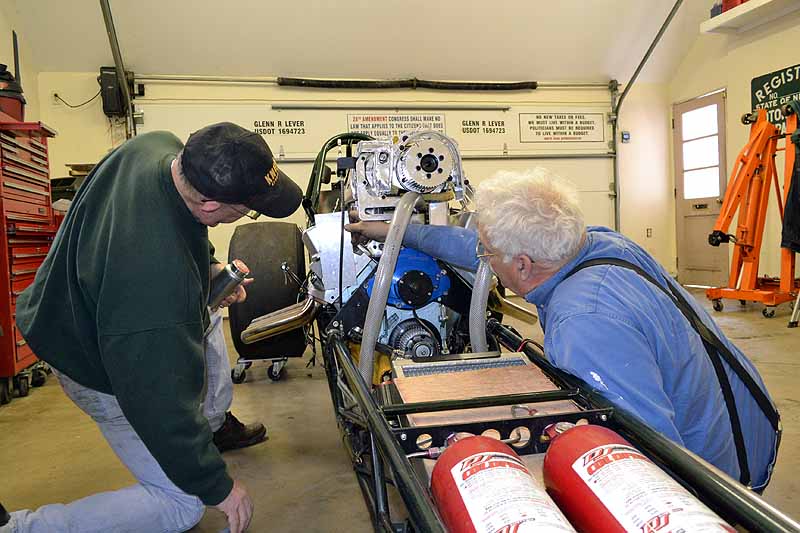
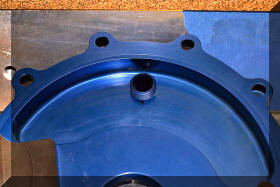
That looks like it will work. Now I just need
the part that goes on top of the blower, Spud? |
|
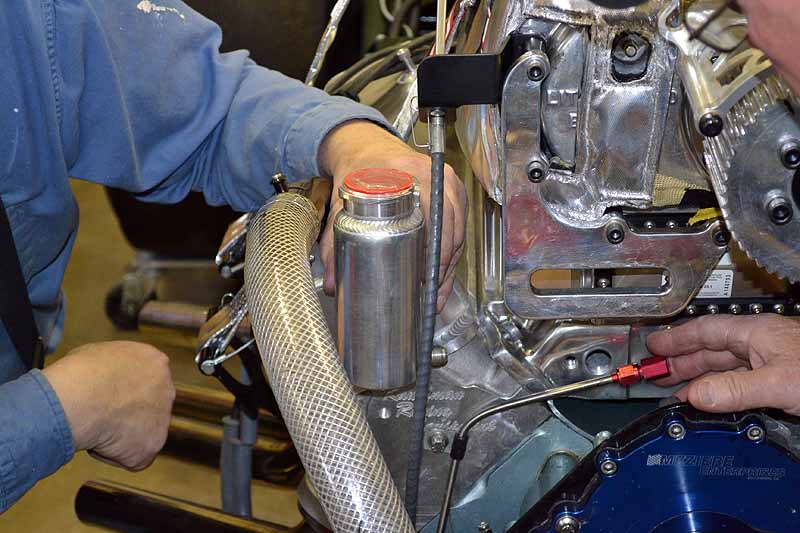
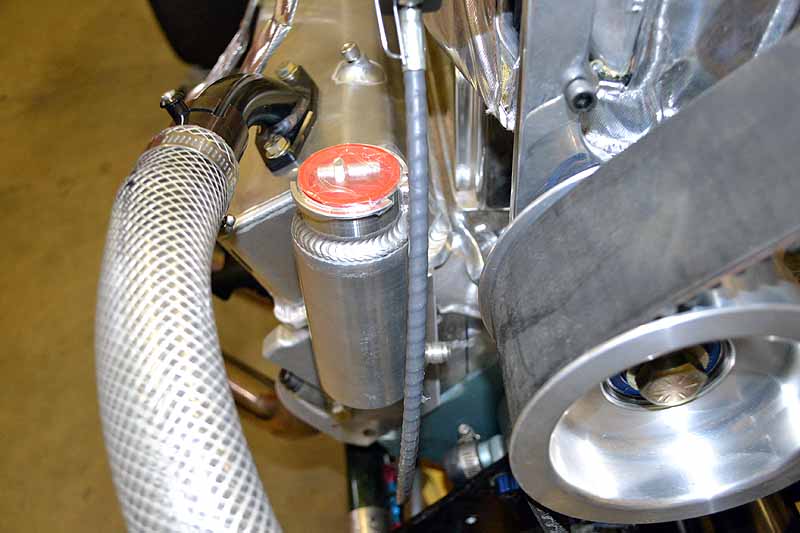
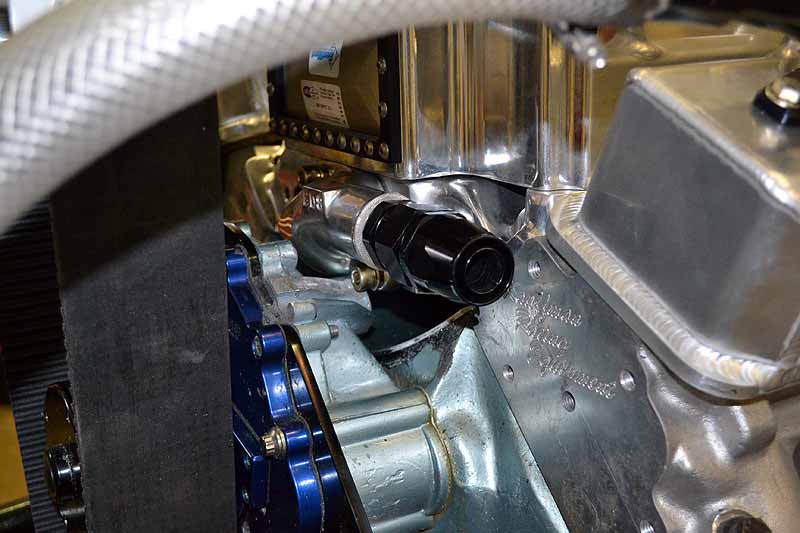
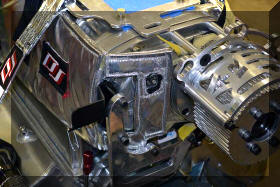
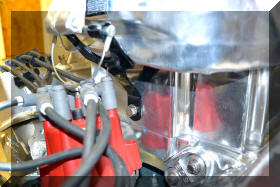
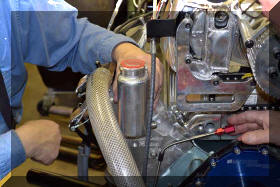
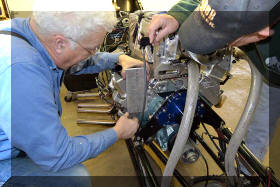
With the blower on top of the intake there is
no way to get coolant (water) into the block. We came up with a plan
to mount a small tank off the right front head and run a line to the
water pump. The valve cover extended beyond the head so that had to
be ground back |
 |
 |
 |
 |
|
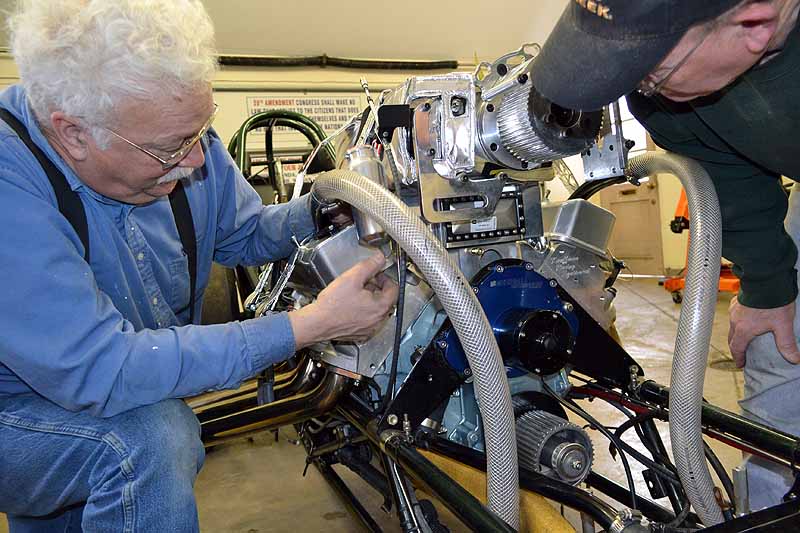
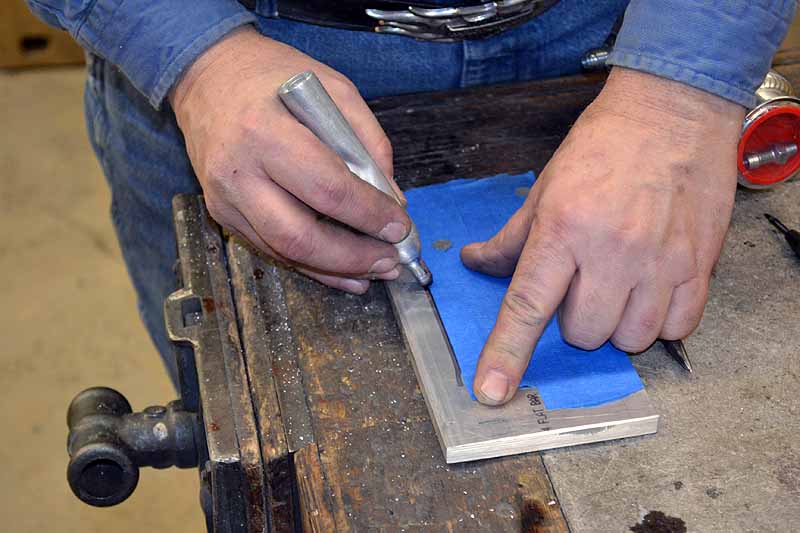
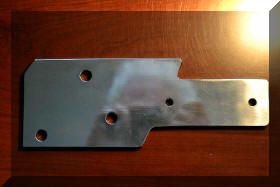
Now with the valve cover flush
with the head we can make a "Simple" plate bracket to hold the tank |
 |
 |
|
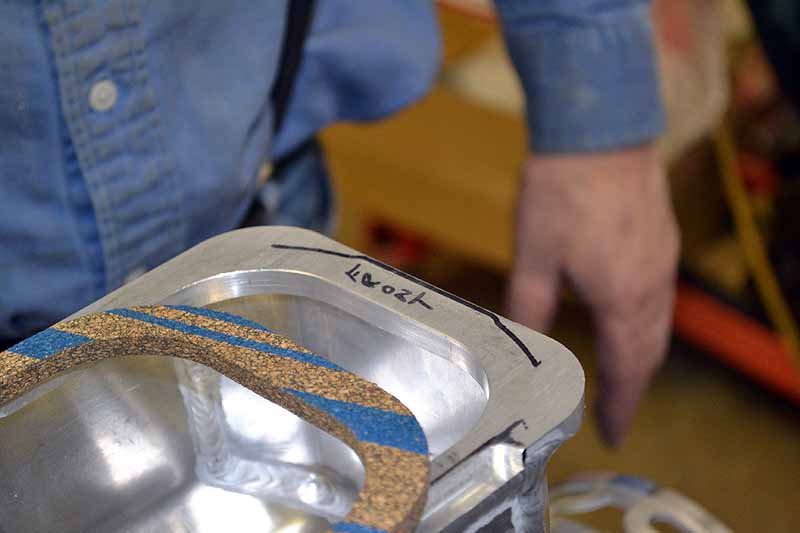
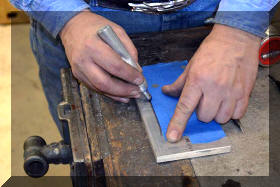
Ok, lets study it some, how
complicated can it be it is just a flat plate after all. |
 |
 |
|
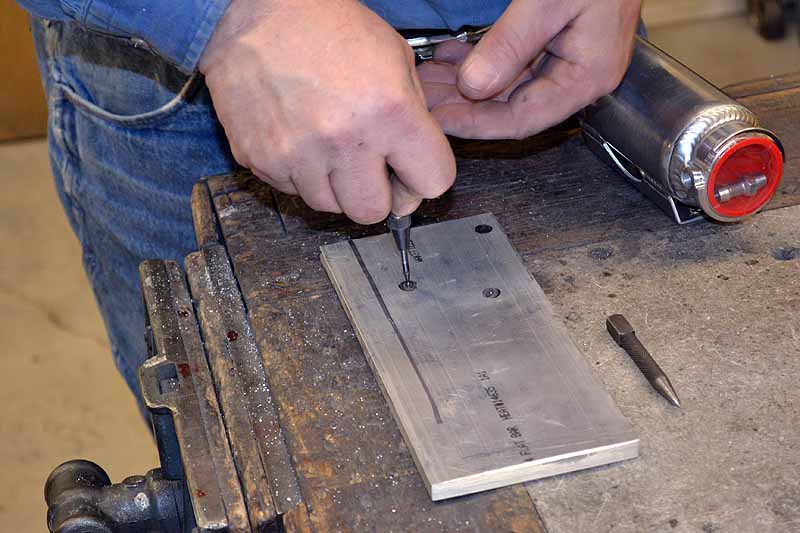
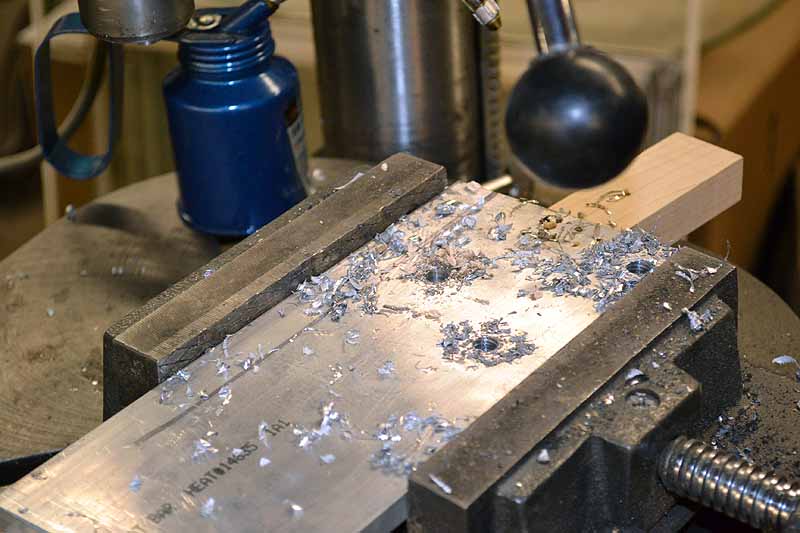
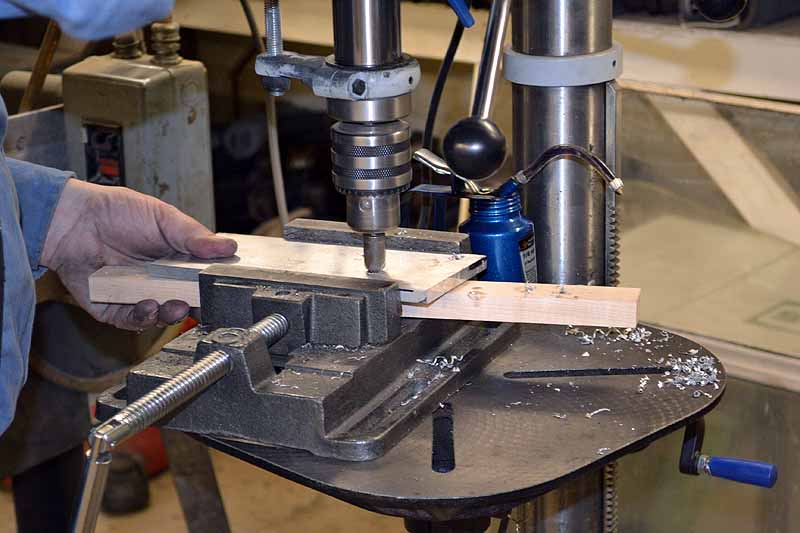
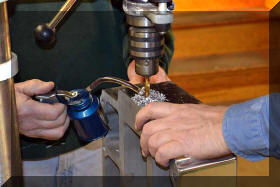
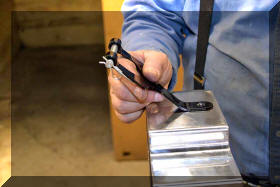
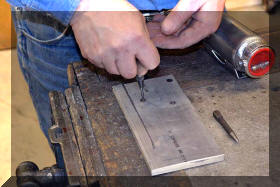
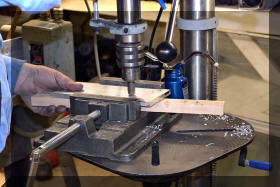
Lets make a pattern of the
holes and do some drilling |
 |
 |
 |
 |
|
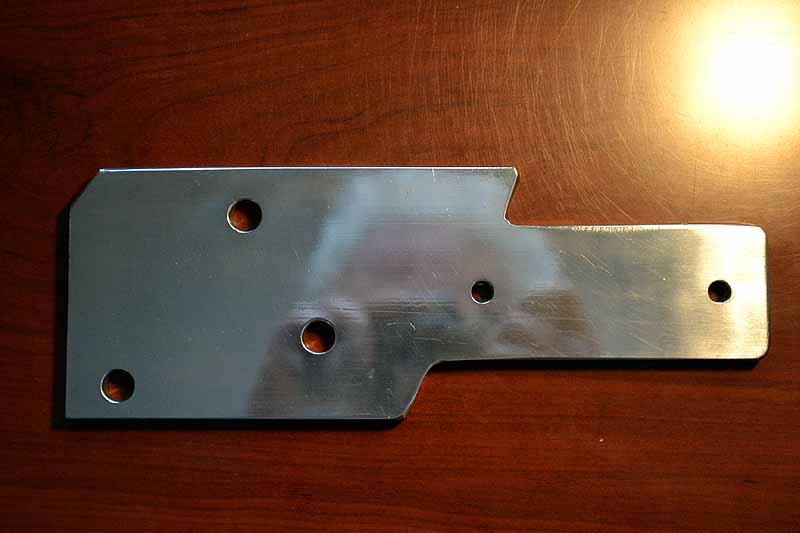
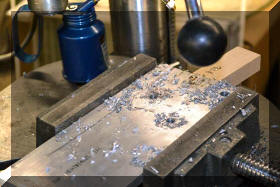
A little bit of deburing of the holes and a
little buffing |
 |
 |
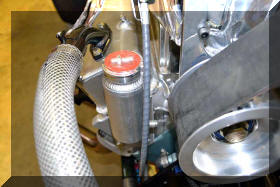 |
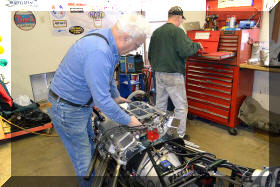
And the tank can be mounted to the engine. |
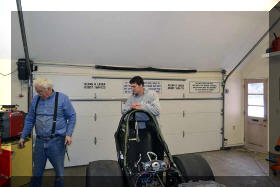 |
Here is Son number two |
|
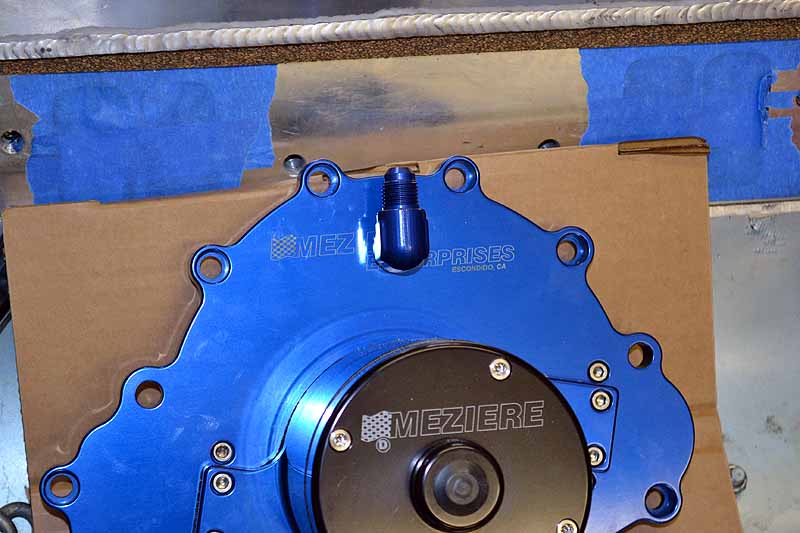
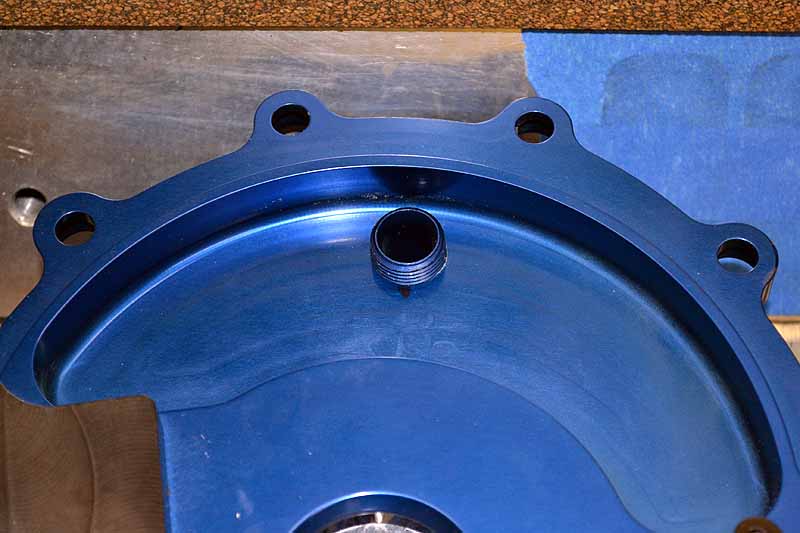
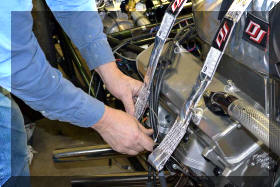
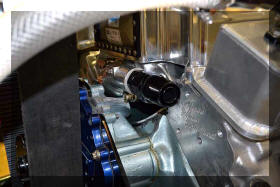
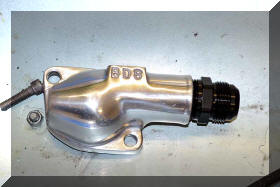
So now we have to plumb the coolant system.
Drilled and tapped the front of the pump and the water outlet with
the help of Steve over at his shop |
 |
 |
 |
 |
|
I'm going to have the fittings welded in
place. This water pump is my spare. |
 |
So that means of course I have to remove the
pump from the engine to get that taped and welded also, which means
take the whole thing apart again. |