|
REMEMBER TO CLICK PICTURES FOR MORE DETAIL /
LARGER PICTURE
|
|
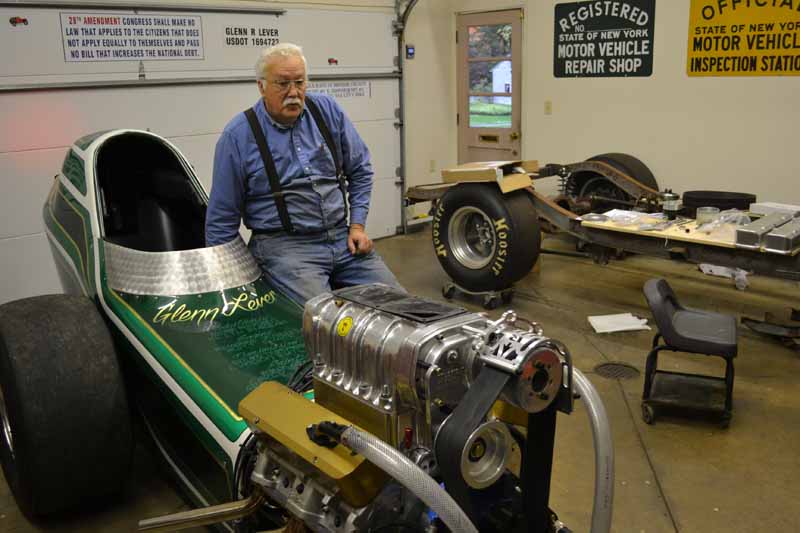
Once again I
am behind in my updates, there have been three more meetings of the
Car Nuts. I am truly learning just how much I do not know. If I do
not do the updates right away they get harder to do and I forget
stuff (is that because I’m an old fat guy?)
We left off
with the blower spaced up with 2X4 blocks.
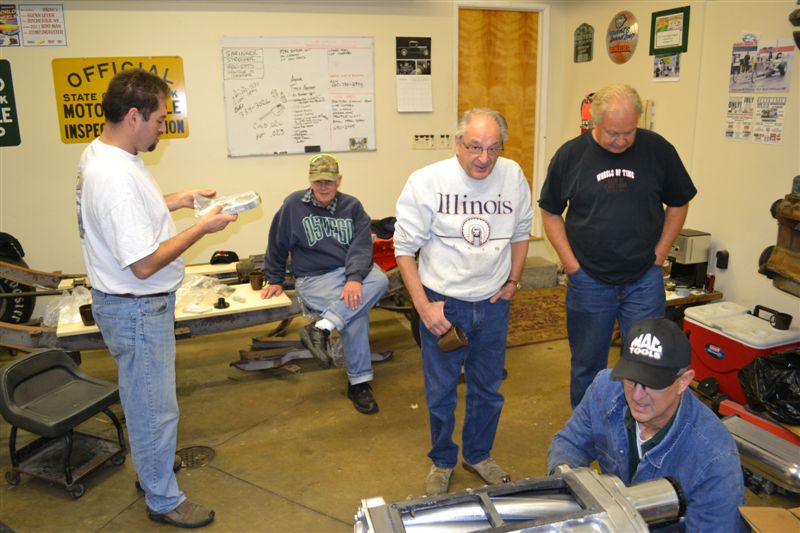
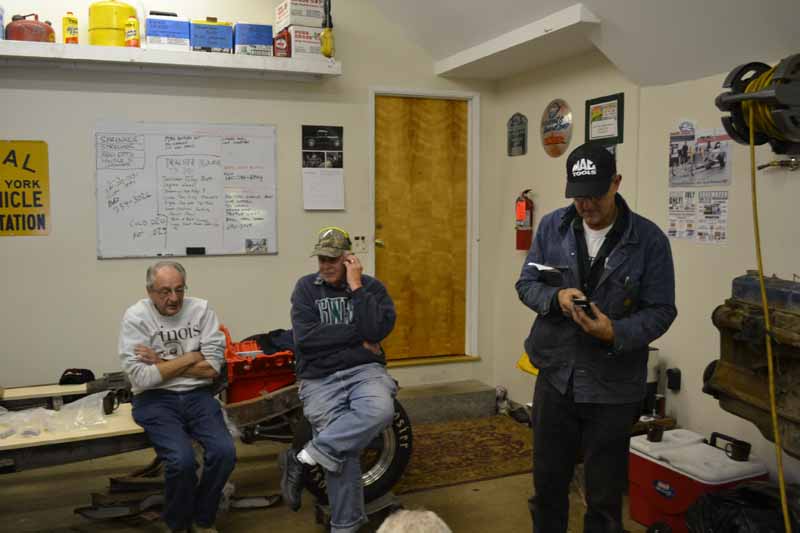
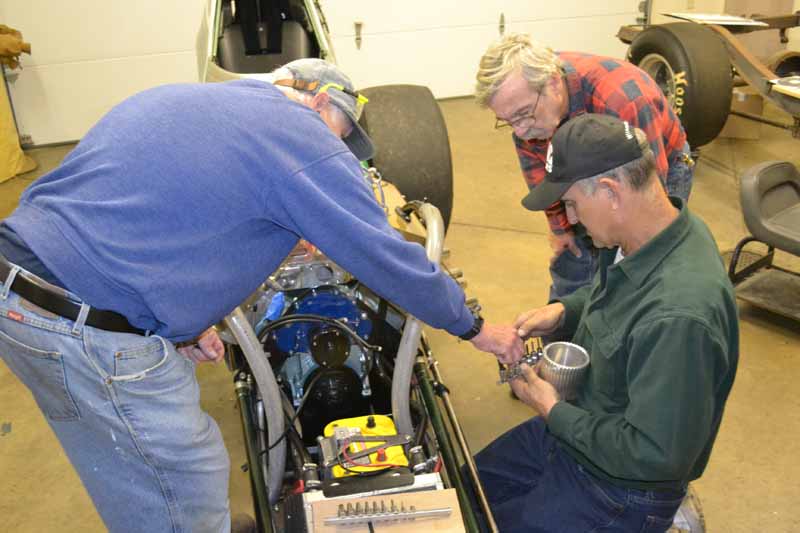
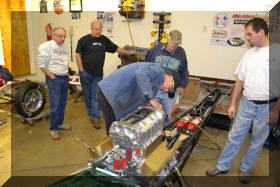
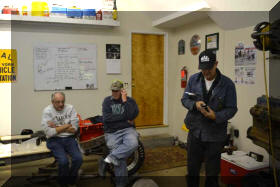
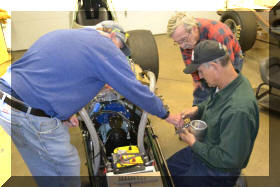
Car nuts
meeting 10 /20/2012 had a great turn out. Lots of old members showed
up.
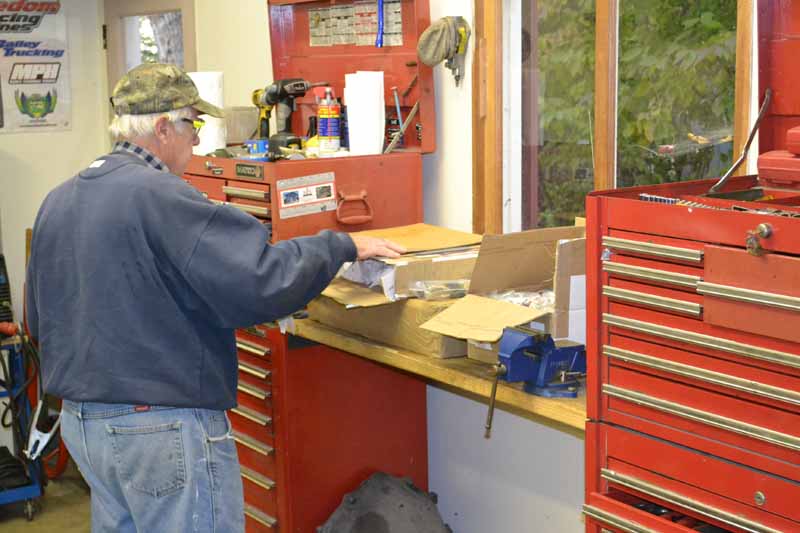
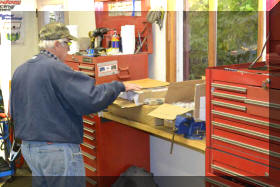
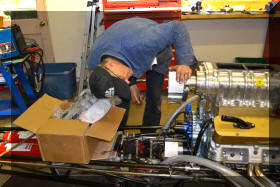
Bob took on
the task of unpacking new presents. Had a 4 inch spacer from
Alkydigger, Pulleys, blower snout, two different idler pulley
brackets, idler pulley and Pontiac crank snout form USA
Supercharger, and a crank snout from RCD |
 |
|
 |
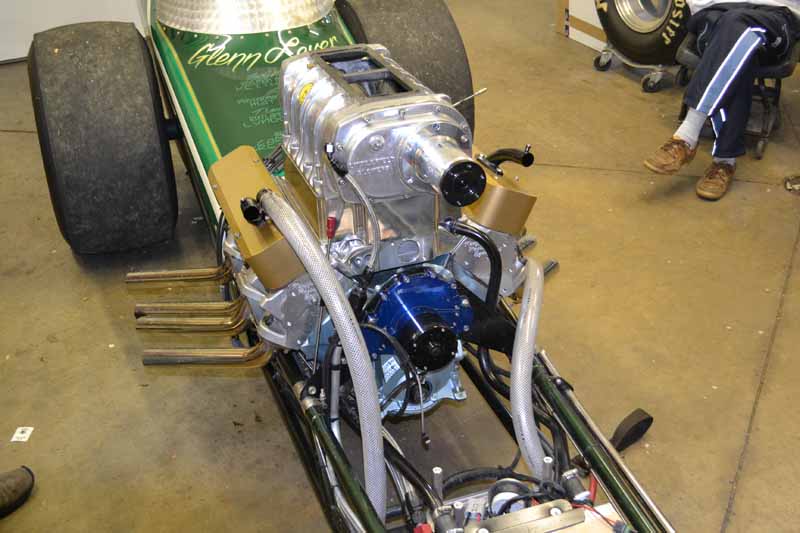
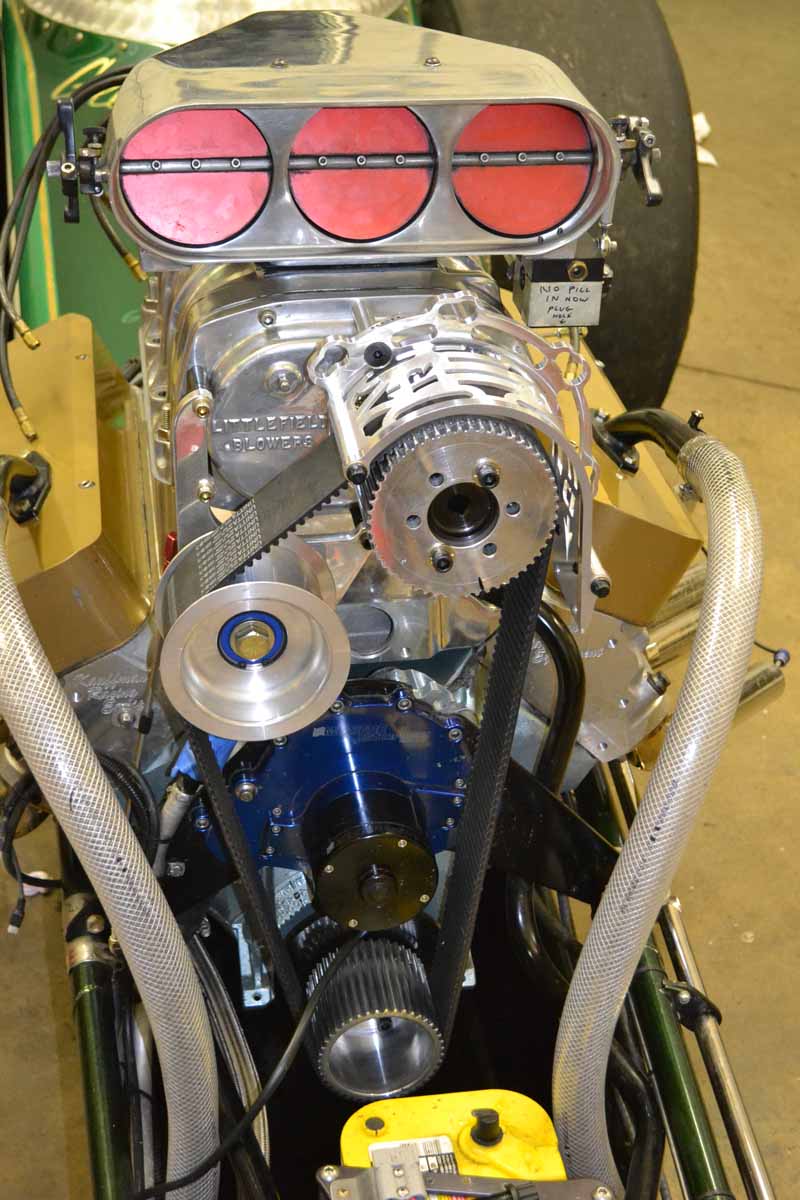
First thing we did was
remove the 2X4 blocks and install the 4 inch spacer between the
intake and blower, and bolt on the snout. The spacer will need some
machine work (burst panel installed and clearanced inside to the
retro port on the blower. |
 |
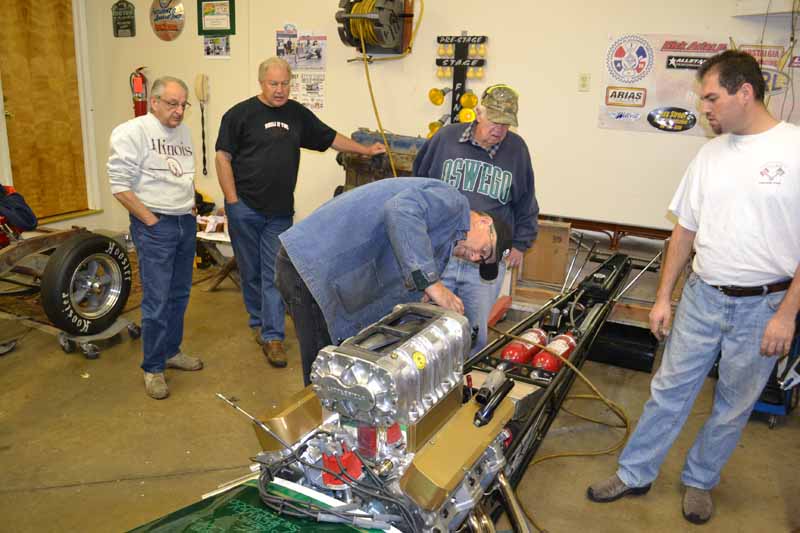
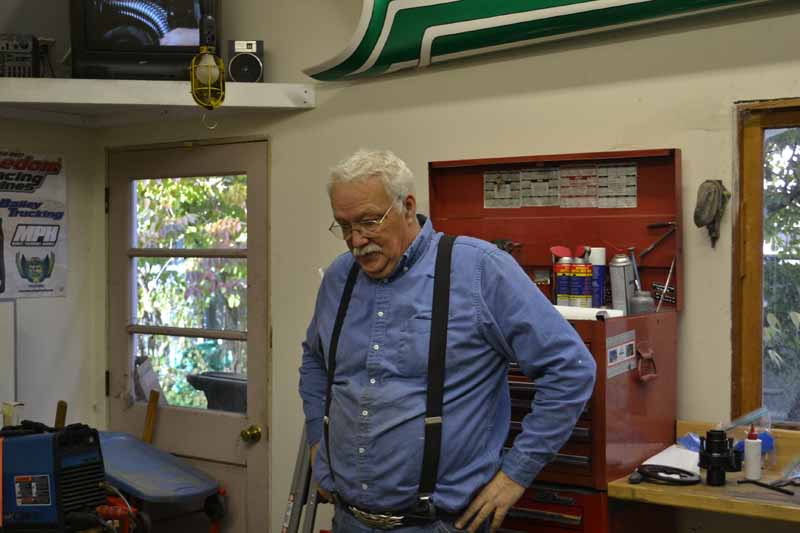
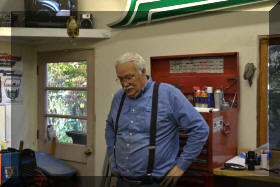
Steve, our technical
advisor, held class on setting up a belt drive for a blower |
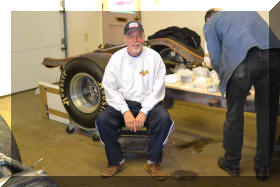 |
As Lenny has not been
able to attend lately his seat has been encroached on by Jack |
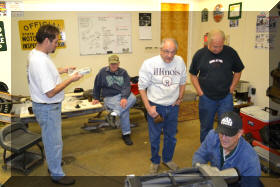 |
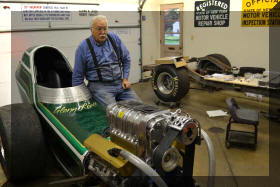
A couple of old time car
nuts showed up, Dick and Don, and of course my son George |
 |
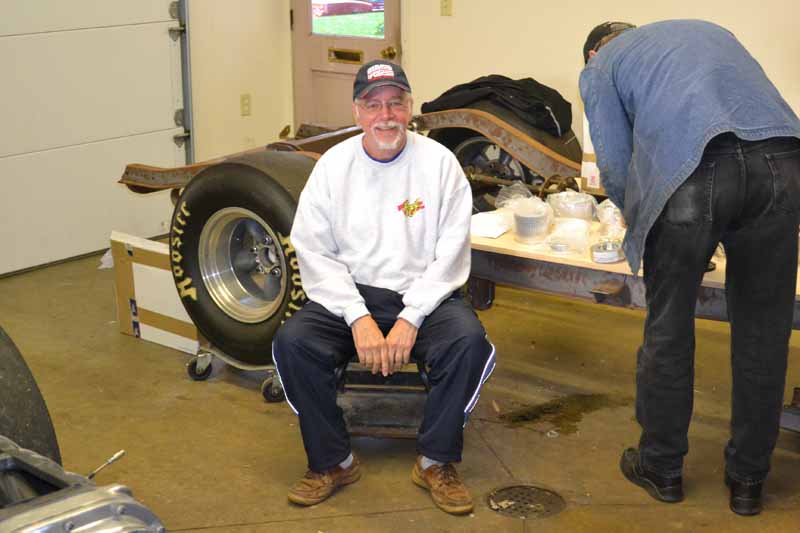
And the fat old guy is
still as confused as ever.
WHAT have I gotten myself
into???????? |
 |
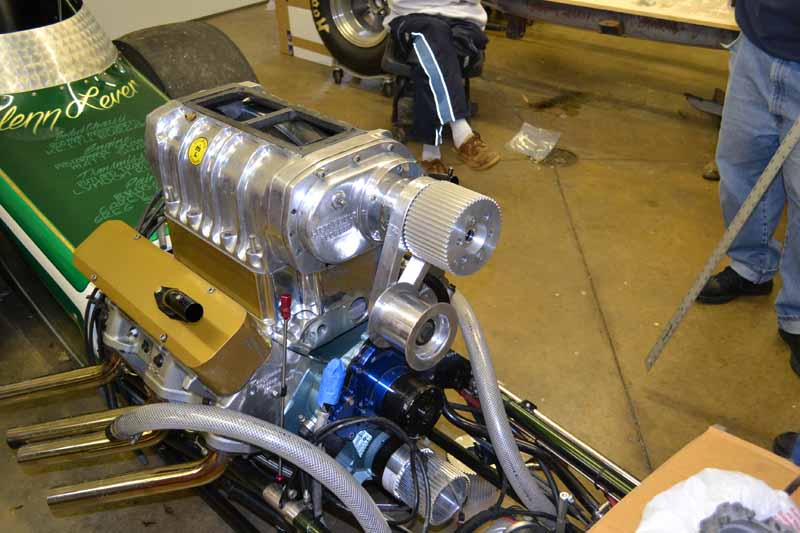
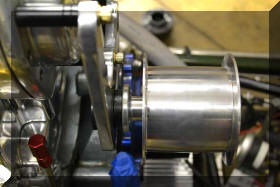
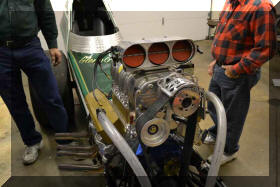
We tried the snout, snout
idler, and crank hub from USA Super charger.
We found that the crank
hub from USA blower moved the belt way out in front of the engine,
and would require the battery to be moved. On the really nice side,
everything lined up in a perfect plain for the belt. The belt would
clear the water pump with lots of clearance. The degree wheel was
way away from the pointer so a new pointer would have to be made |
 |
 |
 |
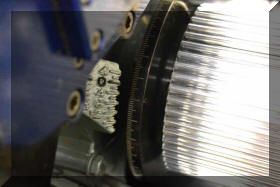
The idler (blower
mounted) bracket was tried and it was founded that it would have to
be spaced way out to work. |
 |
We ponder this set up and
decided that we did not like all the leverage on the end of the
crankshaft, that we wanted to move everything closer to the front of
the engine. |
|
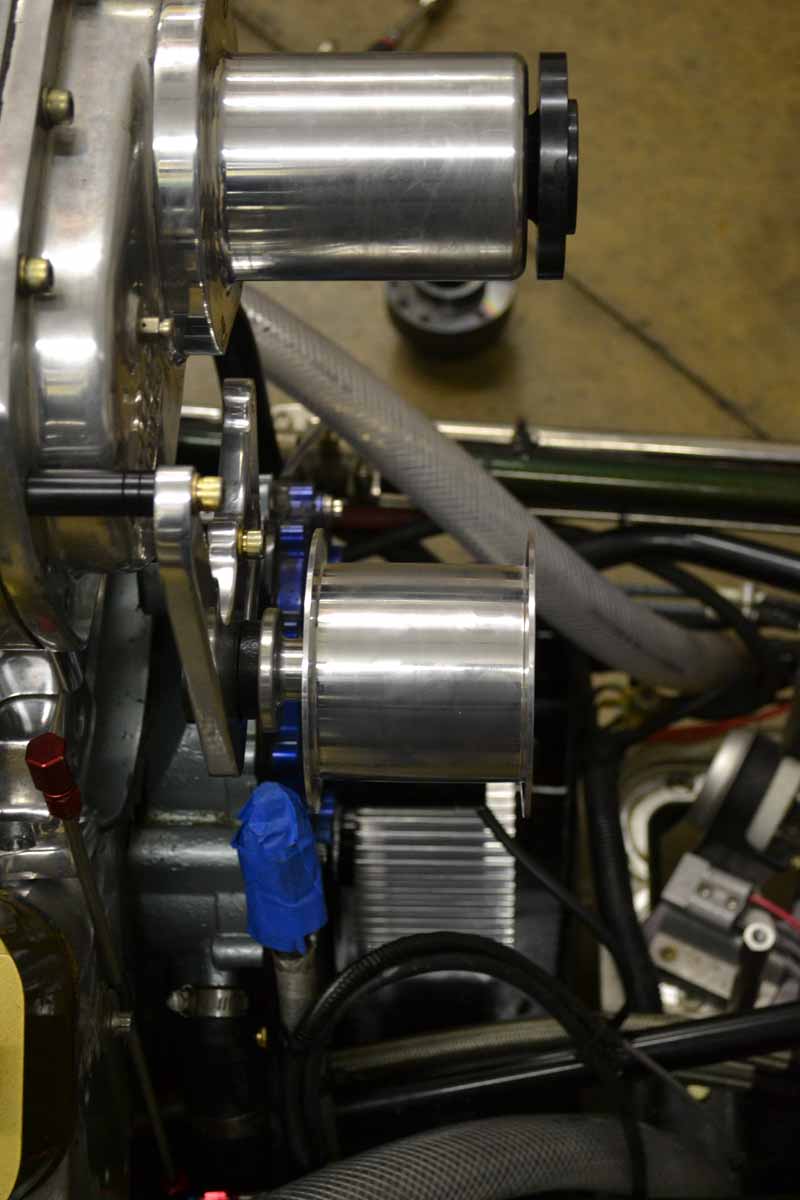
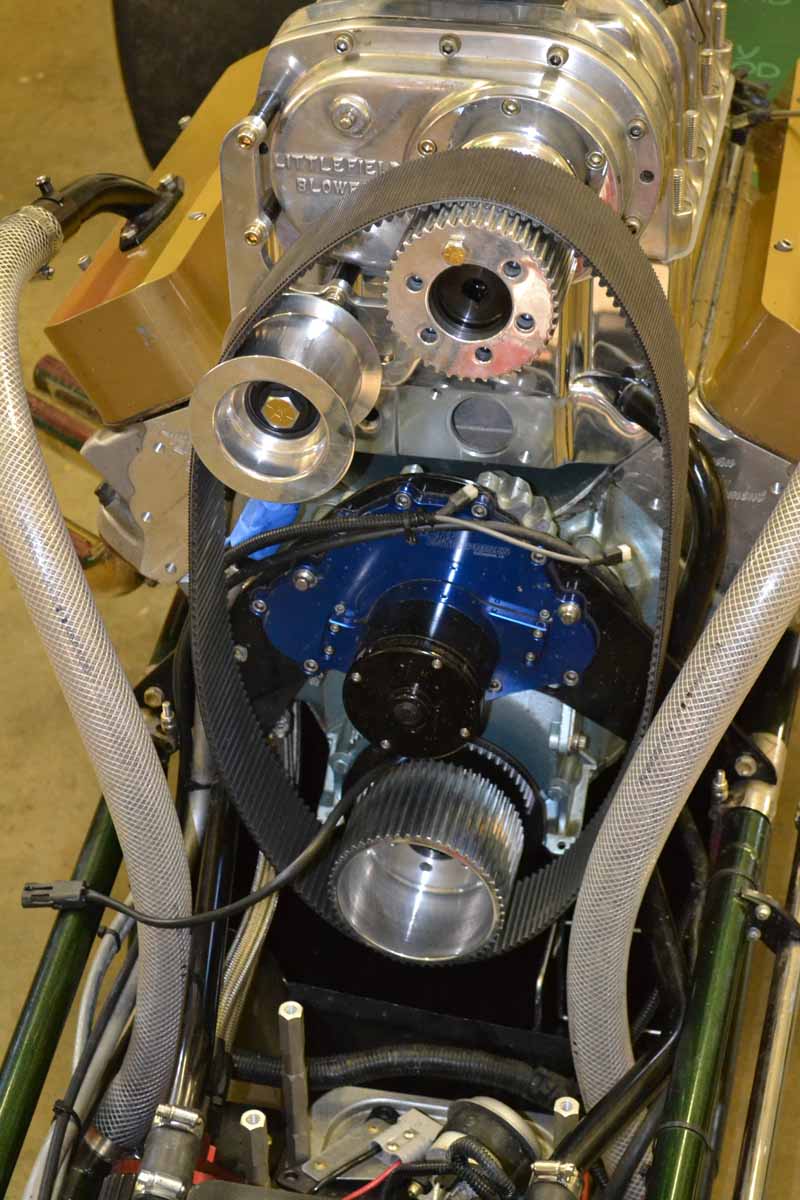
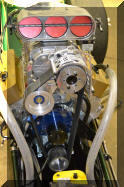
So
everything was ripped back of, the RCD hub was installed on the
crank shaft, the blower mounted idler pulley bracket was installed
and we found that nothing lined up. The snout is too long, and
cannot be used, the crank pulley needs to be spaced out by ½ inch to
get the belt to clear the pump, and the idler pulley needs to be
spaced out 5/16 of and inch to line up with the crank pulley, which
just happens to be the thickness of the harmonic balancer retaining
washer |
 |
 |
 |
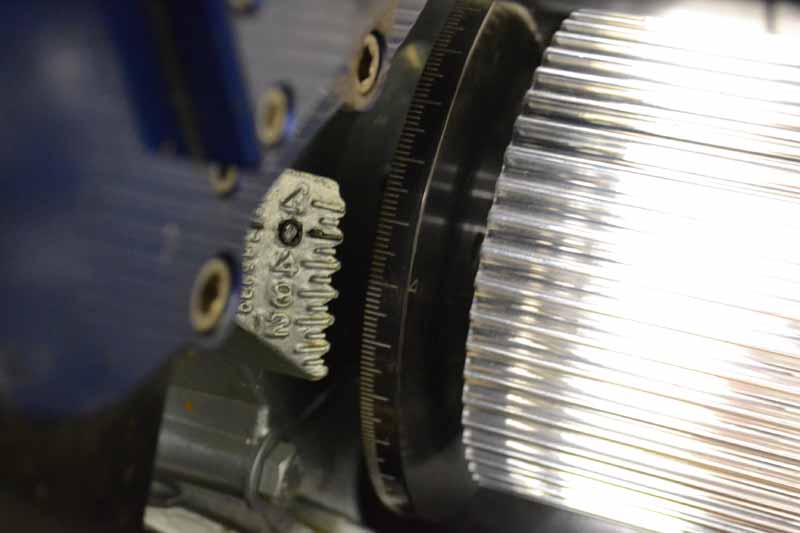
With the RCD hub and
degree wheel the pointer is not in a perfect location |
 |
So….. it actually took
going back and forth several times with these setups to come to the
conclusion that the hard way is the best way.
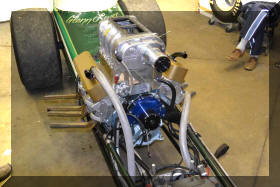
So we started with this |
|
And ended with this |
 |
 |
|
The snout
needs to be replaced with a shorter one, two spacers need to be made
one for the idler pulley and one for the crank pulley, and then
everything will line up, the belt is nice and close to the front of
the engine and has a 1/8 inch clearance to the water pump. Now we
have to find a belt that fits. In addition the spacer needs to be
machined, which means I have to find someone to do it.
We are
abjured for the day, with lots of research to do and parts to find. |
|
|
|
|
This is the next week's Car
Nut Update. I am putting it here as it is almost a duplicate of last
weeks except new parts have been ordered and installed to correct
the belt alignment.
Below is a
list of the new parts that were ordered
Ordered from
Littlefield
Blower Snout 5.120
3/8 pulley spacer for crank pulley
Starter belt shield
Ordered
from Good Vibrations Motorsports
3 Pack green gasket set for blower
Burst panel frame with 10/32 screws
3 pack burst panel
4.25 idler pulley with standoff and hardened washer
4 X 5/8 / 18 bolt
t-nut
USA
Supercharger
Belt, 190 tooth rubber with Kevlar fiber
Top plate for single dominator carb
ARP
2 ½ / 5/8 /18 crank bolt |
 |
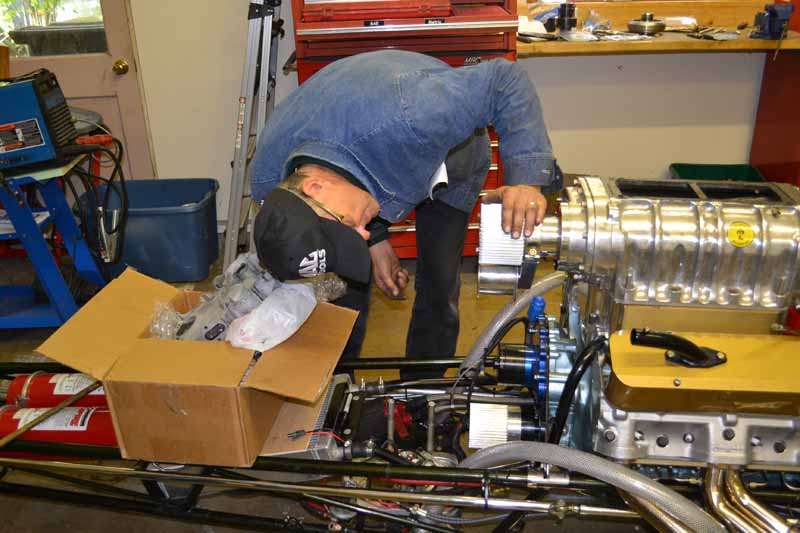
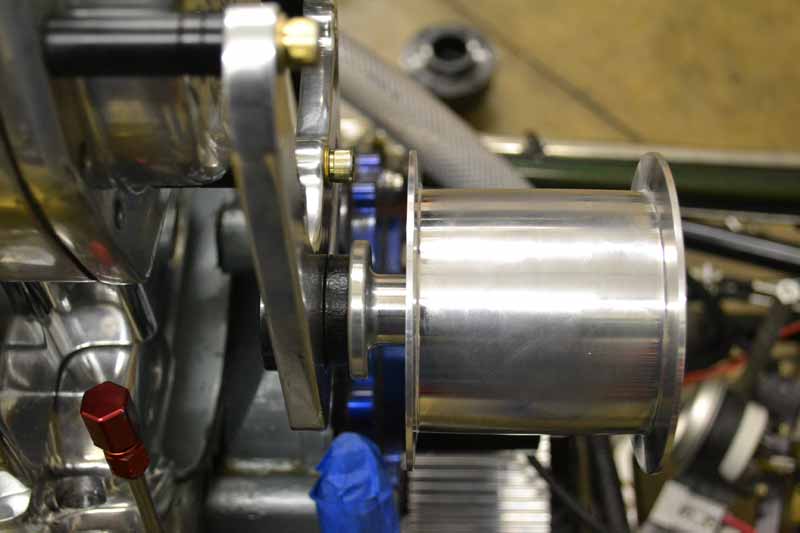
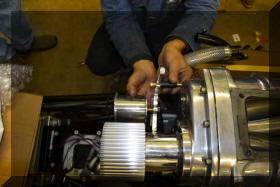
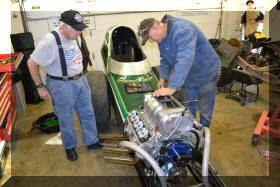
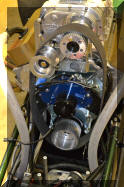
We bolted the new parts
on
|
 |
Spaced the idler pulley
and crank shaft pulley out temperately and cranked the engine over
to see where the belt would run
|
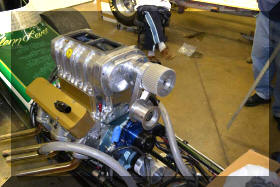
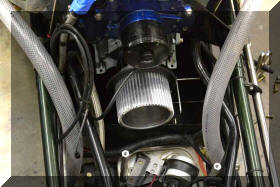
|
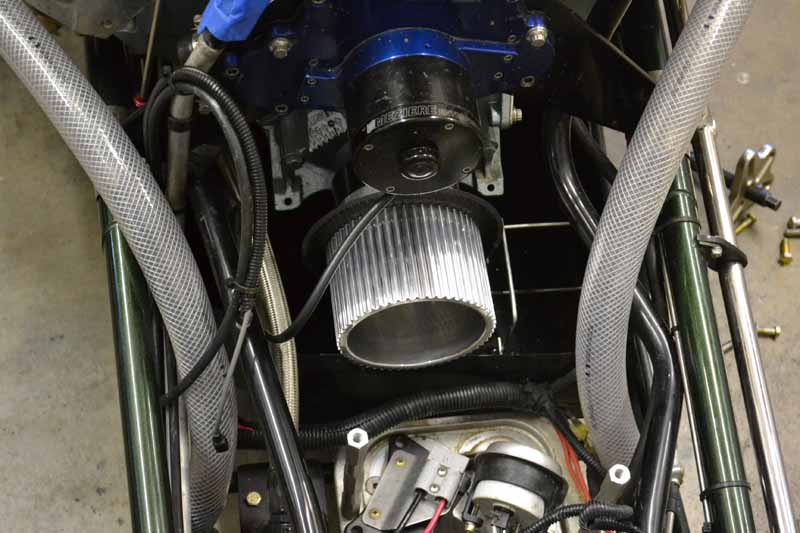
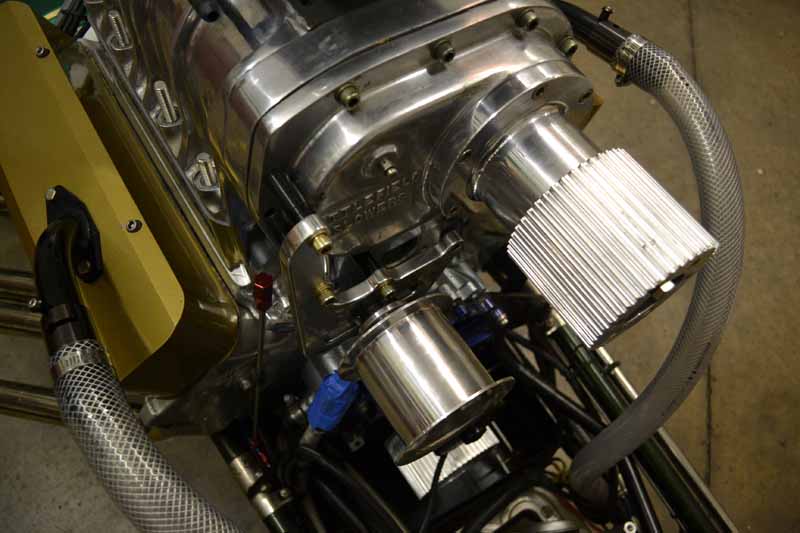
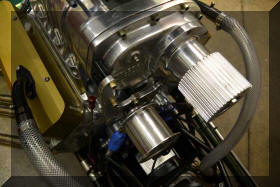
Settled on the
BirdCatcher injector hat as plan “A” |
 |
 |
|
http://www.youtube.com/watch?v=QQV_4MDGEQs&feature=youtu.be
|
This can be seen on a
short u-tube video at this link
|
|
So now we
are ready for some machine work next week;
Clearance
the spacer between the blower and intake for the forward outlet of
the retro blower, machine the front so that the burst panel can be
mounted, open up a path from the front to the rear of the intake in
the spacer. Machine a spacer for the idler pulley, machine a spacer
for the crank pulley. |