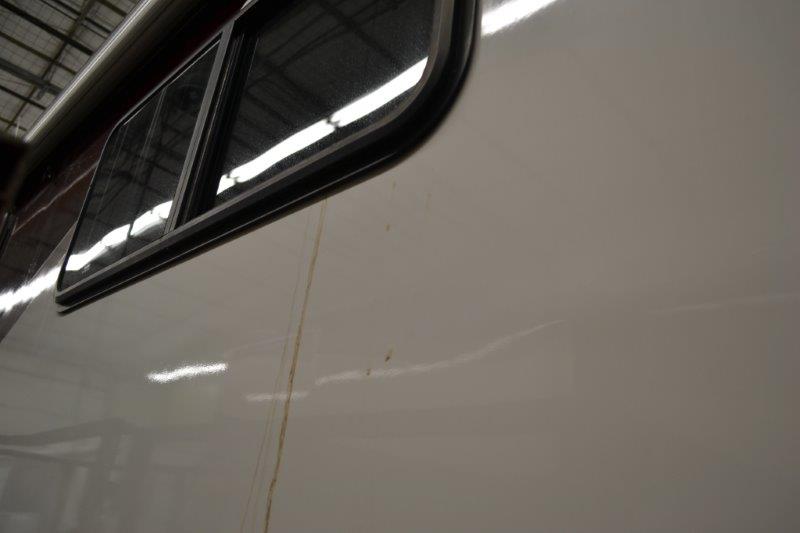
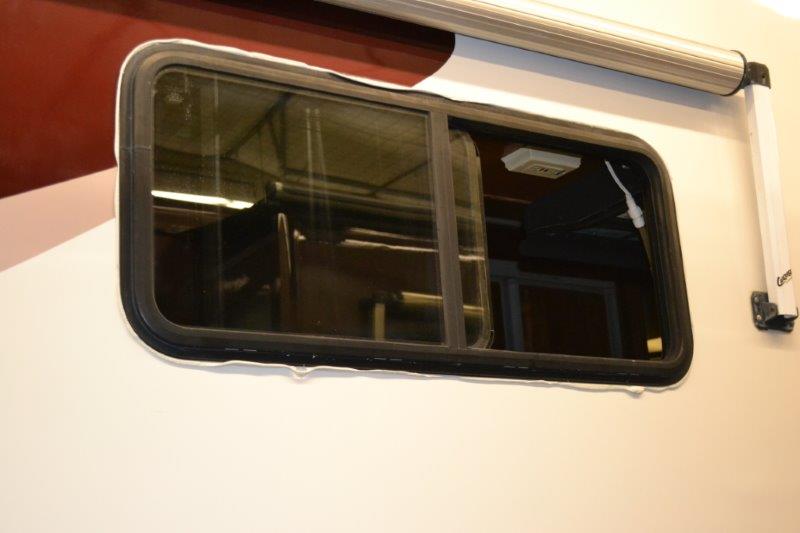
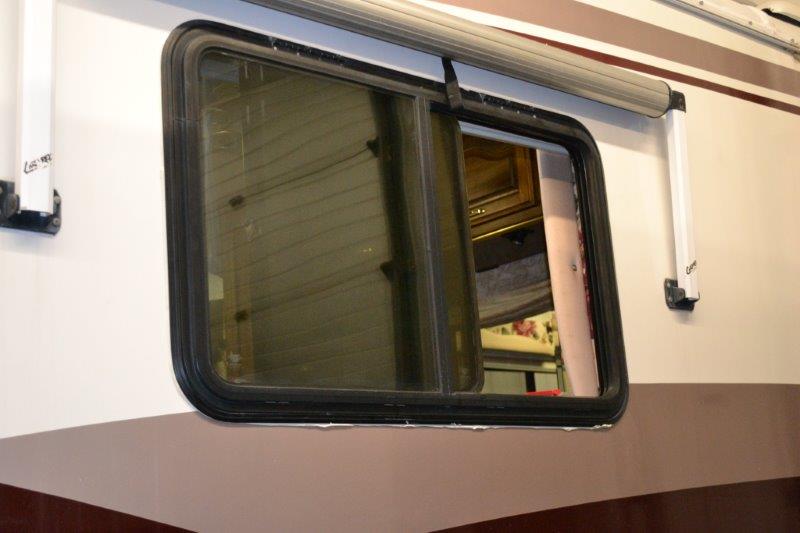
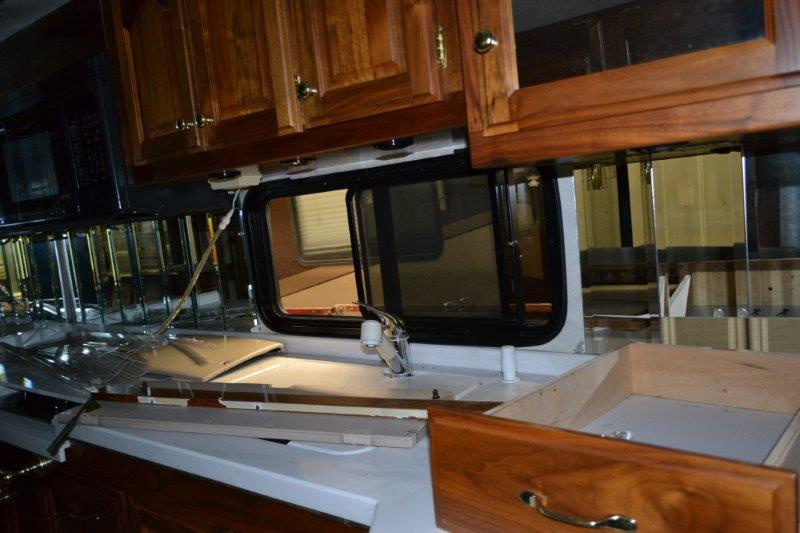
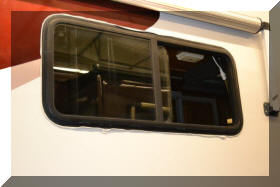
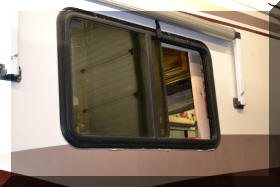
| 9) Remove and
reseal driver's side bedroom window. There is evidence of prior
leaks. It was discovered that the
kitchen window also appeared to be leaking so it was sealed as well
The excess calk will be trimmed off once it
cures. |
 |
 |
 |
|
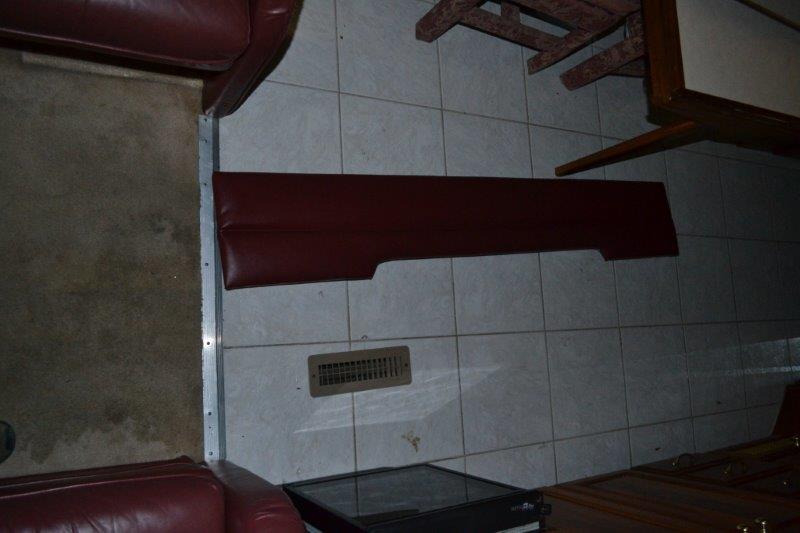
| 6) I want all the
Rope Lights be replaced with new Rope Lights, due to burned out
bulbs. Customer would like 12V Rope Lights replaced with 12V Rope
Lights, and 120V Rope Lights replaced with 120V Rope Lights. If it
is feasible to convert all Rope Lighting to 12V please advise
customer. If it is feasible to simplify switching for Rope Lights
please advise customer. Rope Lighting under steps also needs
replaced. If feasible look at connecting to the same 12V source as
living room lights on passenger side.
All the supplies to do this job are now in
hand. The first valance has been completed, but the obe on the
passenger side requires the couch to be removed to get to the screws
on the bottom of the valance. The coach has to come out anyway to
install the new carpet.
The accent light on the valance loks very
nice now that the rope light has been replaced. |
 |
 |
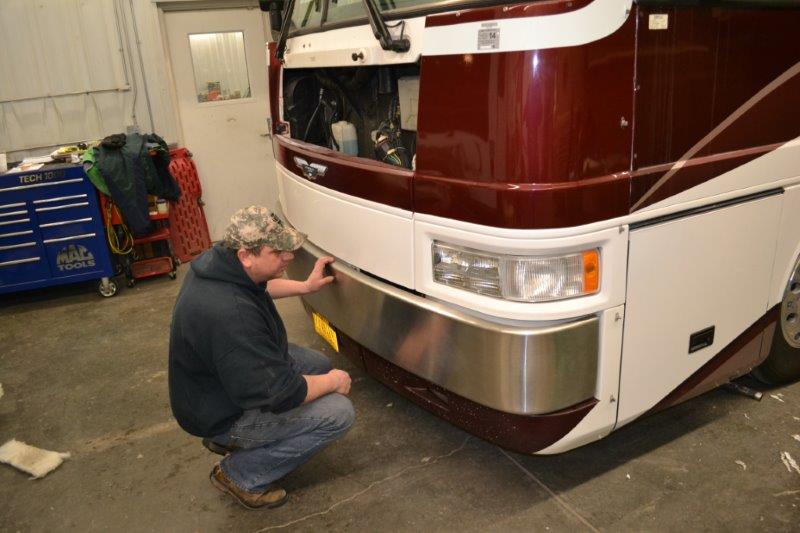
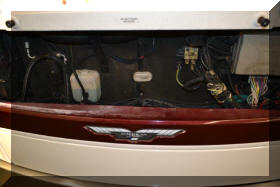
| 8) Generator
starts hard and has cut off on customer on occasion. When it shuts
off, it can be restarted and runs again. Diagnose shut down issue.
Perform major service on generator: Oil, filter, fuel filter, air
filter, belts, and check coolant hoses to see if they need replaced.
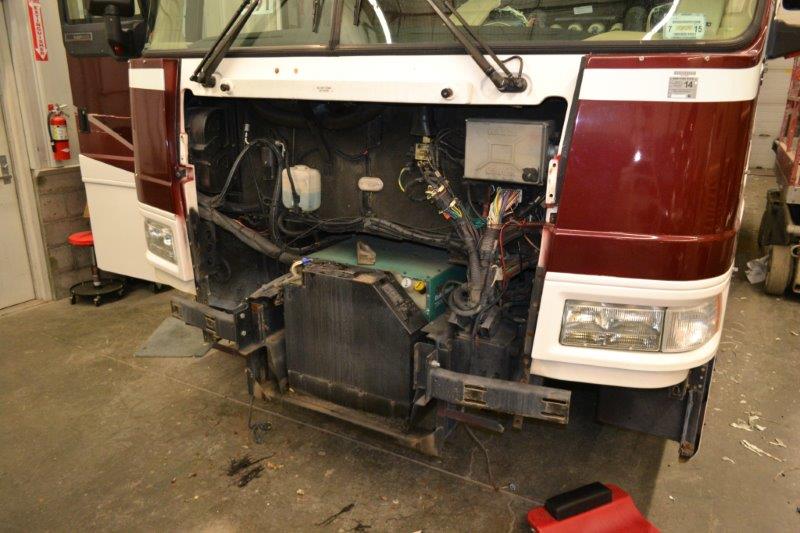
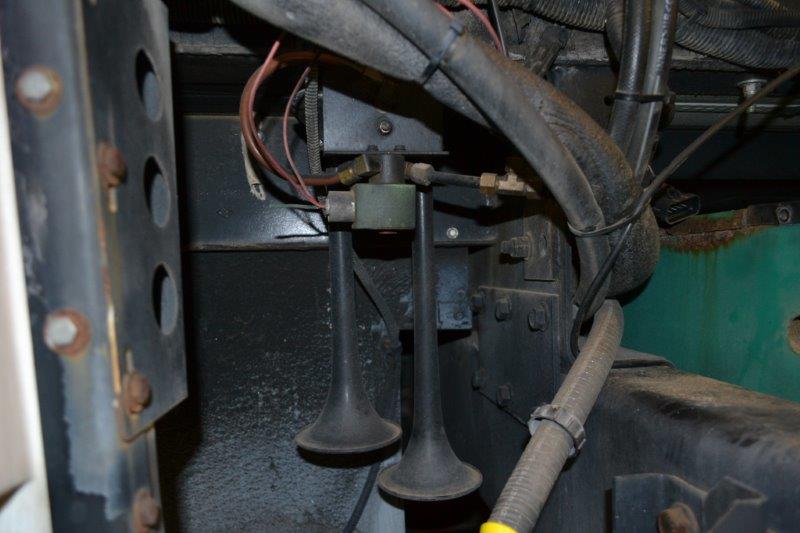
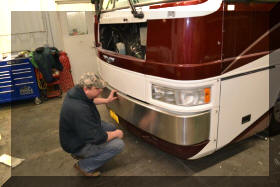
In order to get to the generator the front of
the MH has to come apart.. It was suggested that
"The center panel (AD logo) is easily removed with five screws on
top of the panel and two larger screws in the gap between the bottom
of the panel and the stainless bumper. This provides access to the
front of the generator, both horns, and several wiring harnesses.
You can also get to the headlights this way, but you have to do it
by feel because there are protective shields blocking access. Not
quite sure what they are protecting against. Lying underneath, you
can sort of see what you are doing when changing bulbs. "
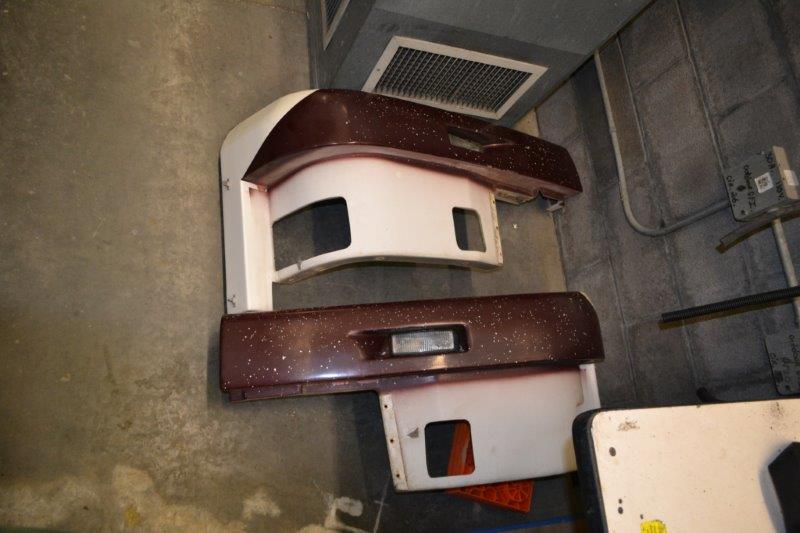
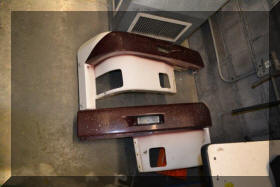
This does not work on my MH
This was looked at. The top screws are easy
to get to , but the bottom screws are below the top edge of the
bumper. The bumper is straight with the body lines. (not me in the
picture, just another expert looking at it)
The piece under the "hood" and above the
bumper cannot be removed without taking the bumper off. That piece
and the piece below the bumper is all one piece on my MH. |
 |
 |
 |
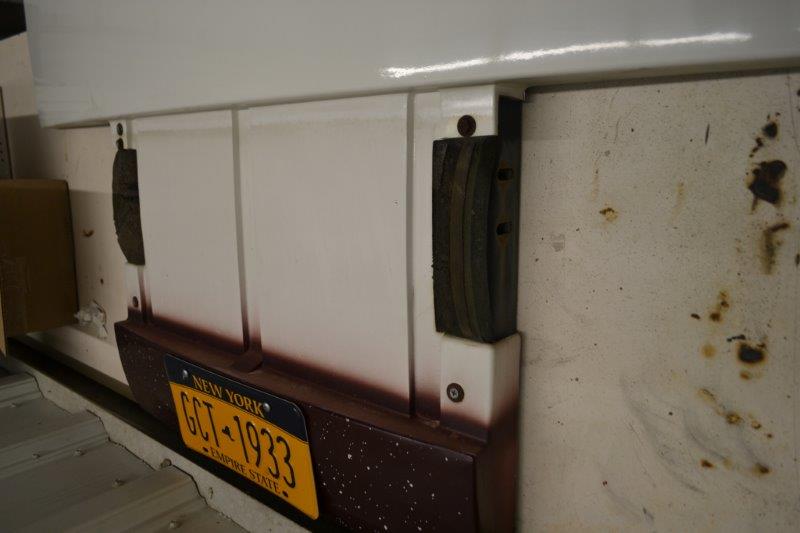
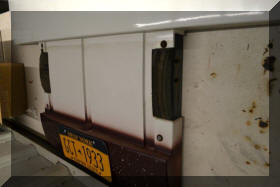
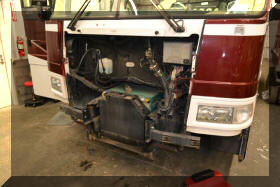
This is the back side of the picture above. I
guess I could slice the piece in half and bolt the two halves to the
frame work, but I am reluctant to do that |
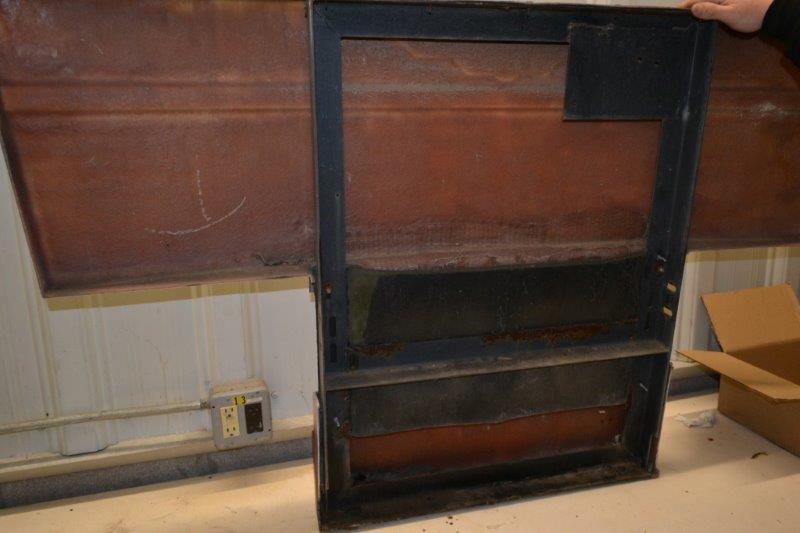
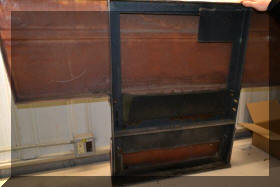
| It is going to
come off as I will be painting the "hood" (I really dislike the
"bowtie" on the hood, it will become a straight line running
straight across) and the lower valance (spoiler) so that bumper
might as well come of to provide easy access to the generator for
service.
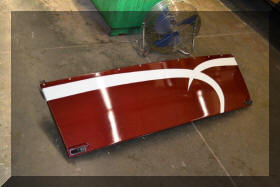
15) estimate to repaint nose of coach and
change white stripes (verify with customer on design change of
stripes). Caledonia RV does not have a Paint shop, and had Camping
World Collision shop do an estimate. That estimate was out of this
world so I will do it in my basement. |
 |
 |
 |
|
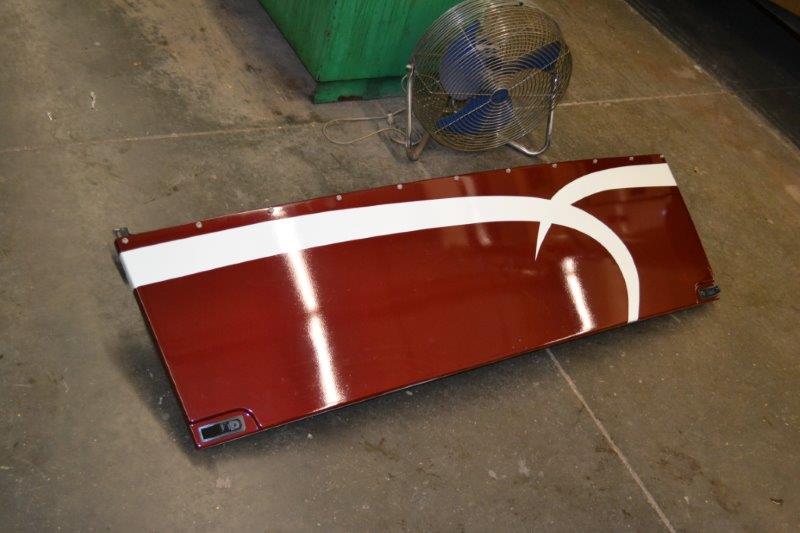
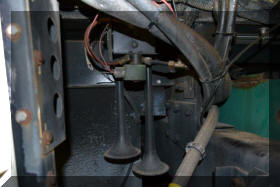
| Now with all the
pieces off the generator is a snap to get to, along with the horns.
I have a set of ship horns that I had thoughts of swapping in, but I
would have to beef up the support structure to take the weight. This
appears to be a project for another day. I feel the pressure of time
as the February trip is creeping up on us. |
 |
 |
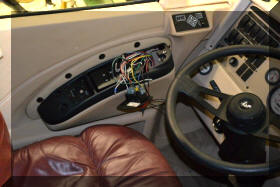 |
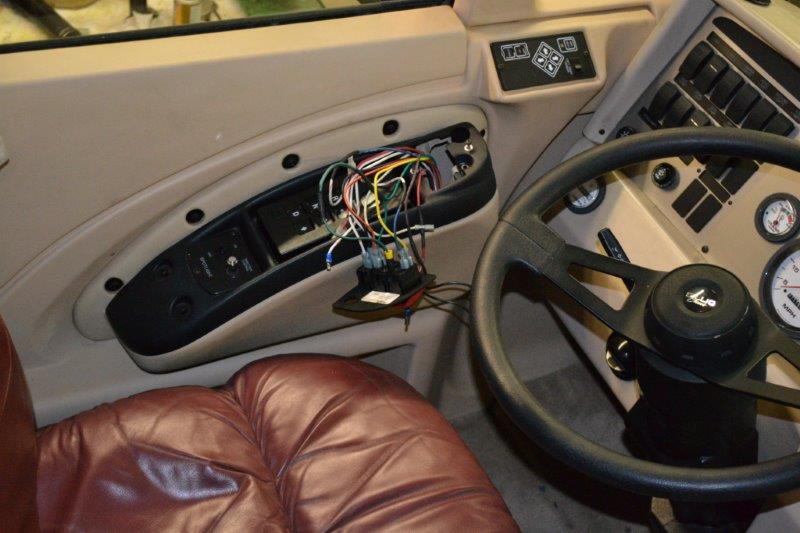
Work in the cruise control continues, the
control module (in the engine compartment) has been installed and
the switch appears to work correctly, but in that process one of the
pins on the switch pulled out, now we have a switch on order. |
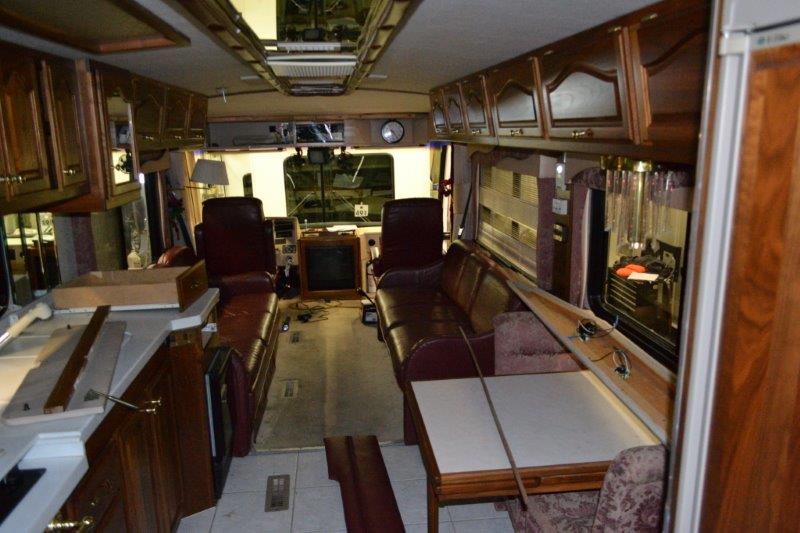
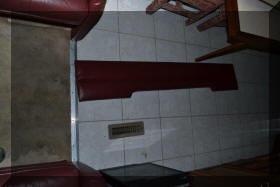
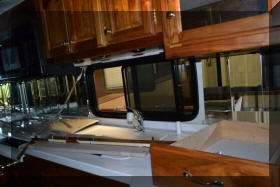
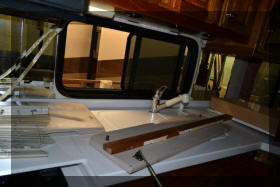
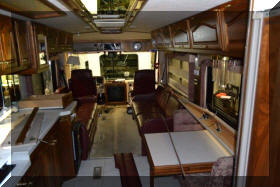
| The interior is a
mess, and will only get worst before it gets better. |
 |
 |
 |
 |