 |
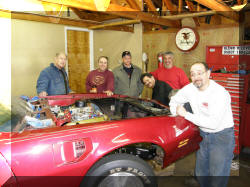
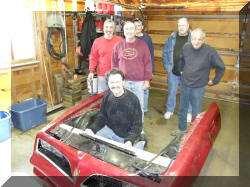
We had a great turn out of the Car Nuts this
week. We had two meetings this week. Even with that I will not make
opening day.
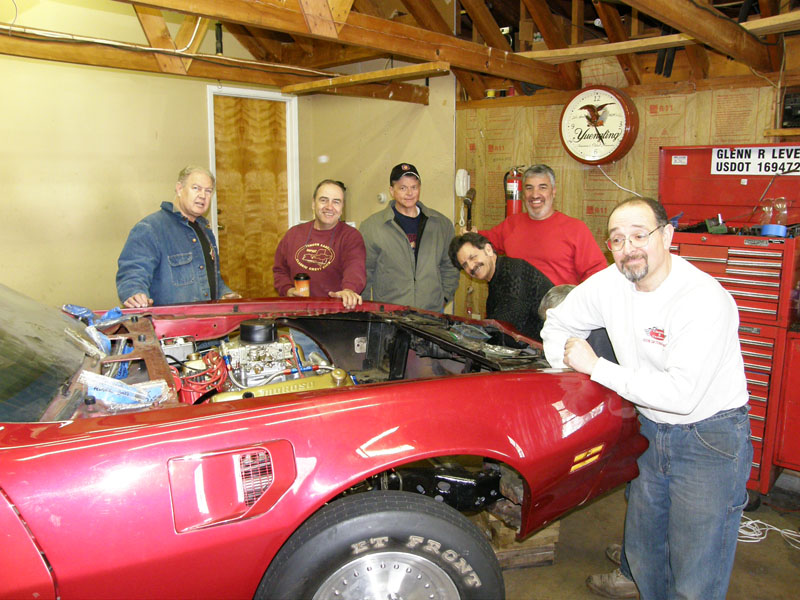
We had
(left to right)
Don Goodman, Bill Sablosky, Ken Long, George Nick (by a head),
Vince Falco, Richard Yellen (you can just see his head next to Frank Serafine's
elbow .
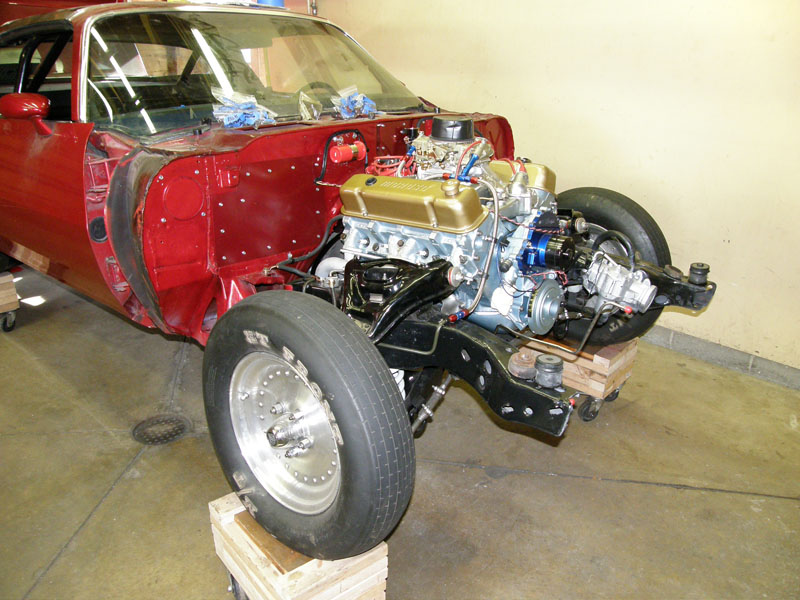
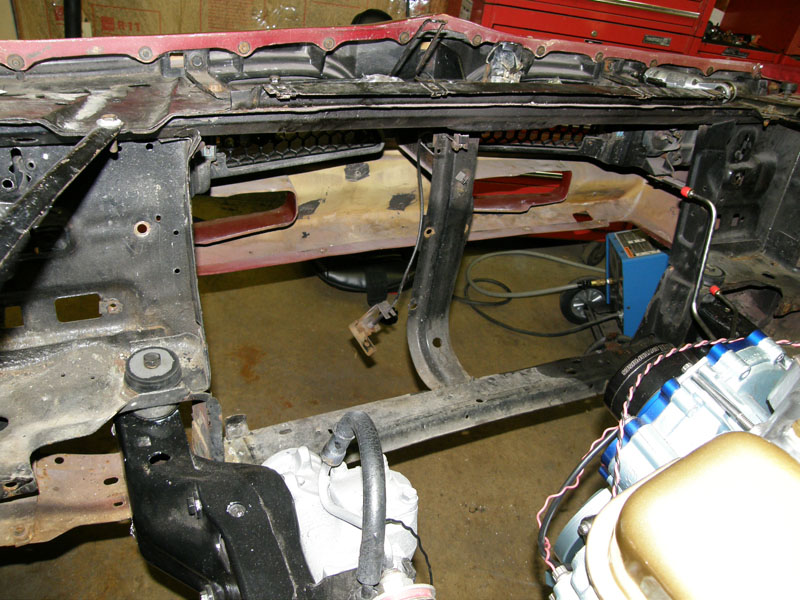
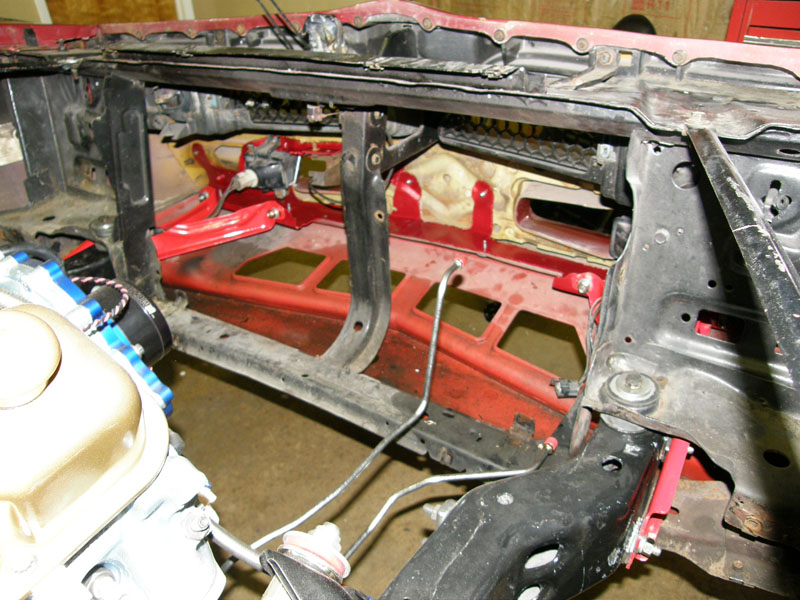
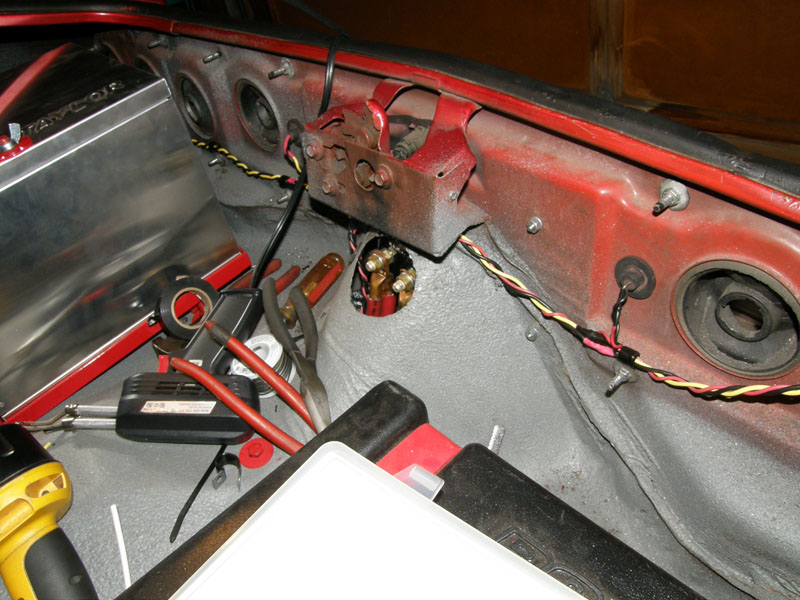
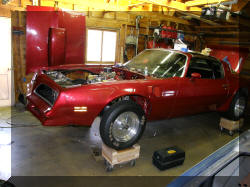
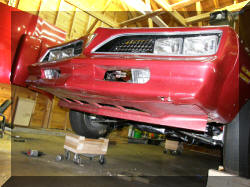
We got The front clip on, sifter bolted in,
weight reduction done on the front bumper, some wiring done, and the
radiator set in place, and we got the correct transmission cooling
lines. |
 |
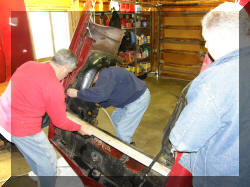
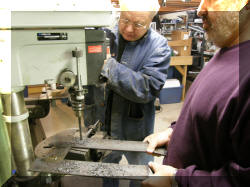
One of the problems we had with the good
turnout was tools. We were always short of tools. This is George
Nick who could never find any ratchets. I think we found where they
were. |
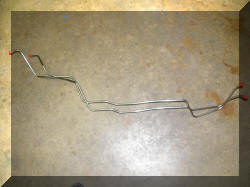 |
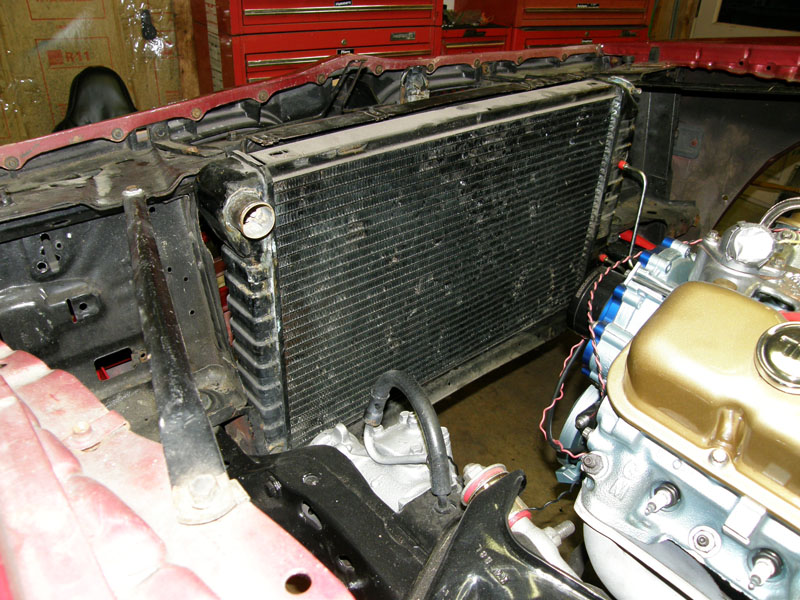
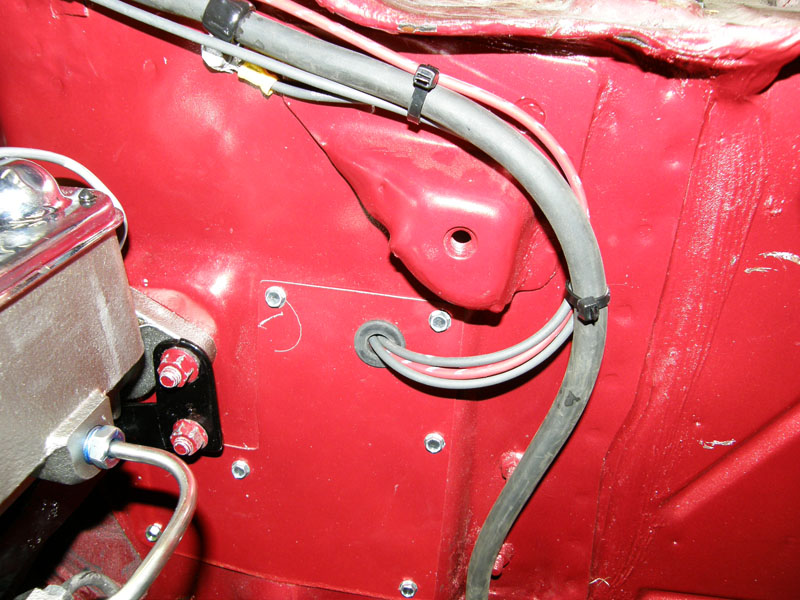
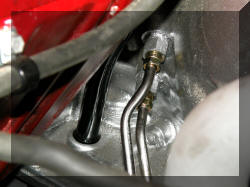
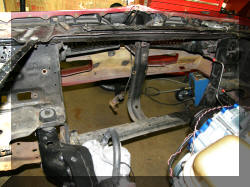
We were able to put the front clip on because
Right Stuff figured out why Classic Industries said we had the
correct lines but they did not fit. Classic Industries sent us lines
for a GM 400, not a Pontiac 403.
We wanted to get these installed before the front clip because they
are so much easier to install when there is no radiator or front
clip in the way. |
 |
 |
 |
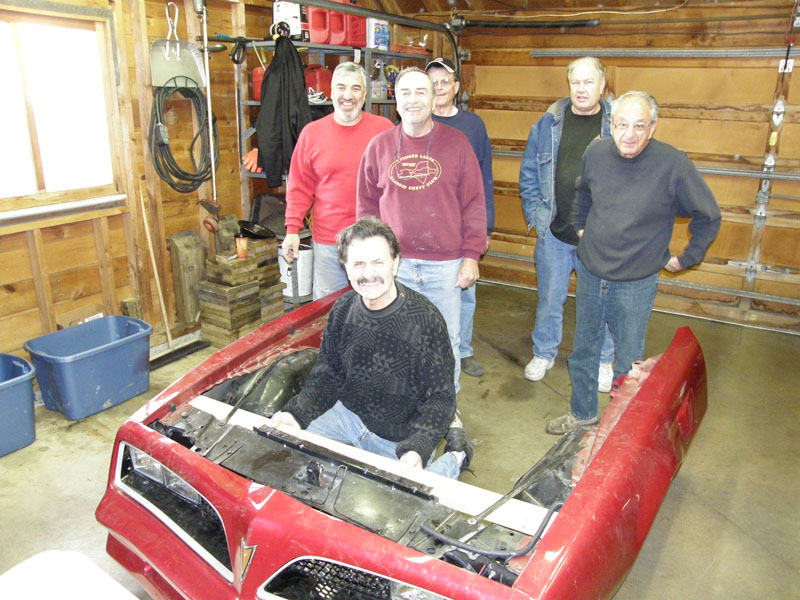
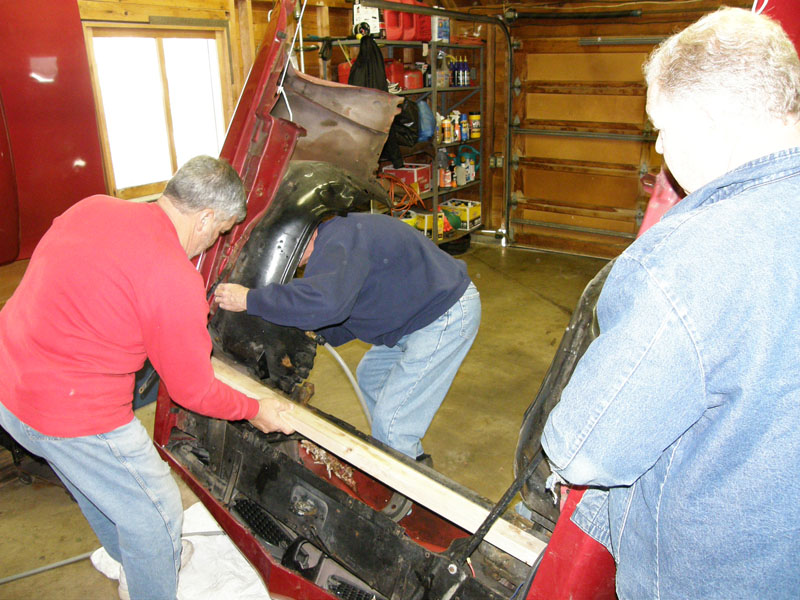
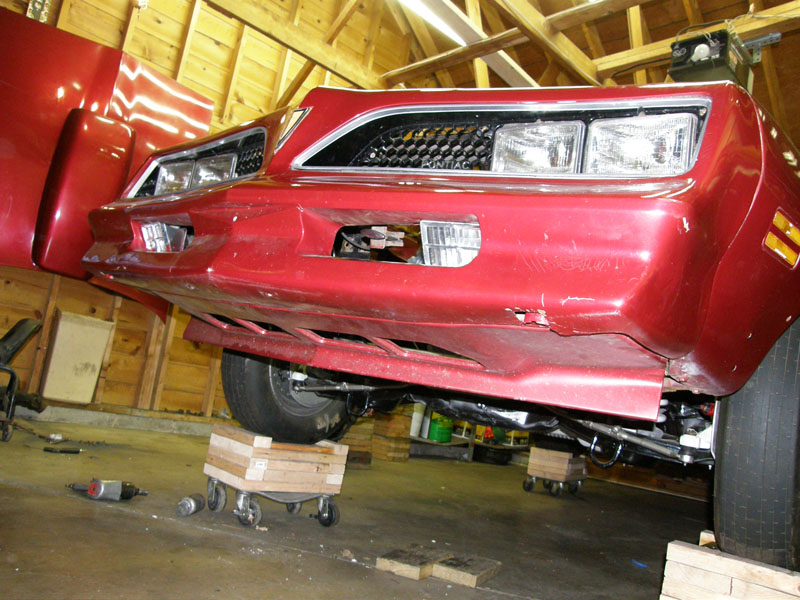
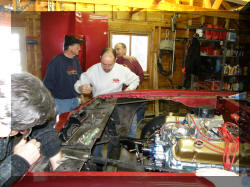
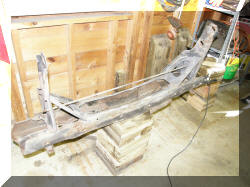
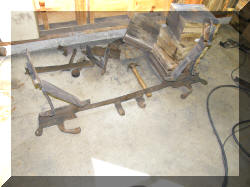
The first task was the biggest. The front clip
has been sitting in my back yard all winter. It has now become time
to put it back were it belongs. |
 |
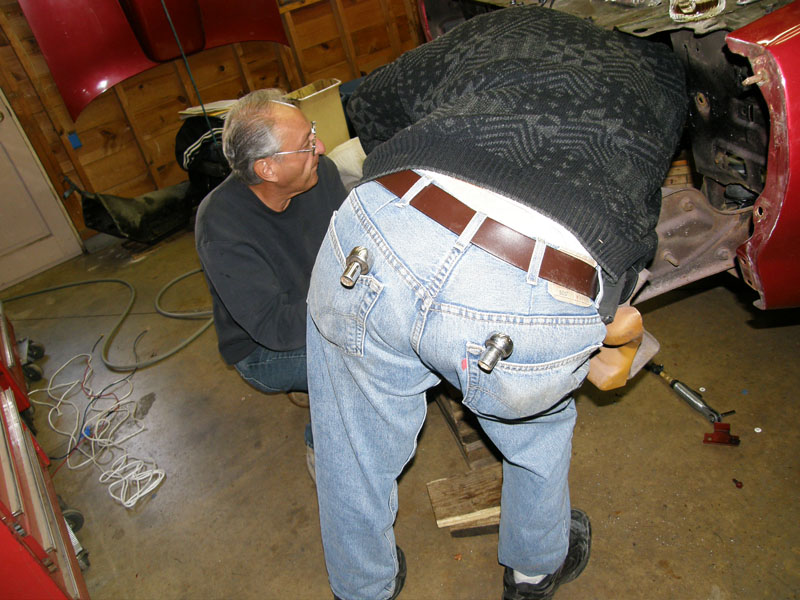
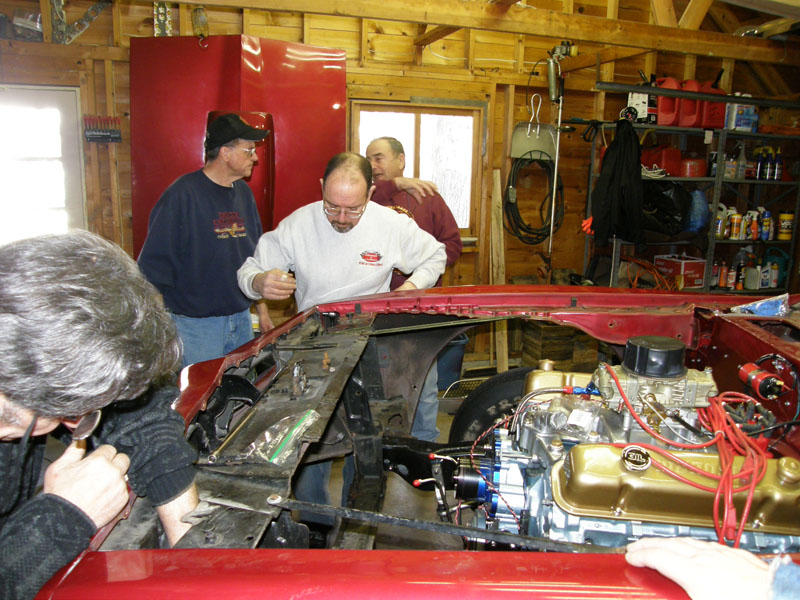
No, that is not where it belongs. But in this
shot you can see the person that was hiding in the first shot of the
group. Dick Yellen is clearly visible on the right in this shot. He
gave me a hard time all day about no donuts. We severed Subs from
Rubino's and he still wanted donuts. I promised to have donuts next
weekend, but he says he cannot come. |
 |
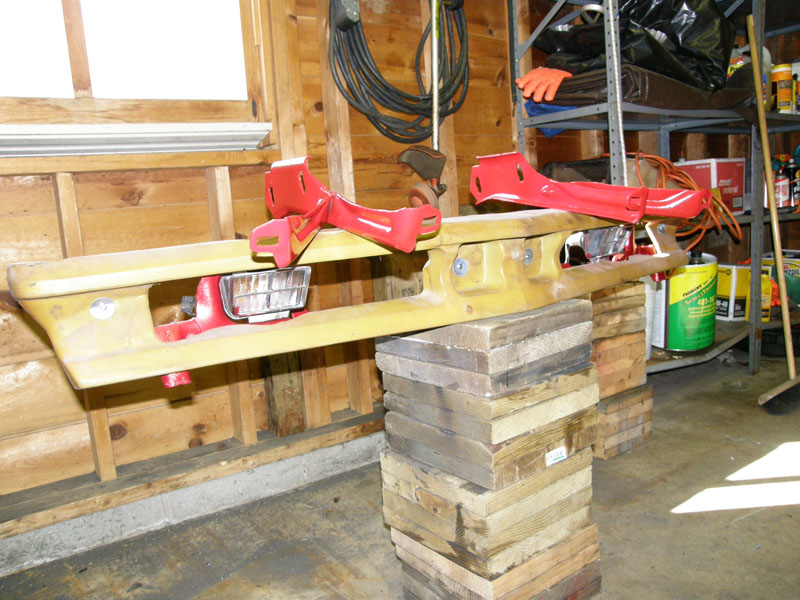
Weight reduction! The inner fender wells must
come off before we put the clip on the car. |
 |
 |
|
Here we go, what do you think? |
 |
 |
|
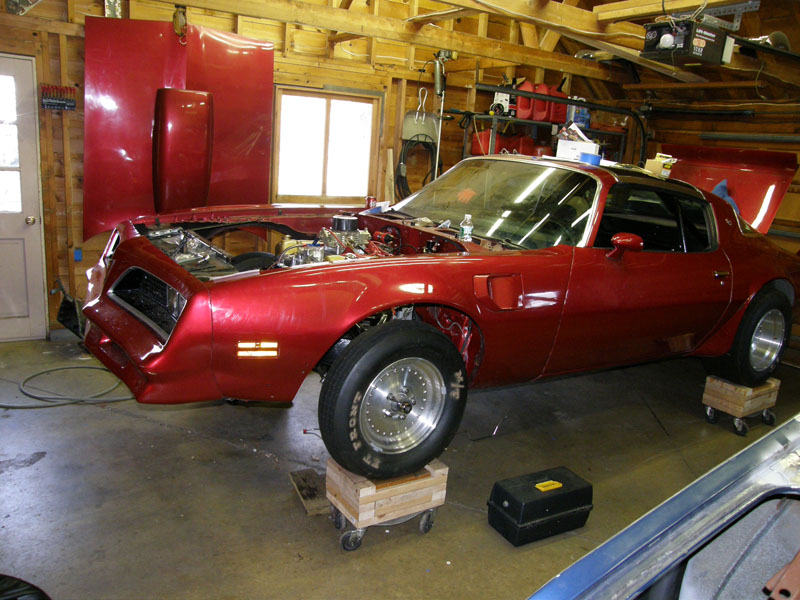
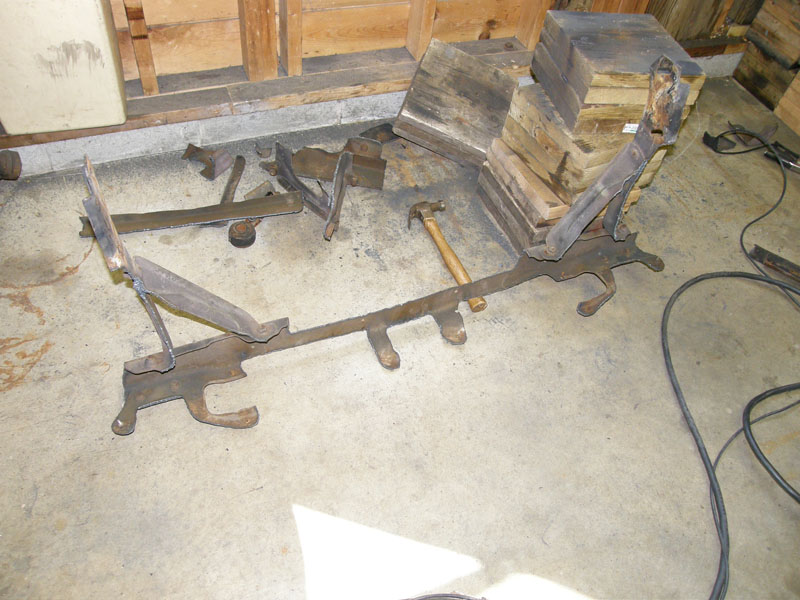
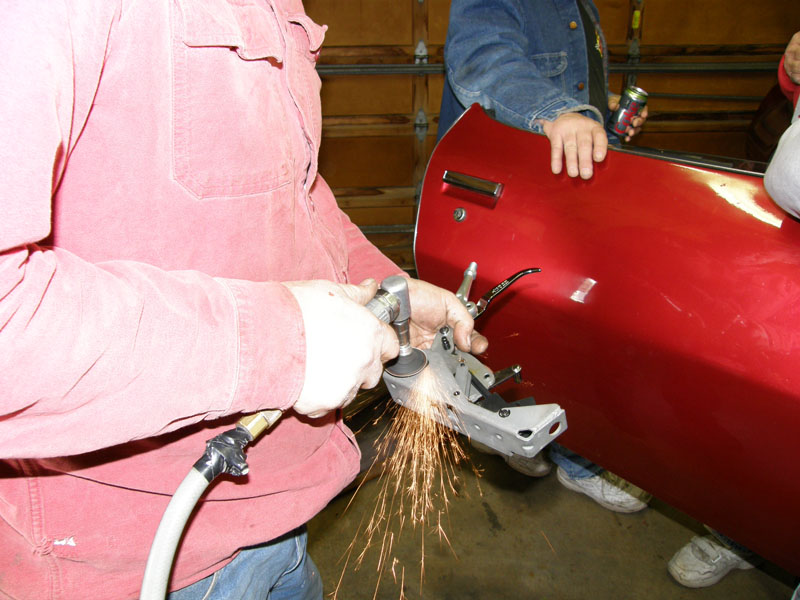
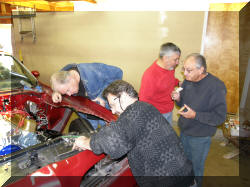
Now that the front clip is on we have to take
the nose off and cut way some metal on the front bumper bracing.
|
 |
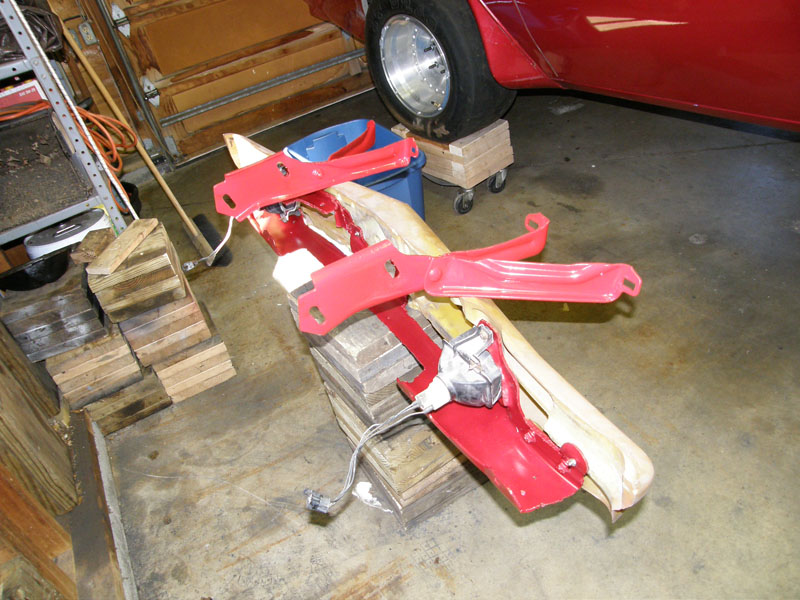
Nose back on with the bumper bracing removed.
We thought about just leaving the vinyl nose on with no bracing but
then thought better of it. |
 |
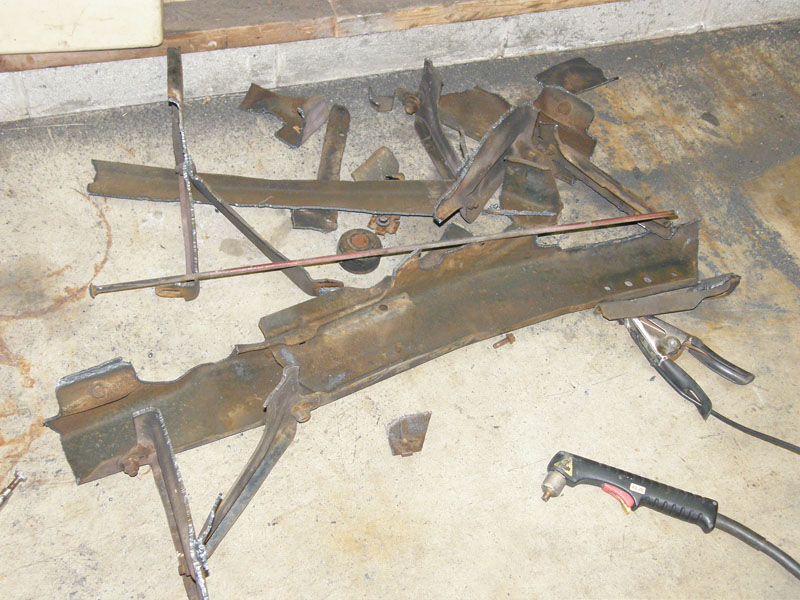
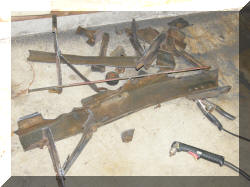
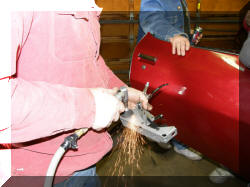
Here is all the bracing behind the nose. It
must weigh 50 pounds. Lets see what we can cut away and still leave
enough to hold the nose in place, the marker lights and the hood
release. |
|
Well I think we succeded in cutting away a
good portion of the weight. |
 |
 |
|
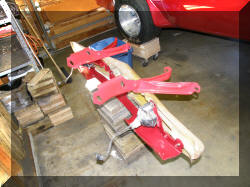
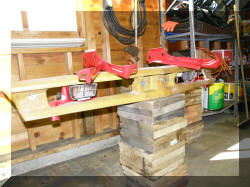
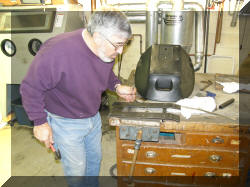
The new weigh reduced bumper bracket did not
fit into the powder coat oven so we had to paint it. The brackets
for the bumper did fit so we powder coated them. |
 |
 |
 |
 |
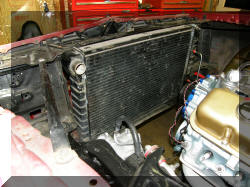 |
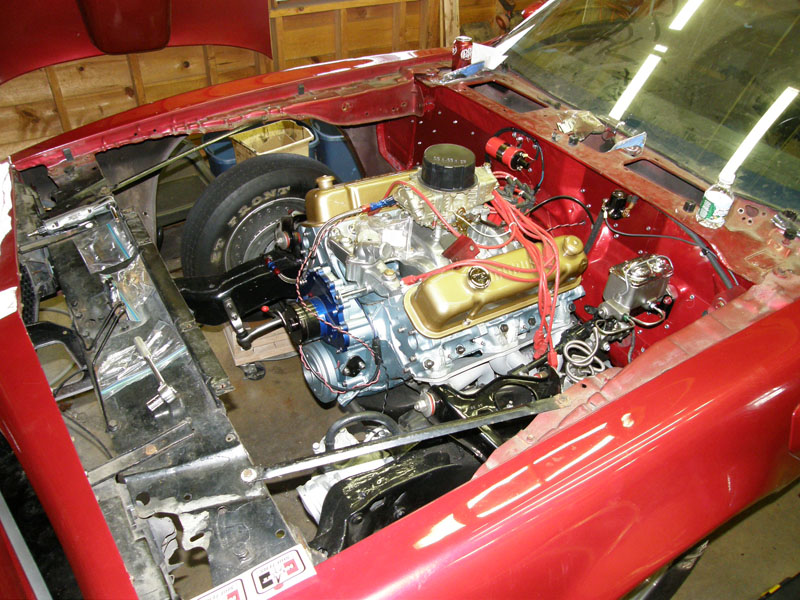
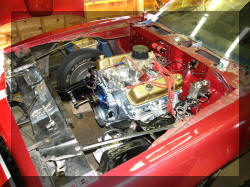
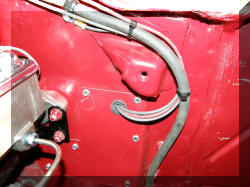
We set the radiator in place just to make us
feel good. |
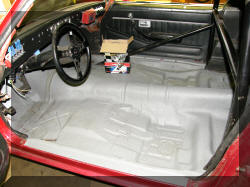 |
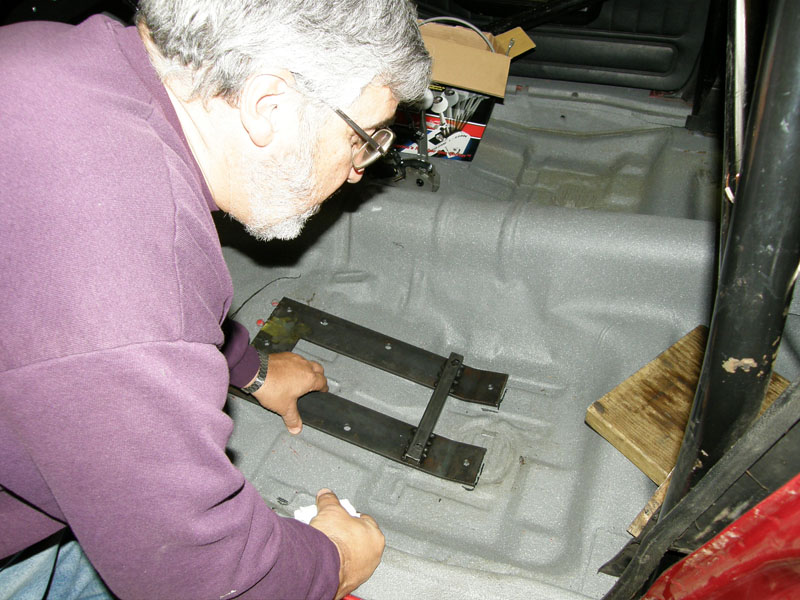
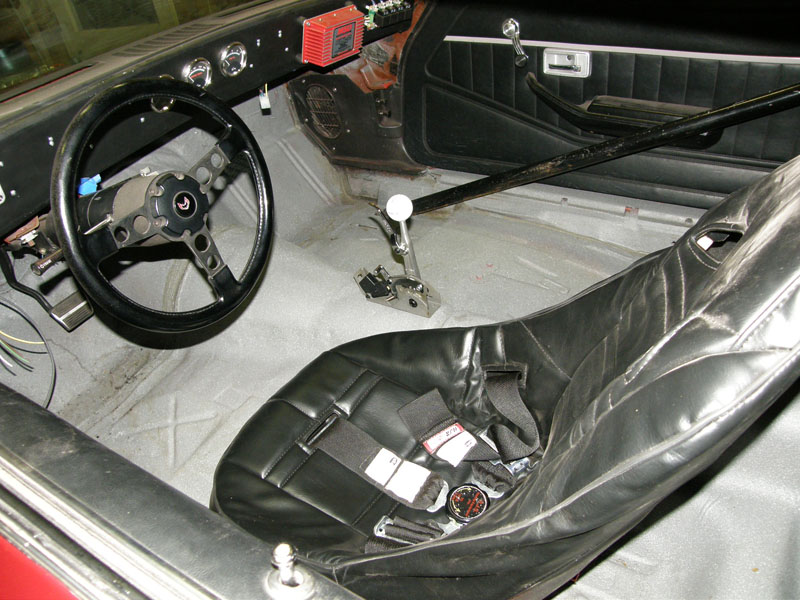
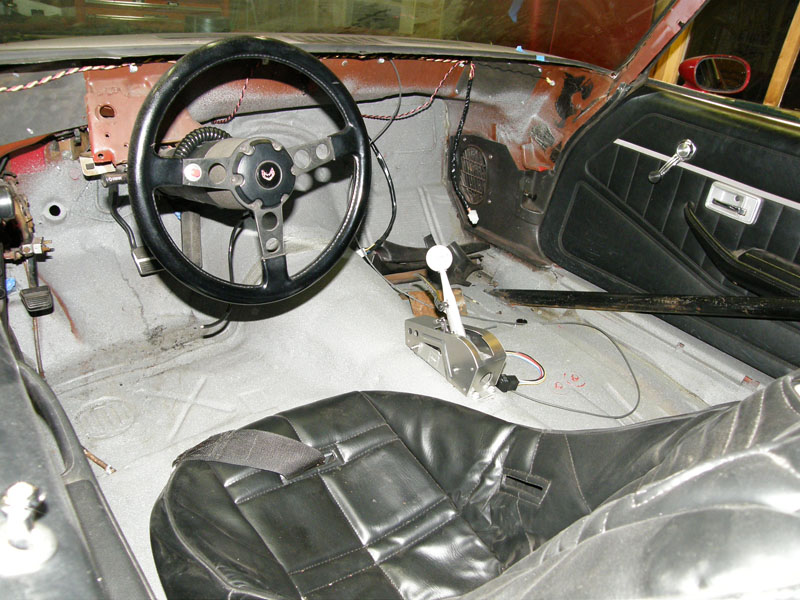
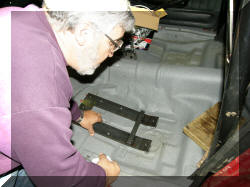
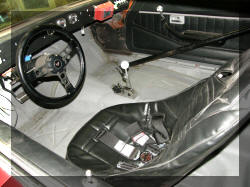
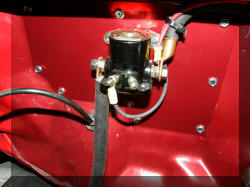
Time to have a place to sit! We need the seat
in place to find the location for the shifter. We need the shifter
to install the wiring for the natural safety switch and the
transmission brake. |
 |
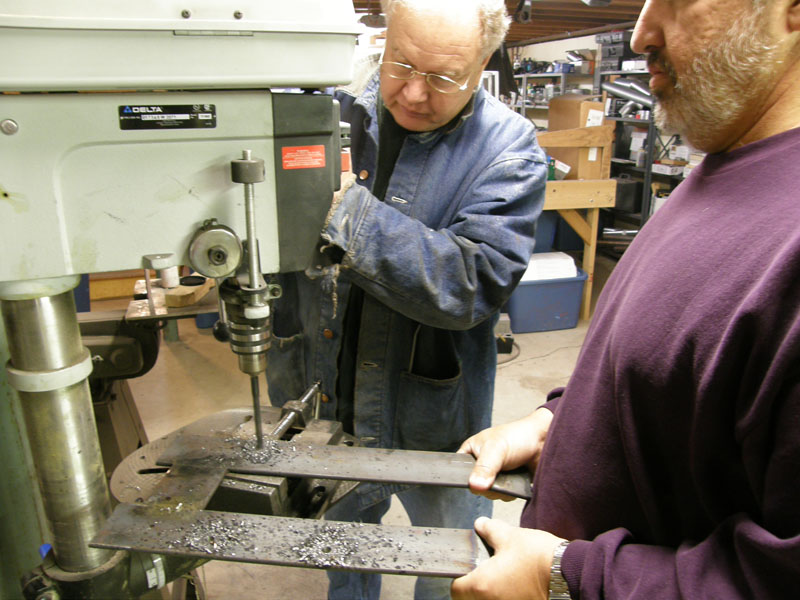
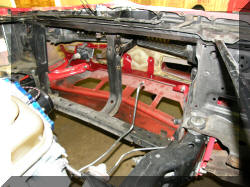
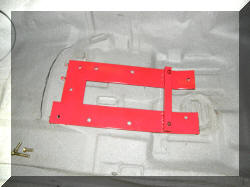
We need to build a strong base because the
driver weighs too MUCH! |
 |
 |
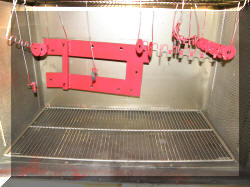 |
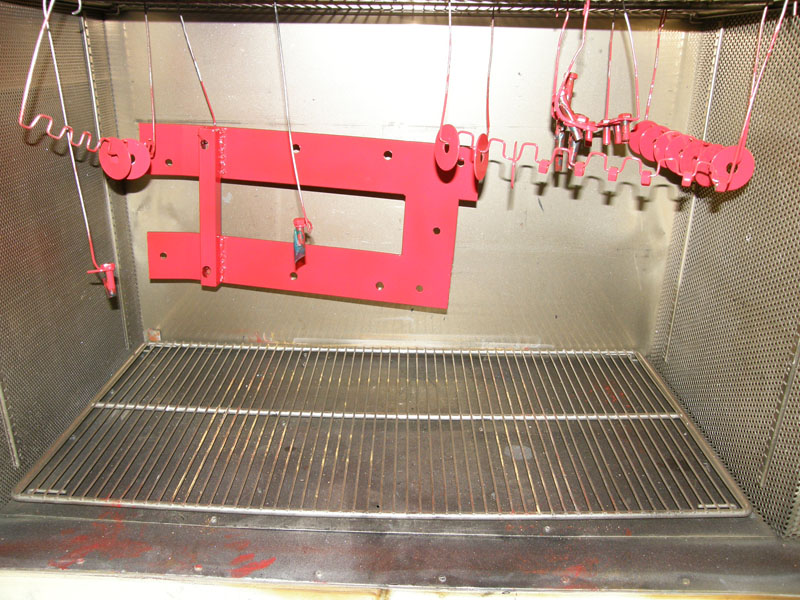
Of course we have to powder coat the stuff so that it looks pretty.
I wonder what is with all this red powder coat? |
 |
 |
|
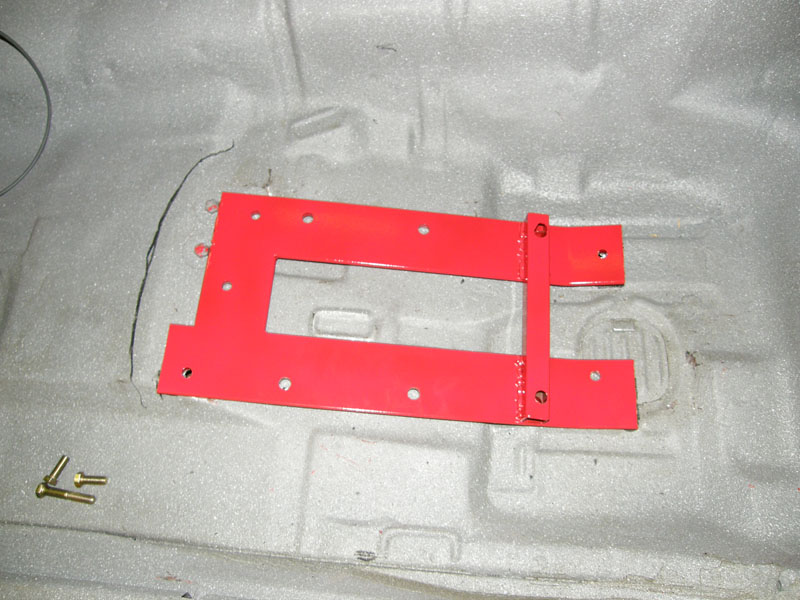
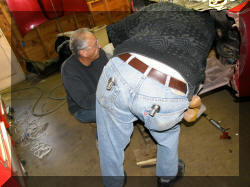
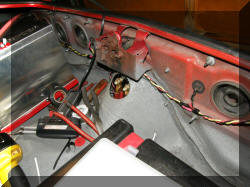
Now that the seat is in place we can locate
and install the shifter. I wonder what is going on with manufactures
these days. They just cannot seem to make stuff to fit. I bought the
shifter, installation bracket and cover all from Hurst, and you
guessed it they did not fit together when we unpacked them. well the
guy in that red shirt took care of that! Note the button on the
steering wheel. That will control the transmission brake and the low
RPM limiter. |
 |
 |
|
And finally we made some progress on the
wiring. Matt, I am thinking we will be ready to fire this coming
Saturday! |
 |
 |
 |
 |
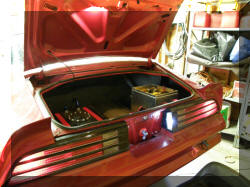 |
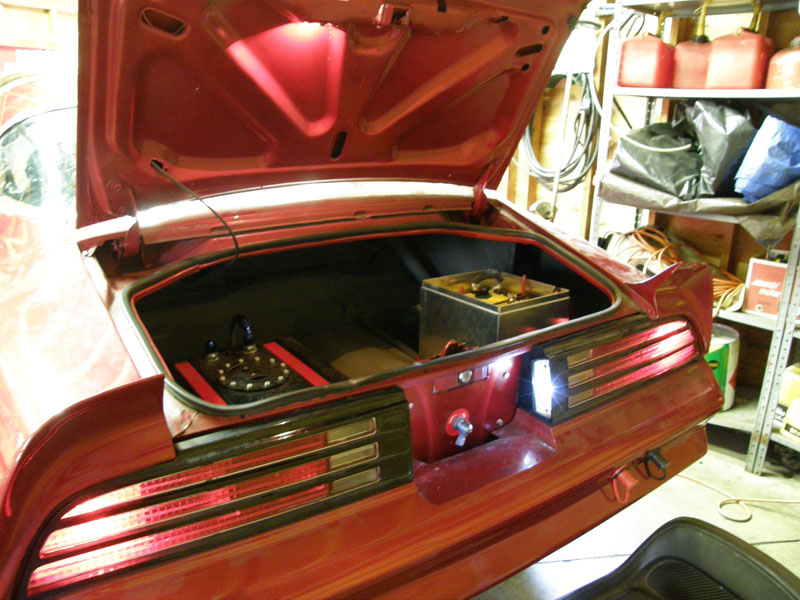
We have lights. I know you are only required
to have on red light going down the track once the track lights are
on, but I purchased LED lights so I have very low current draw. I
just could not have one light, it did not balance. |