|
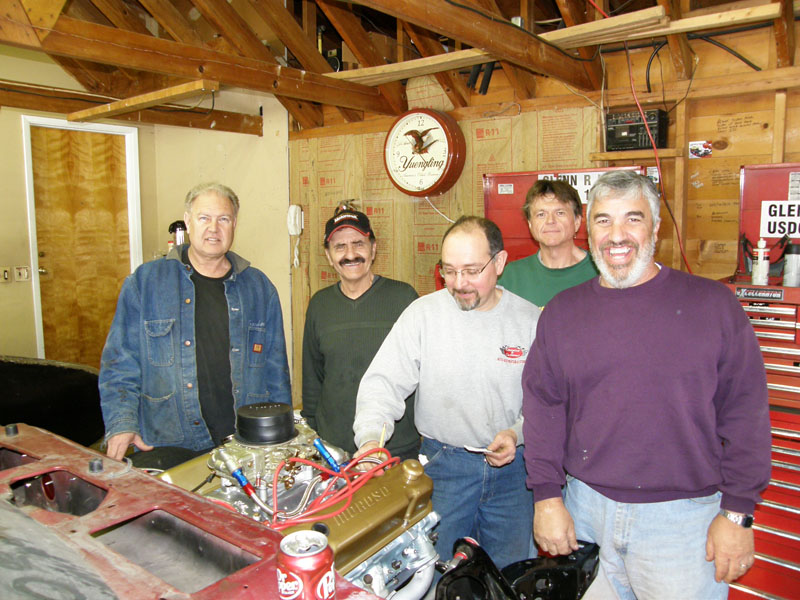
We had a great turn out of the Car Nuts this week.
We only had one meeting as I thought going to the Dentist on
Wednesday would be more fun then crawling around on the garage
floor, I guess that shows how smart I am!
We had
Ken Long,
Frank Serafine,
George Nick,
Vince Falco, and Don Goodman.
We got a number of tasks completed, fuel line
routed from front to rear, rear axles pulled (splines counted),
Dashboard wired, and more patch panels. |
 |
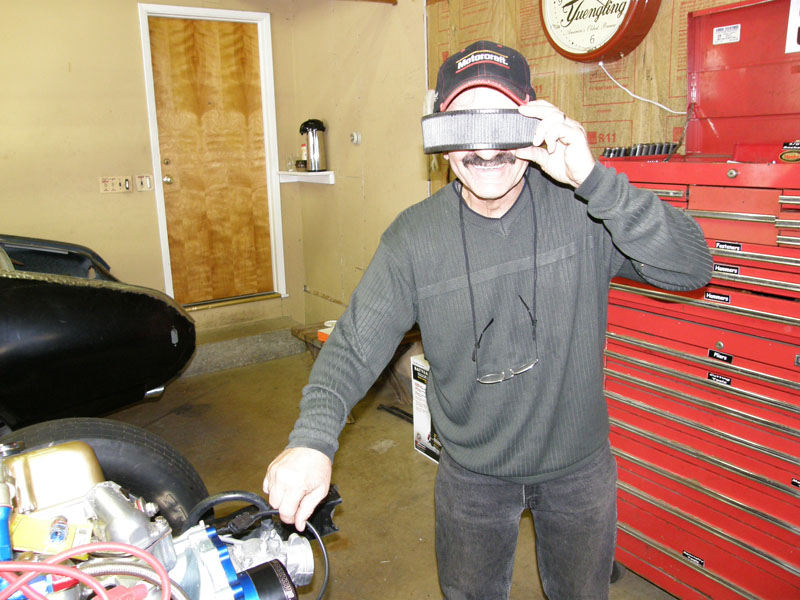
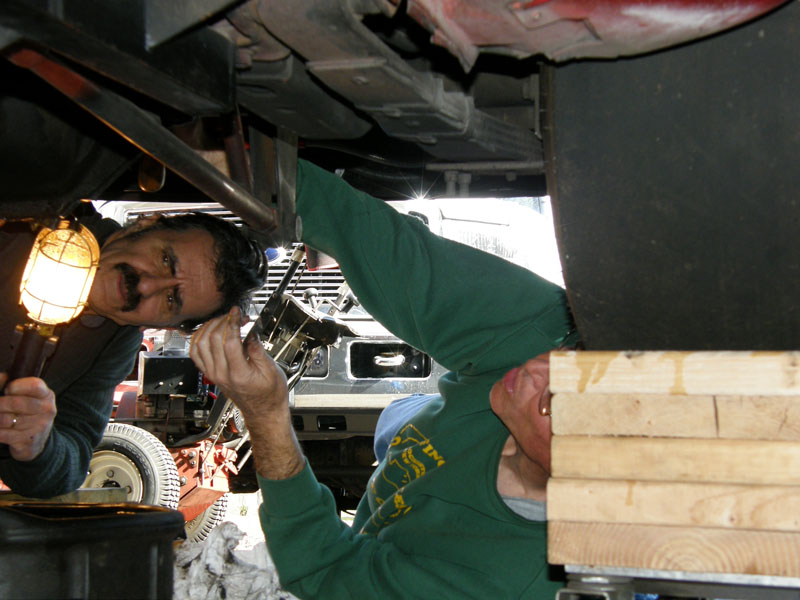
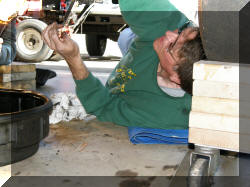
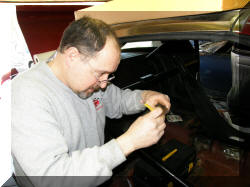
There is always a joker in the crowd. Here we
have a Lt. Commander Geordi La Forge look a like from Star Trek. |
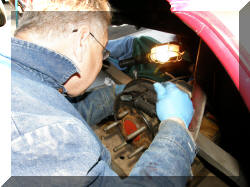 |
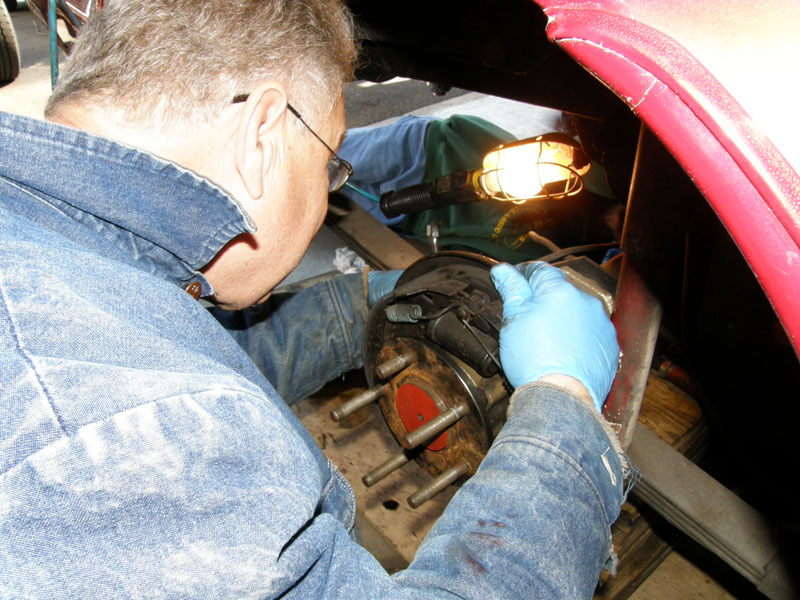
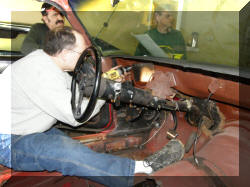
First up Don and Ken jacked up the car, pulled
the rear tire, the "C" clip elimator. |
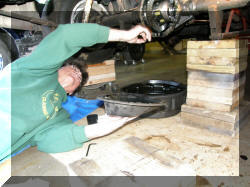 |
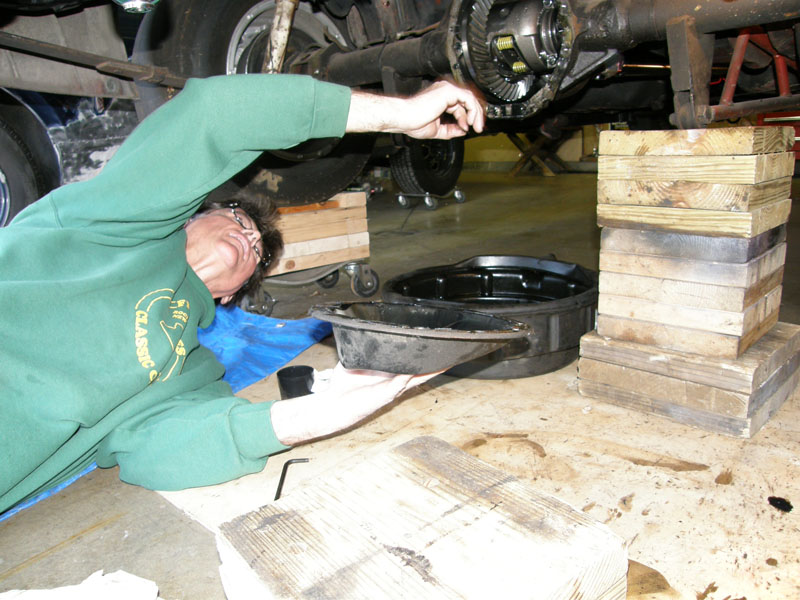
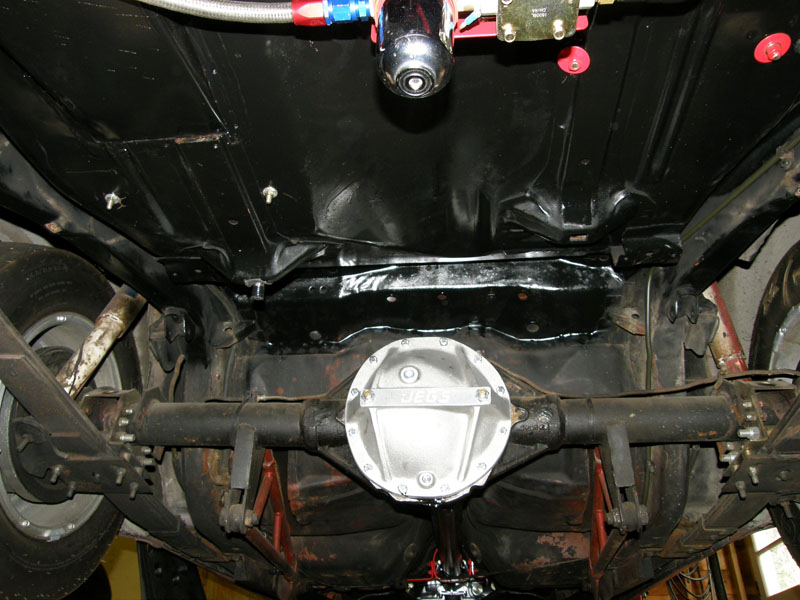
Ken and George pulled the differential cover. |
 |
 |
|
The photographer did not take a picture of the
axle once it was pulled, but we found strong 31 spline after market
axles in the car. I have now placed an order for a spool, some new
rear studs, and some Royal Purple gear oil for the rear end. |
 |
We put everything back finger tight, with the
intention of taking it back apart next weekend to install the spool.
We did put back the new braced differential cover. Completion
Transmission told ne this is a great way to increase the life
expectancy of the rear end with the new transmission brake that has
been installed. |
 |
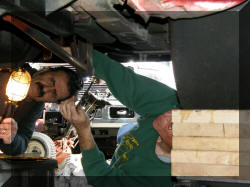
Frank Serafine,
Vince Falco, and Don Goodman Worked on finishing up the fuel line
from the rear of the car. Here we see thet hard line being routed
along the frame from under the car and around the spring pocket and
running forward to the front of the frame. |
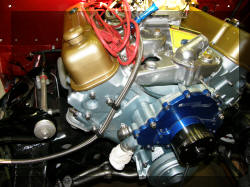 |
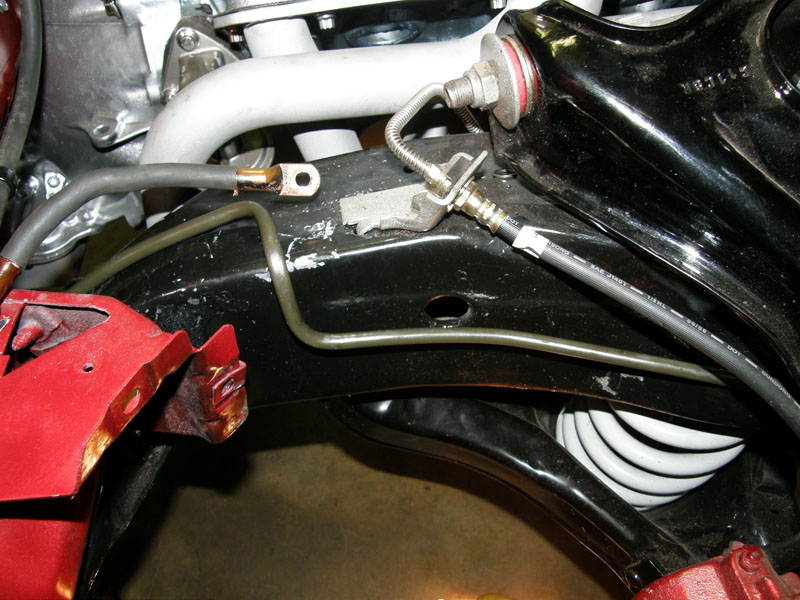
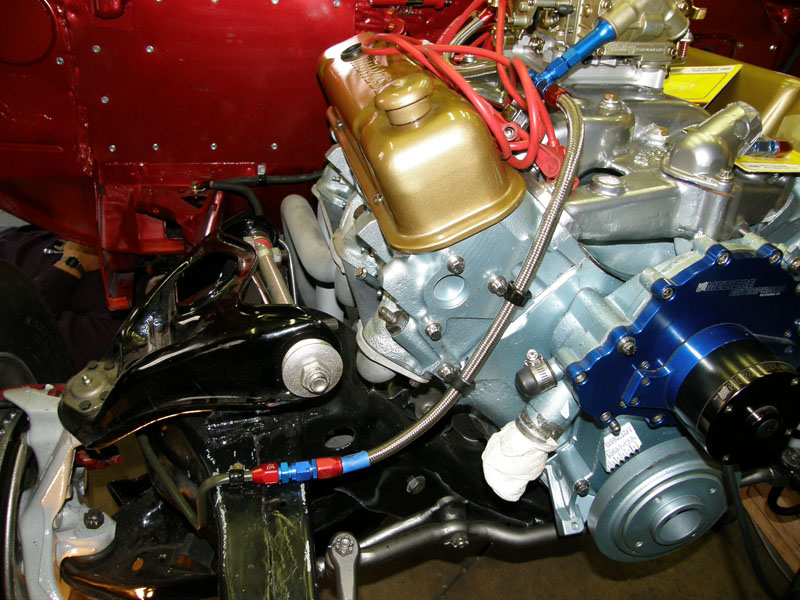
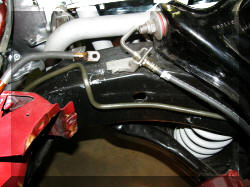
This is the braided line that runs from the
carburetor down along the front of the engine to the frame. |
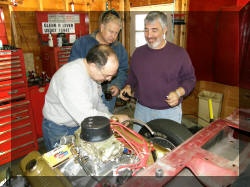 |
People have asked "how many men does it take
to screw in a light blub", the question here is how many Car Nuts
does it take to bend a gas line? In this case it takes
Frank Serafine,
Vince Falco, and Don Goodman. |
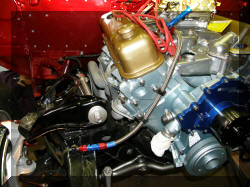 |
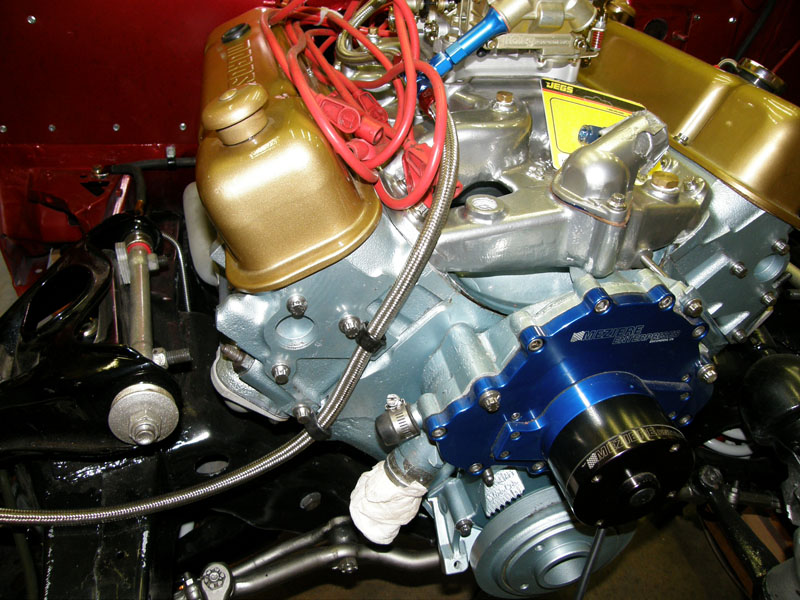
An now we have the carburetor connected to the
gas tank once again after many months. One step closer to starting
the engine in the car. It is not to far off now. |
 |
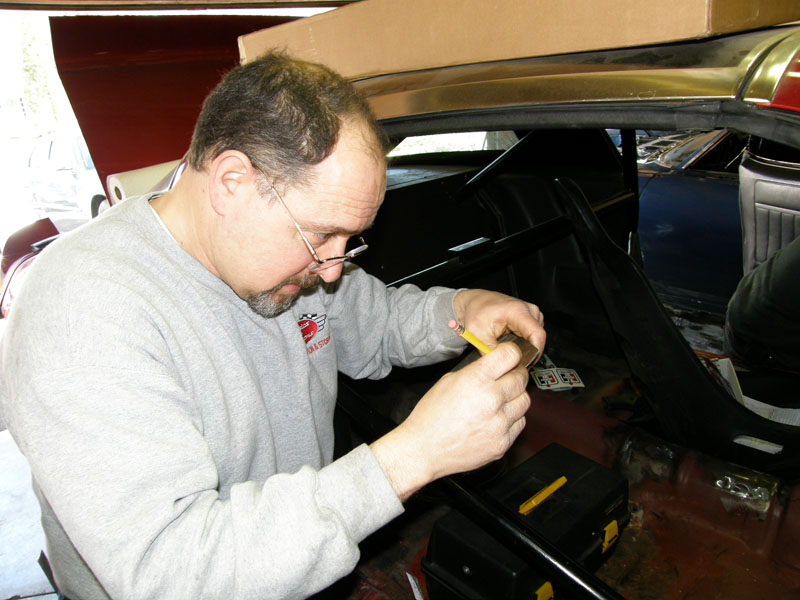
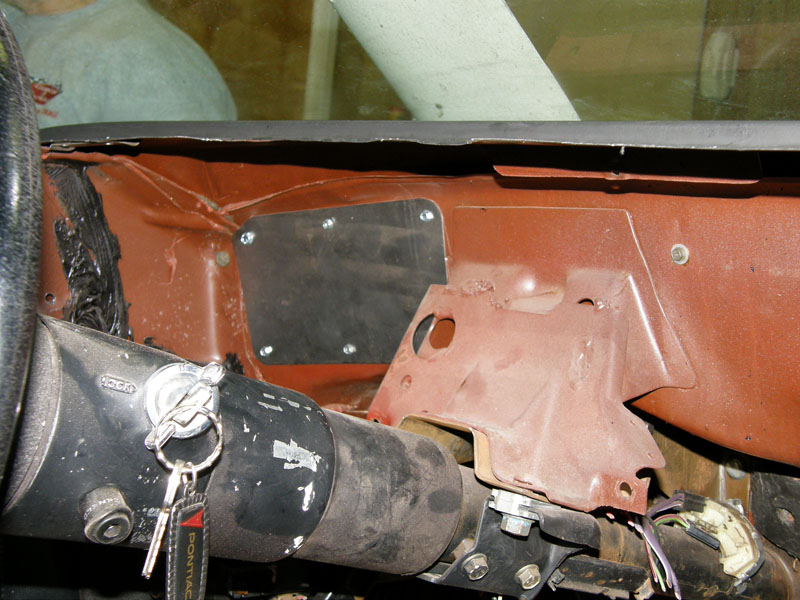
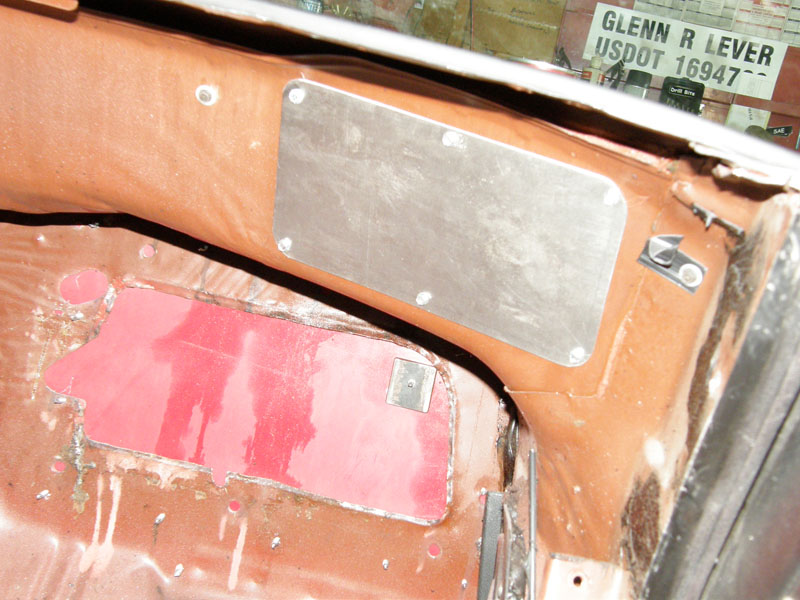
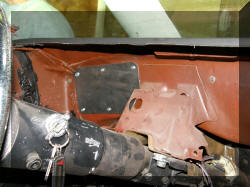
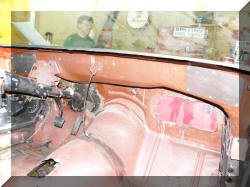
More patch panels, these are the last ones
(did I say the last ones?) that are needed to seal the firewall up.
After these are done we can put the dashboard in. |
 |
 |
 |
 |
 |
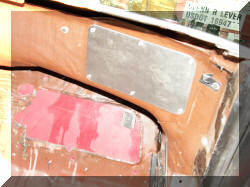
With master patch panel builder
Frank Serafine
and George Nick on the job it took no time to build and install
these panels. |
|
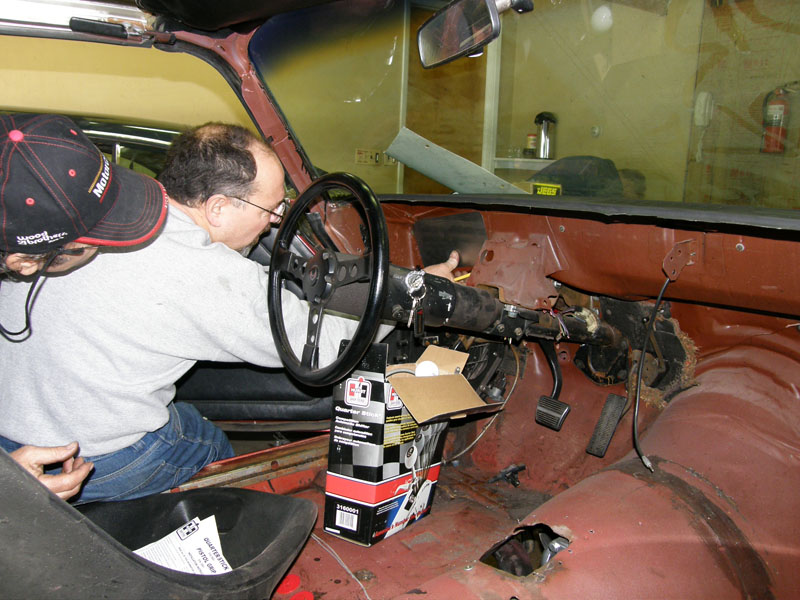
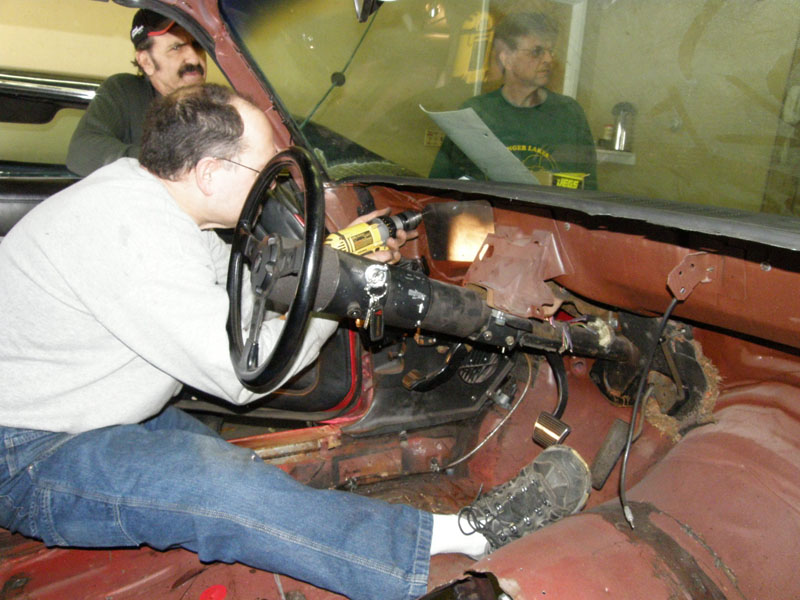
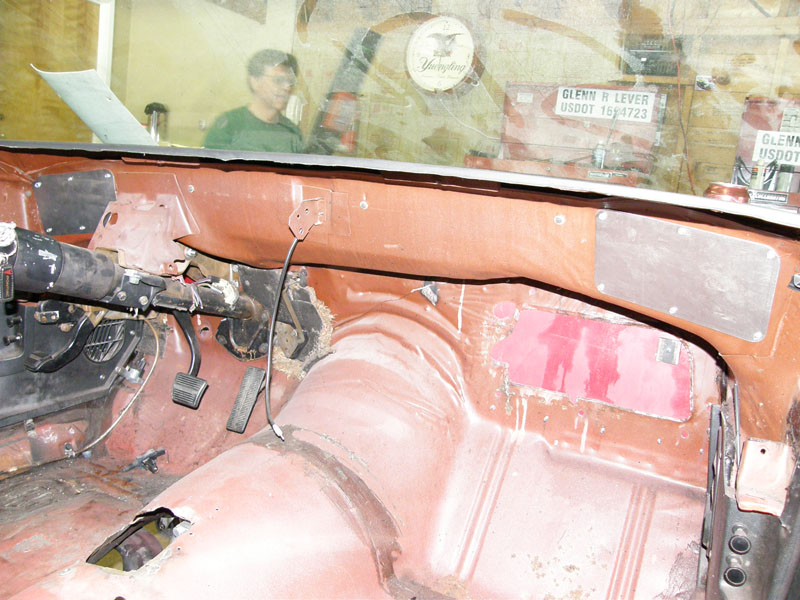
Last we wired the dash board. |
 |
 |
|
|
 |
Here is another time saver I bought. It is a
printed circuit board with four relays mounted on it. First problem
was it was wire to operate by grounding the rely coil, the opposite
of what I had planned. |
|
Thinking I knew a little bit about electronics
(always a problem of mine, thinking that I know what I am doing) I
ground out the printed circuit between the hot lead and the coil,
and then soldered in a ground wire in its place so that when power
was supplied to the other side of the coil for the rely it would
activate the rely. When I hooked it up we had a dead short. It took
me a while to notice that the printed circuit was on both sides of
the board (it was covered up by the relys). I had to drill all the
way through the board to break the circuit. |
 |
 |
 |
This was not your average "Painless wiring
kit" this was done from scratch. |
 |
Mr. Yellen, do you think that we used enough
wire ties? |
 |
Another DONE for this weekend. The dash board
wash been wired with quick disconnections so the whole dash can be
removed and worked on as needed. |
 |
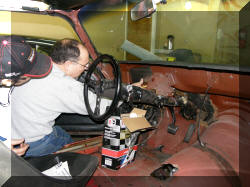
Next step is to fix the holes in the
floorboards, so that the floor can be painted and the car wiring
started.
All in all I think we had a very good
meeting of the Car Nuts this weekend (four hours). |