This page may take a while to fully load
as there are a lot of pictures and the instructions are all on one page.
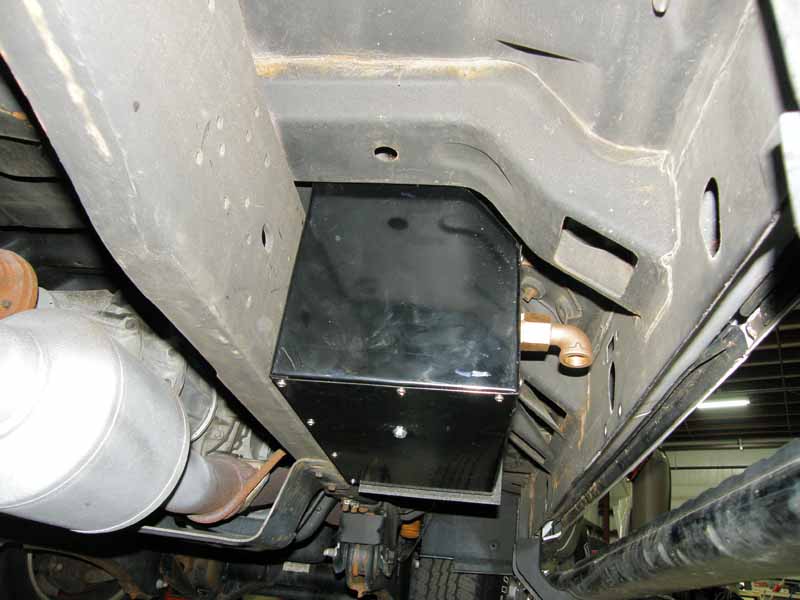
This is what this project looked like 3 years
ago. I did not finish the install with compressor valves, wiring,
but the boxes and horns were mounted under the truck. They looked
nice and pretty back then.
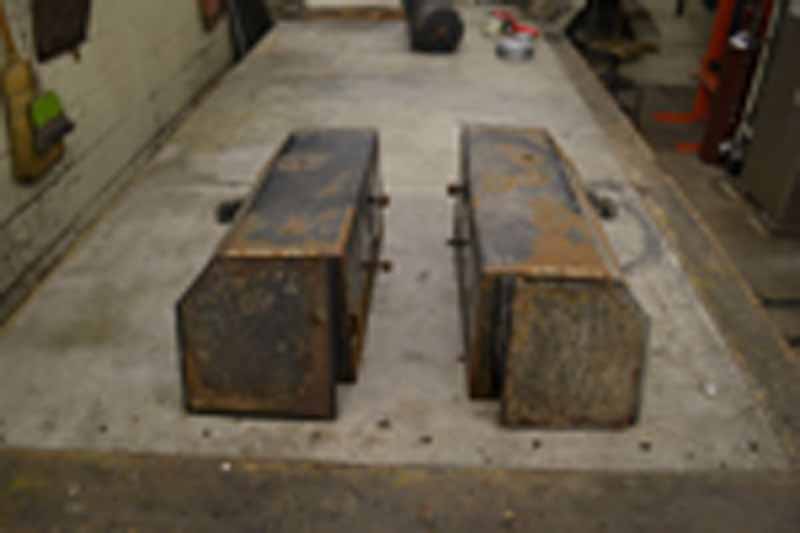
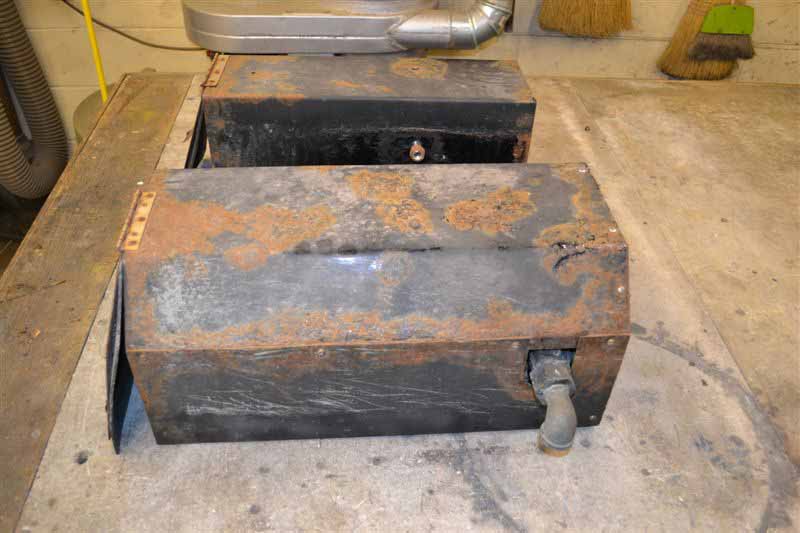
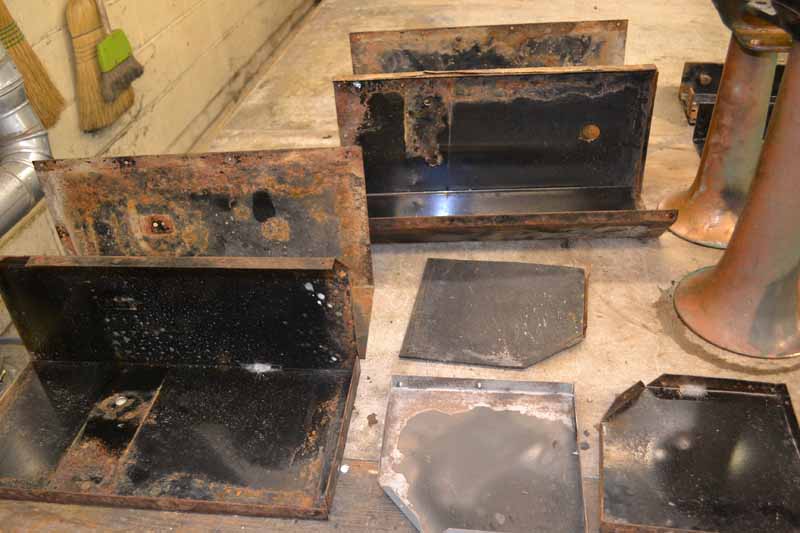
After three years of being under the truck and
the project not complete I removed them from the truck to clean them
back up and complete the project. They certainly do not look as
pretty now
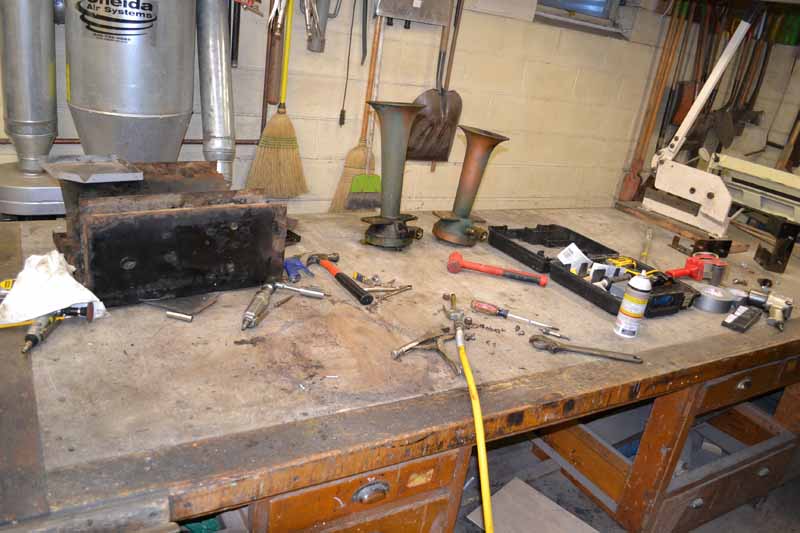
As with any
project I do the first thing that happens is I take everthing apart
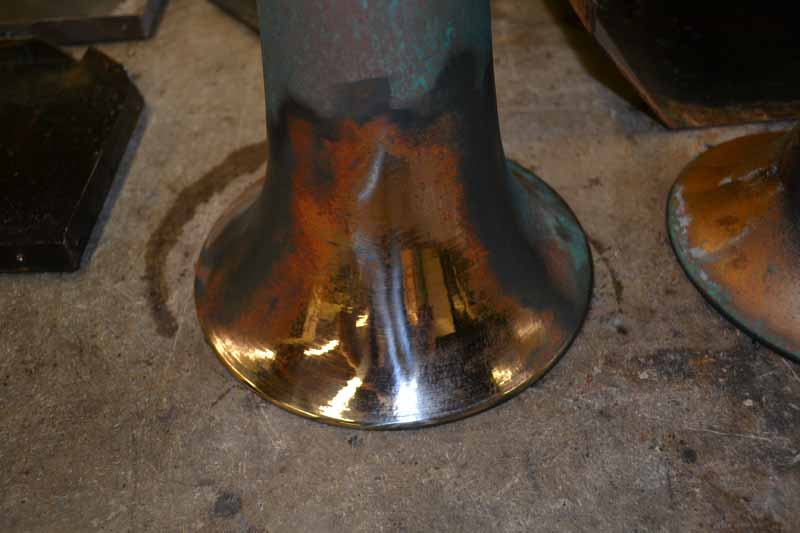
I like shinny things so this is the start of
returning the luster to the horns
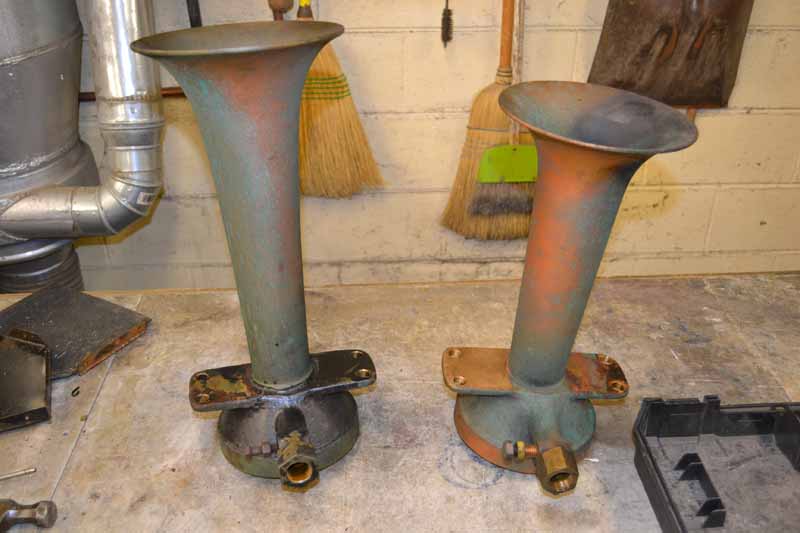
I removed the
horns and their protective boxes and found that one blows fine, but
the other is reluctant to blow, air passes through it, but takes a
second or two to sound. I was told "Volume is the most important
one, You will need a lot of volume for most horns to work properly.
That is usually the mistake most people make is trying to use a
small air house with a quick connect on the end and the volume is to
low for the horn to work right. Give us some info on what you are
using for air supply and I am sure we can get you hooked up."
I was using an air gun with a rubber tip to
supply air to the horn which restricted the flow.
I tried a high flow quick release this afternoon (the same quick
release I use for the sand blaster).
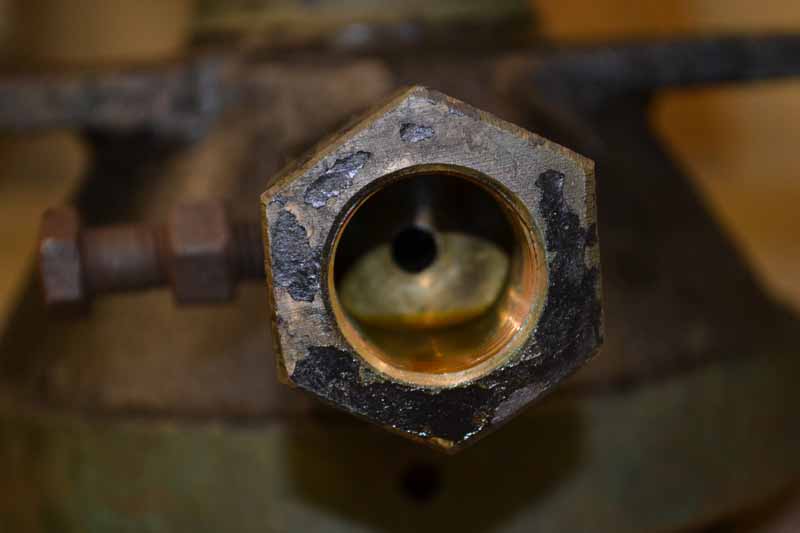
Also note the photo of the air passage inside the horn. the inlet
may be 3/4 pipe, but the air passage after that is quite small.