| We
have a number of smallish projects going on so here is a
progress report on all of them |
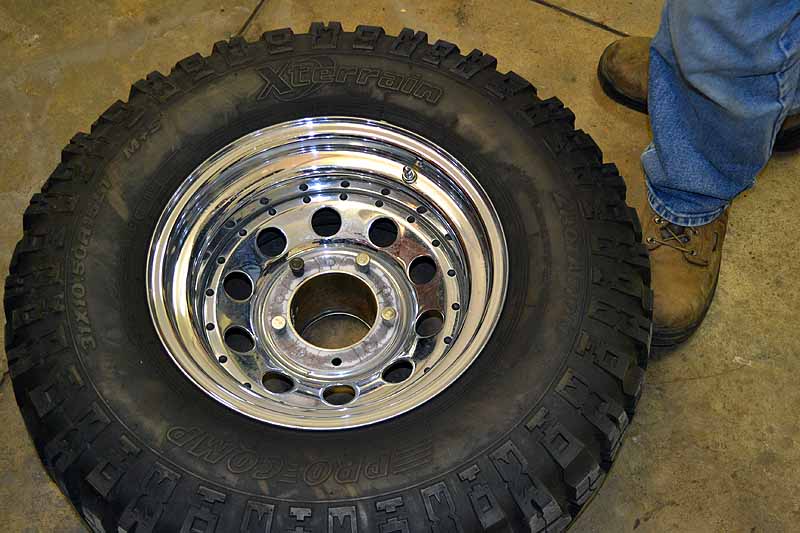
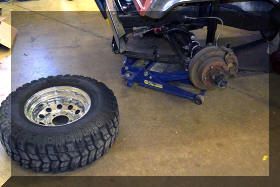
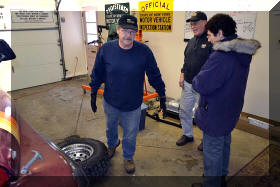
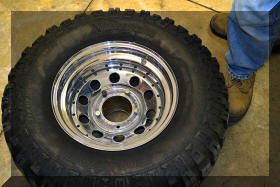
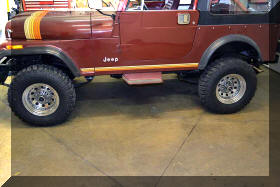
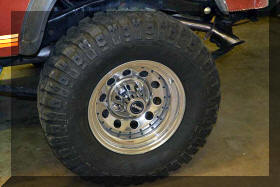
| First
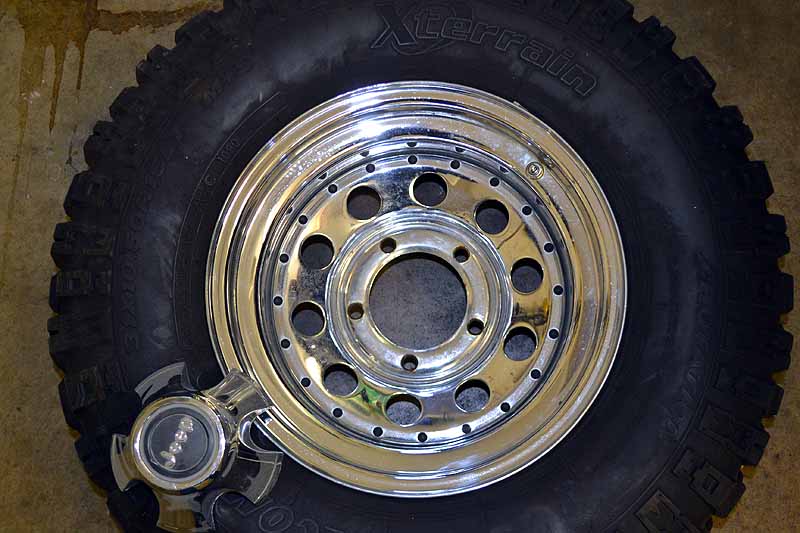
up is the wheels, I have been trying to find a set of 8
inch wide original chrome wheels in good shape. I have
not been able to do that so the decision has been made
to make a modification to the aftermarket wheels I have
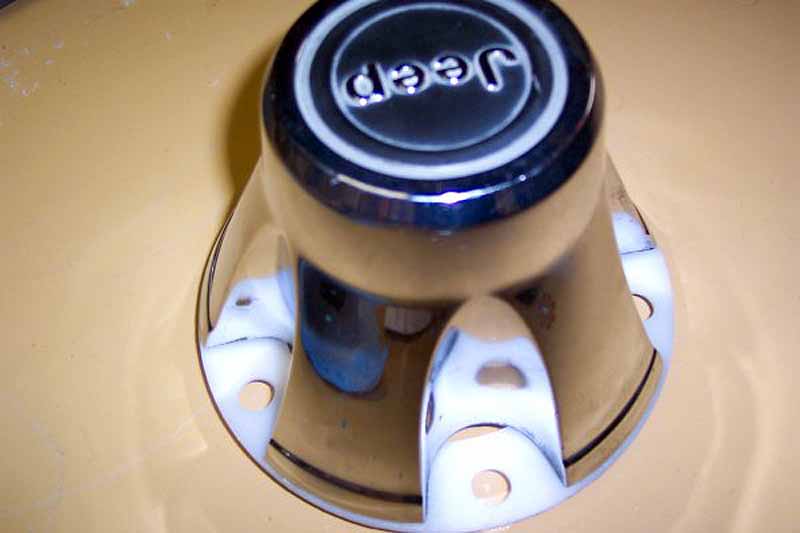
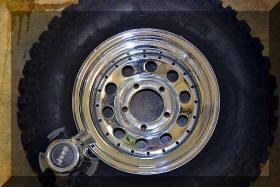
to try and make them look a little more original. I want
to take a set of original center caps and mount them in
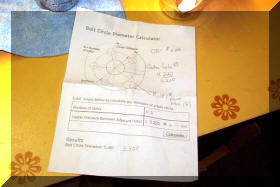
the aftermarket wheels I have. The problem is how to
find and drill the holes that the screws for the center
caps so that they are in the correct location. This is
important so that the do not look like they are
wobbling as you go down the highway.
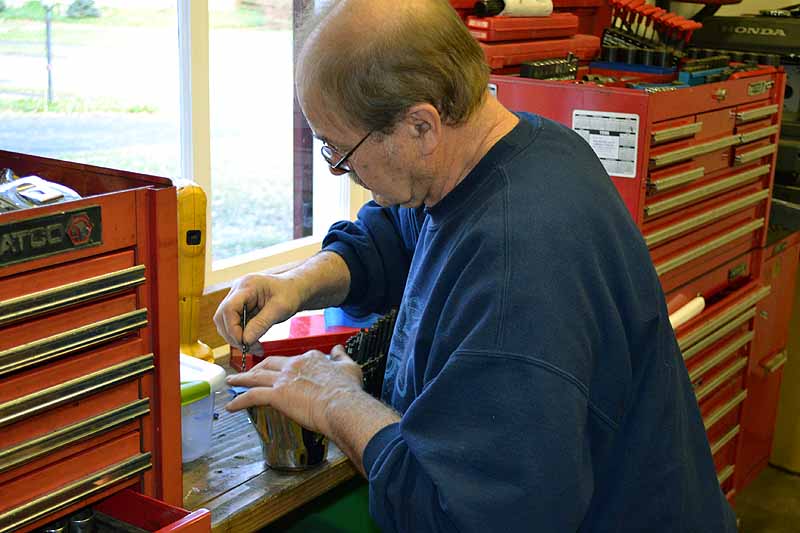
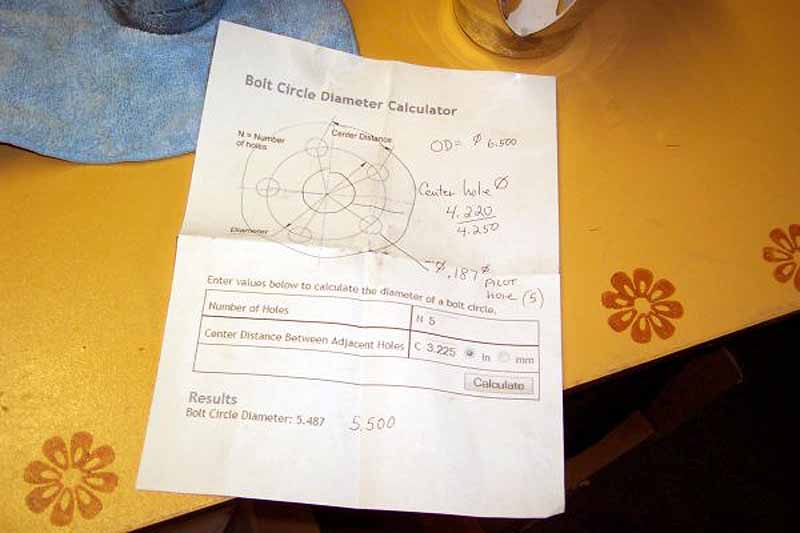
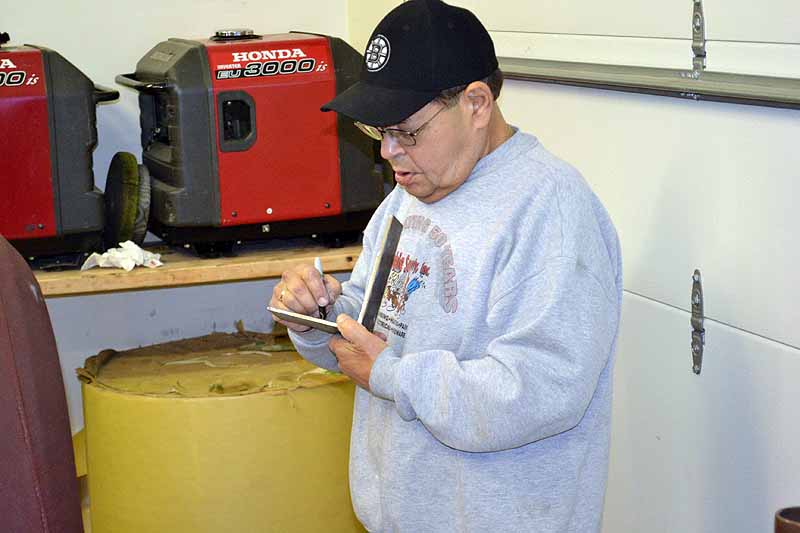
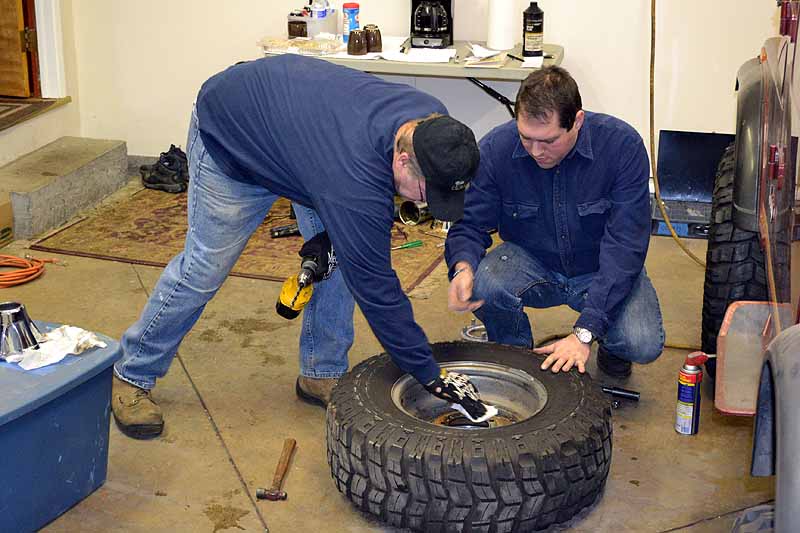
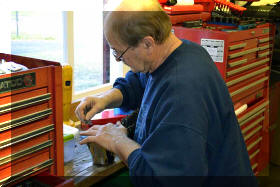
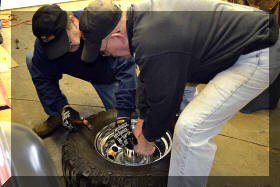
Jim has taken up the task of
creating a jig so the holes will be drilled in the
correct locations |
 |
 |
 |
 |
 |
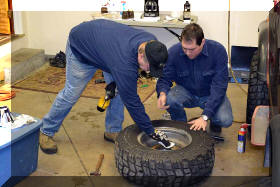
The actual drilling and mounting
should take place next weekend |
 |
 |
 |
|
| This
Jeep will be used when we travel with the Motor Home as
a vehicle to get around in once we reach our
destination. It will be towed in a custom built trailer
which has been ordered (yes I will now have three
trailers).
The problem with this is
national parks have a limit on the vehicle size that can
be put on a camp site. The Motor Home and trailer
measure 72 feet in length. What they allow you to do
however is to park the trailer and take the MH and your
tow vehicle to the camp site and park the trailer in a
parking lot.
One method of handling this is
to make the tow vehicle capable of moving the trailer
around.
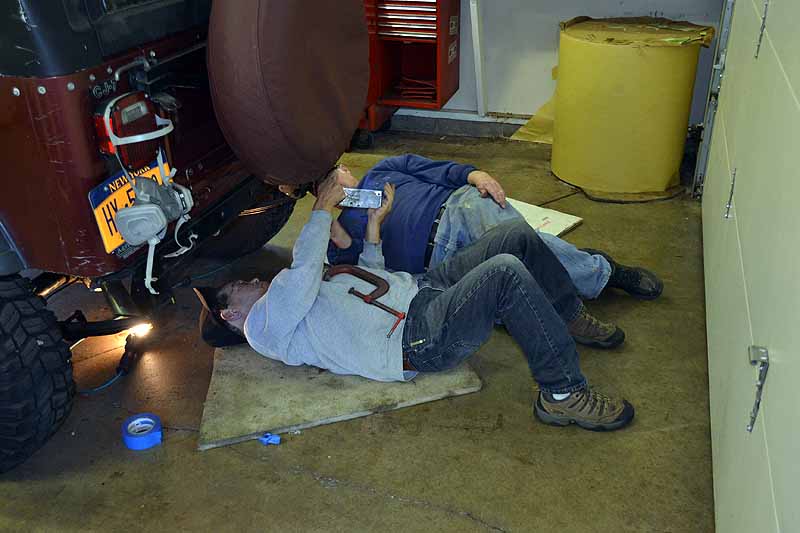
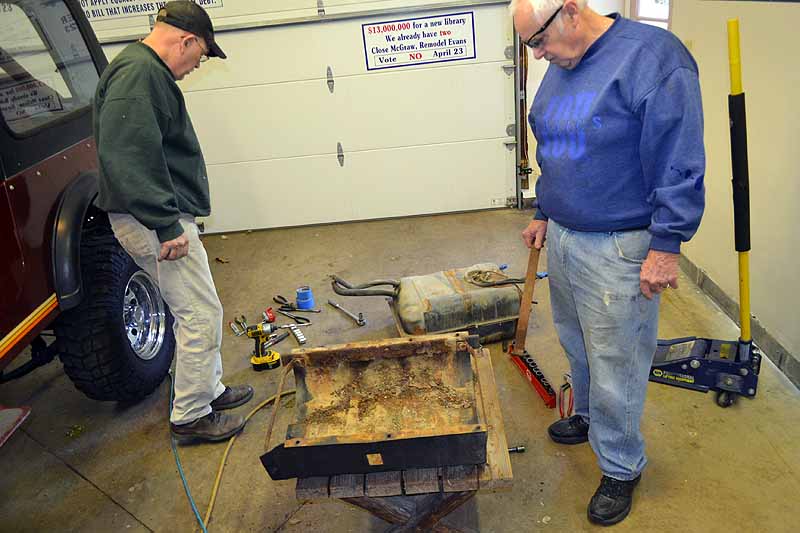
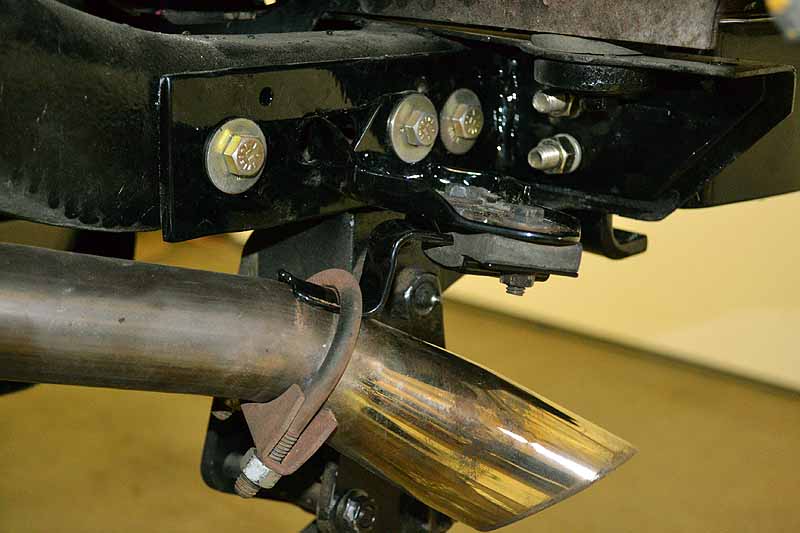
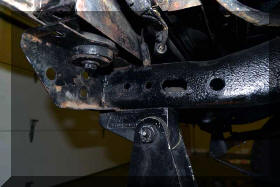
To that end we are putting the
hitch back on the Jeep, Bob and Lenny want to reinforce
the mounting points of the the hitch. I want to do this
in a way that does not modify the Jeep and it's survivor
status. The Jeep will not be used to tow the trailer
down the road, just to move it and park it in a parking
lot as it is a lot easier to maneuver that the MH.
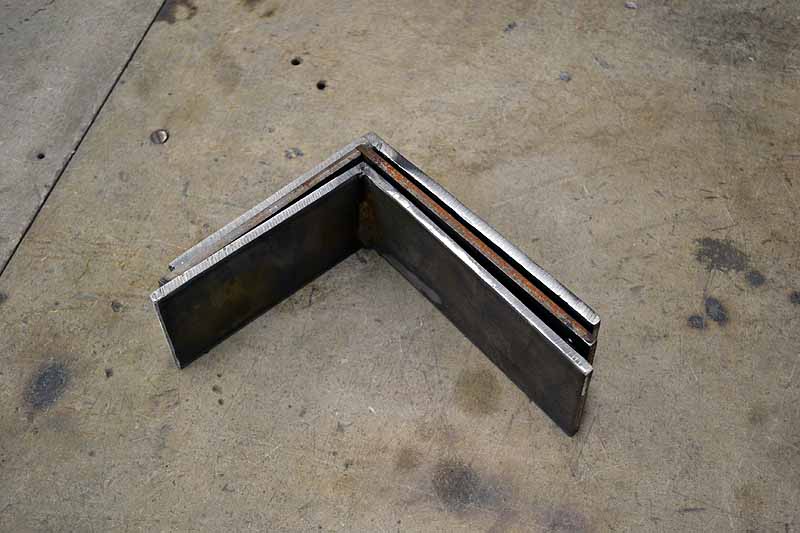
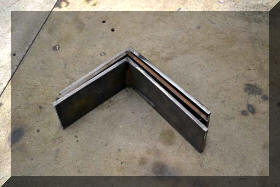
So this is what Lenny and Bob
have come up with so far. The hitch itself will need to
be modified also. |
 |
 |
 |
 |
 |
 |
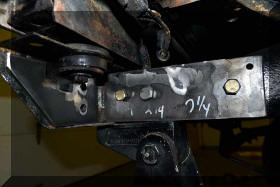 |
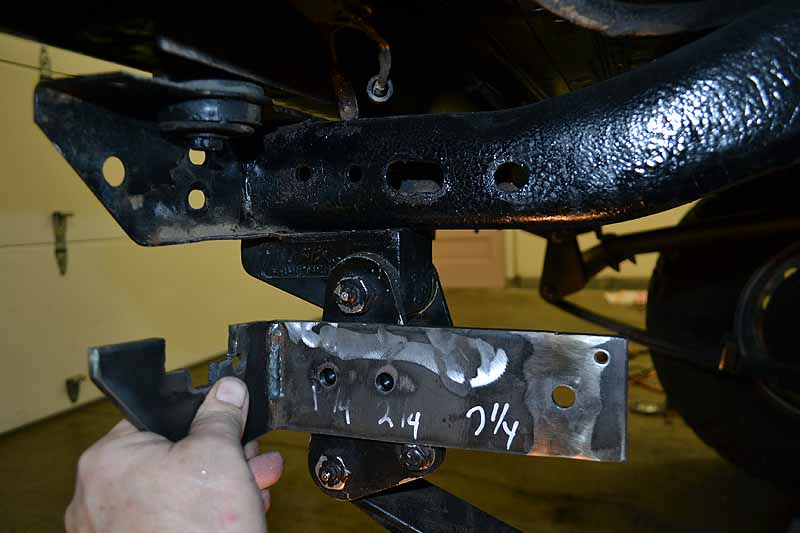
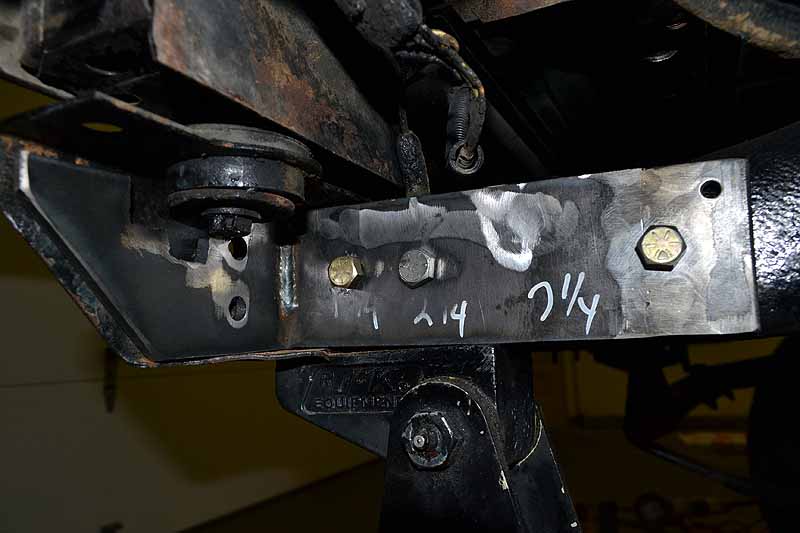
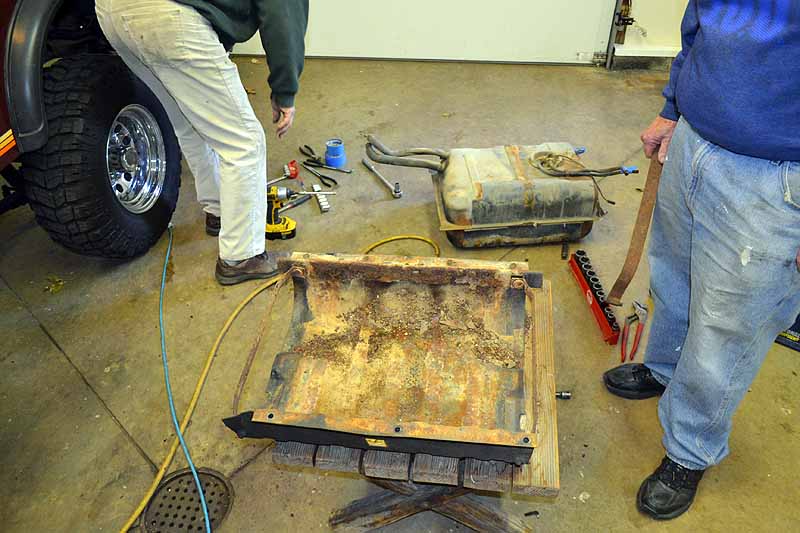
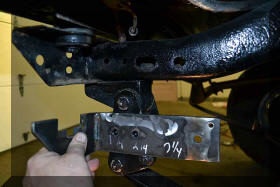
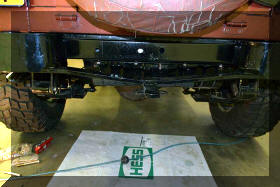
We will create a bracket similar
to this on both sides of each frame rail. The holes in
the frame exist so to put it back to original state all
that has to be done is unbolt the brackets. The bumperts
and hitch bolt though bolt through the frame and the
brackets. |
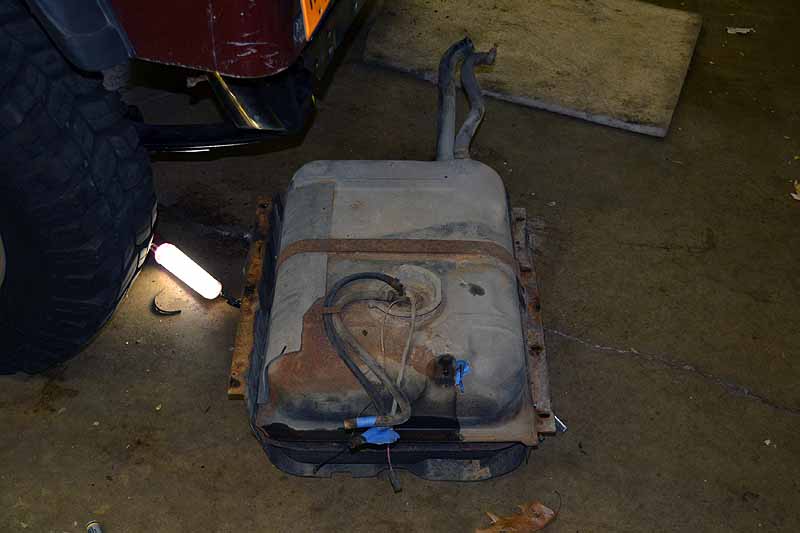
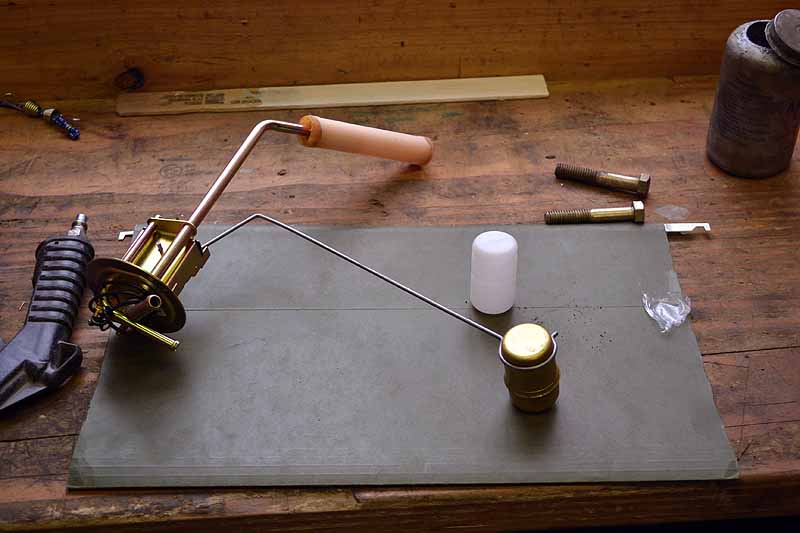
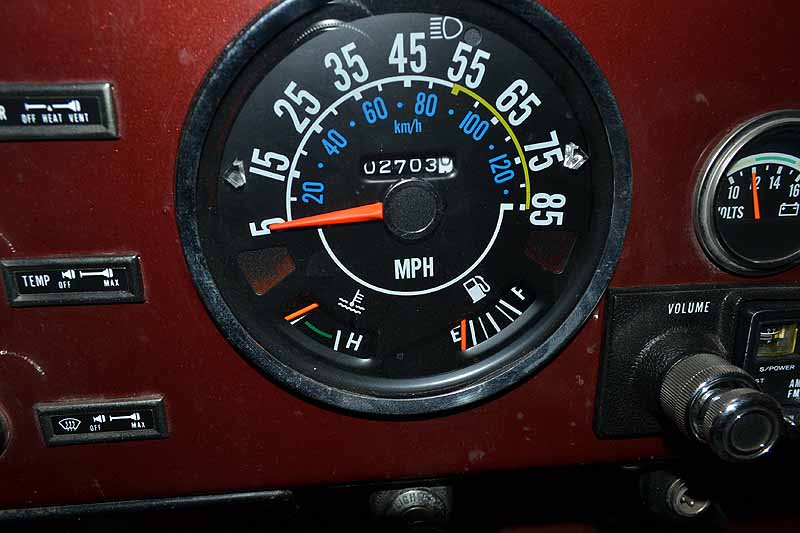
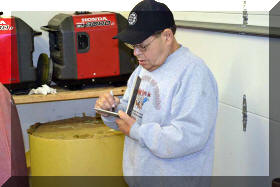
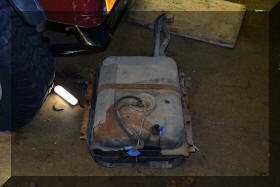
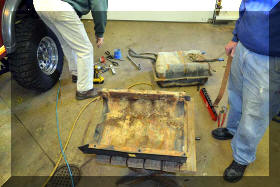
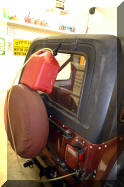
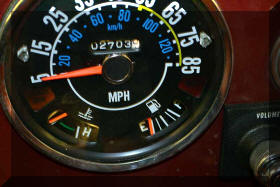
| The
gas gauge has not worked in the Jeep since I got it. As
we had to pull the tank to do the above brackets, it was
time to look into this problem.
Tom took this task on. |
 |
 |
 |
 |
It was found that the problem was
the float was full of gas and once emptied and moved
through it's range that the gauge worked.
A new sending unit and a brass
float will be put in.
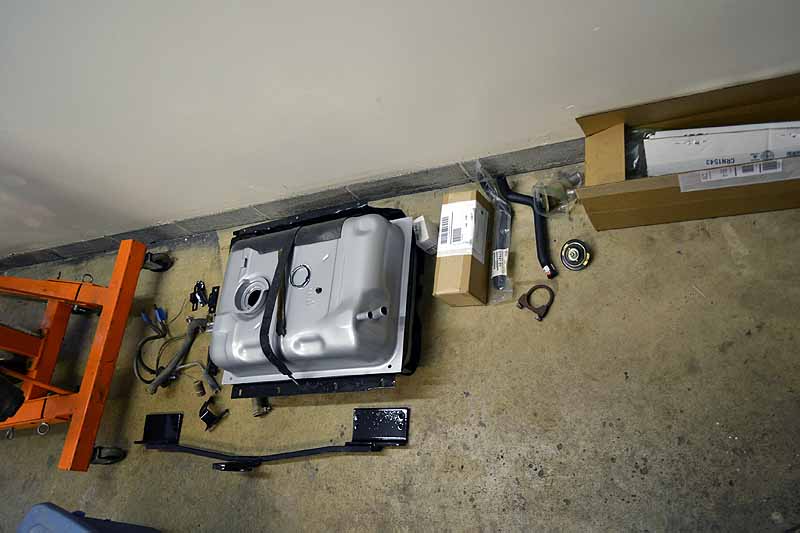
The tank is in poor shape so it
will be replaced also |
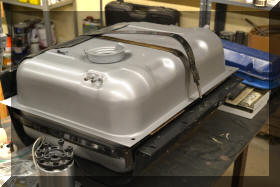 |
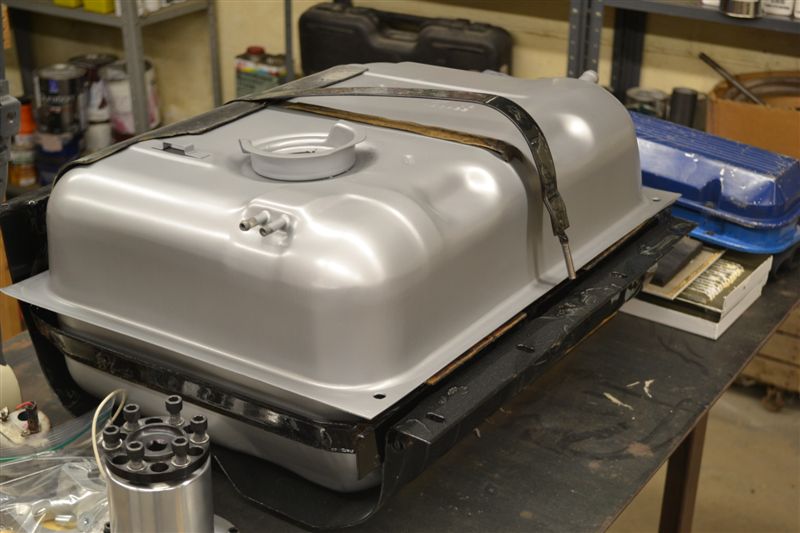
The tanks has been painted a color
close to what a galvanized tank would look like and the
skid plate and all the brackets have been powder coated.
We should be close to putting it all back together next
weekend. |
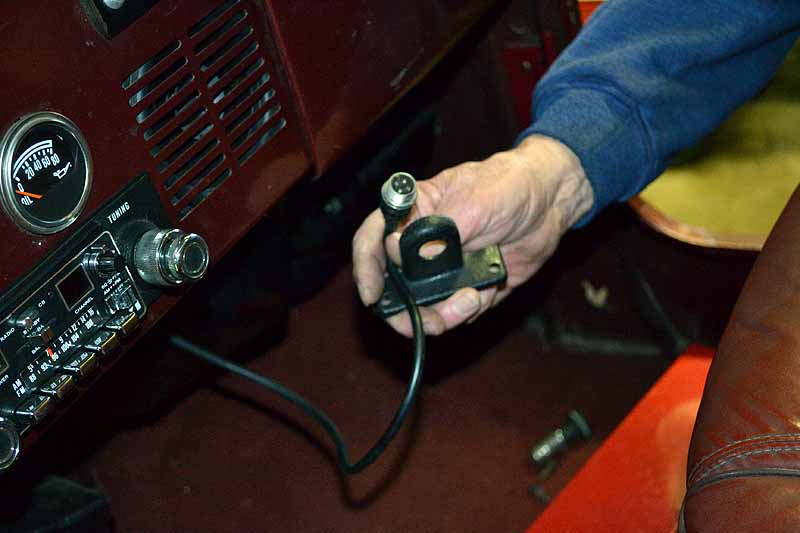
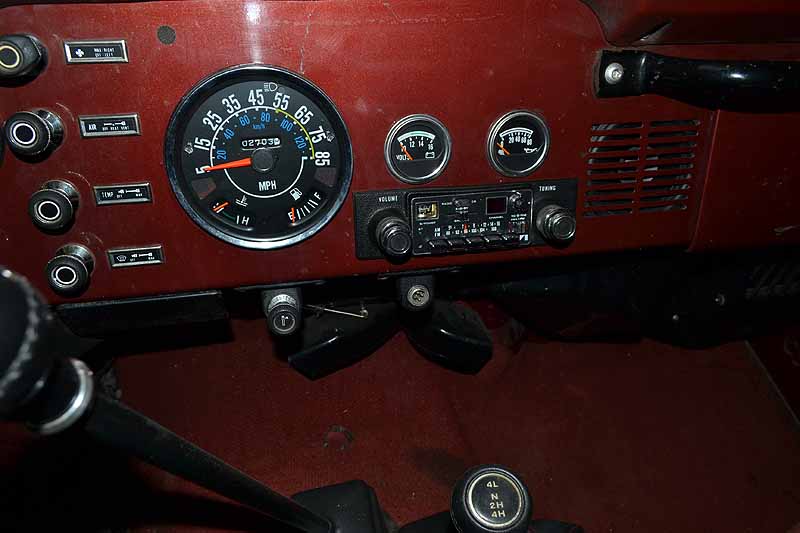
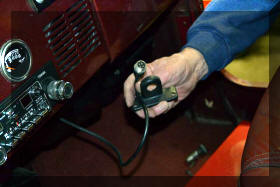
| The
radio that came with the Jeep was an AN/FM radio. An
original AM/FM/CB radio has been installed in it's
place.
Bob has added a bracket to hold
the jack for the mike for the CB. I need a picture of
where the stock mike would have been mounted in a Jeep
that came equiped with the AM/FM/CB radio |
 |
 |
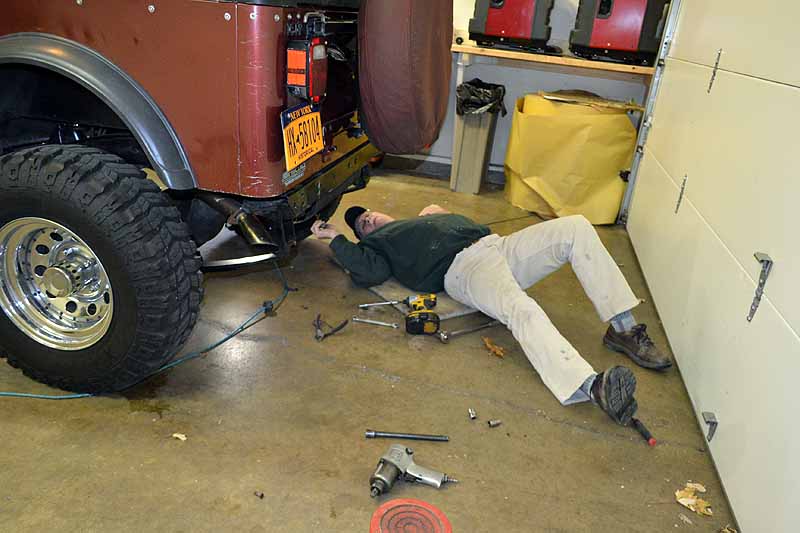
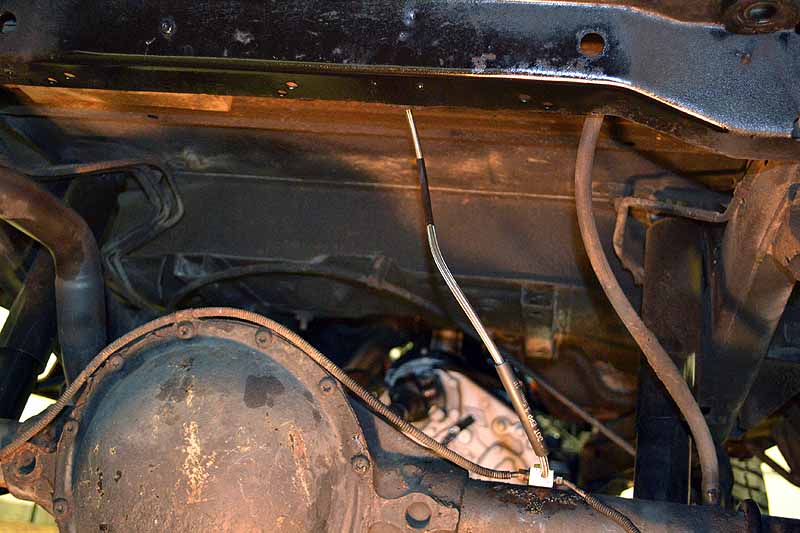
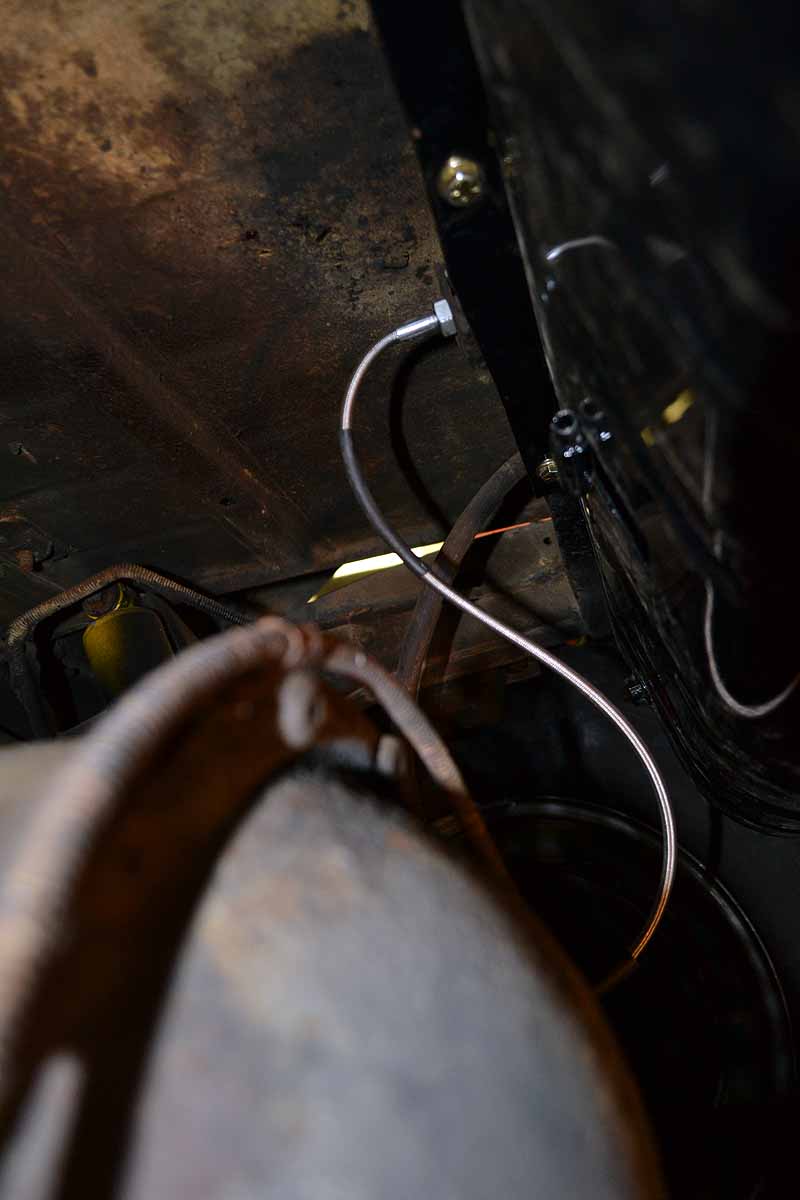
| When
the lift "kit" was put into the Jeep we extended the
front flex hoses but never got around to the rear on.
With the tank out now was the perfect time to finish
this project off.
Just as a note, a complete lift
is more than putting different spring in. You need to
take care of the caster change (wedges), length the flex
lines front and rear, take care of the bump steer
created because of the tie rod and drag link not being
parallel any more (tie rod flip), Lengthen the sway bar
links, check drive shaft angle, |
 |
 |
|
Part Two
|
 |
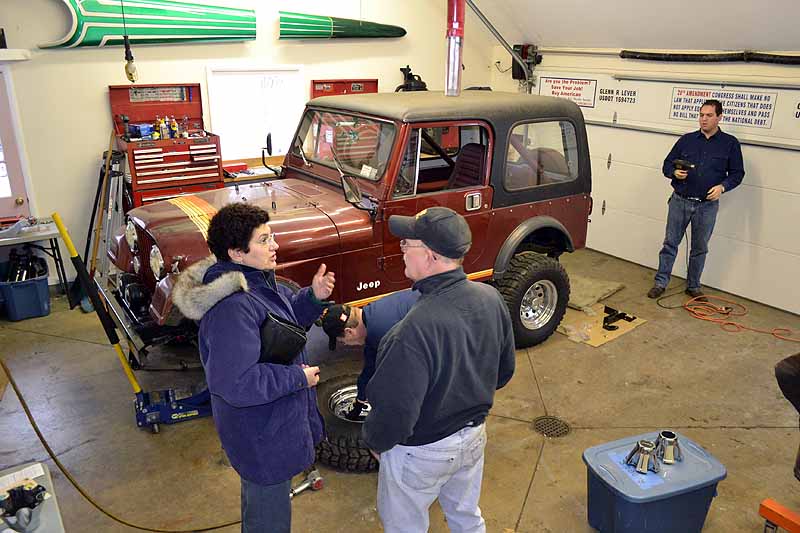
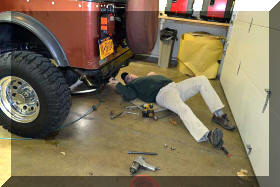
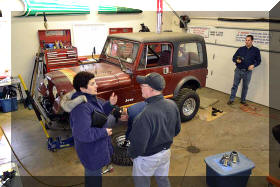
The Car Nuts re assembled this
weekend as were the parts to be bolted on. The better
half was there to issue the marching orders |
 |
 |
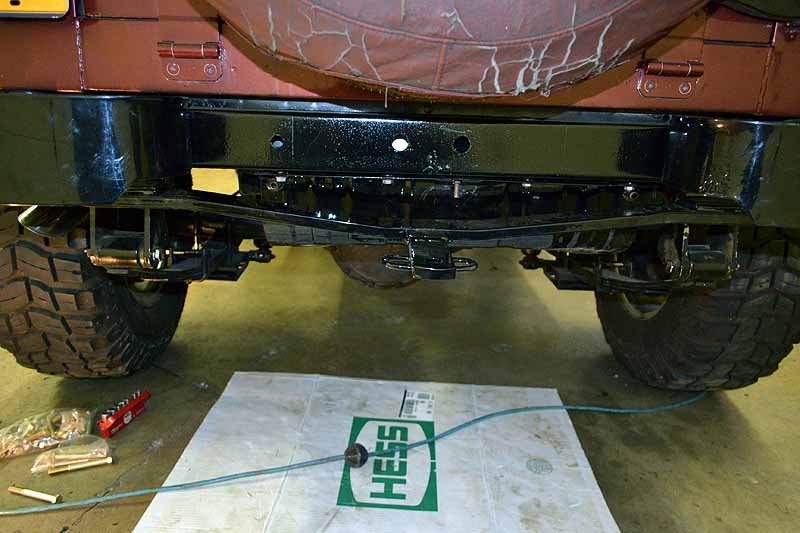
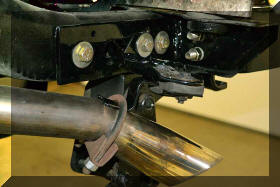
| The
hitch was bolted up, although the brackets, bumperets,
and hitch were all mocked up before they were powder
coated it took a long time to get them bolted in place
for the finial fitting, I have no reason why other than
the project just fought us all the way. I think it
turned out well though. There are three bolts holding
the bracket to the frame and all three holes were
already in the frame so no holes were drilled in the
frame to add the brackets. I have been asked if the
hitch is original equipment, I do not know, I did find
the name Draw-Tight on the hitch. I also had to chop of
the tongue on the hitch and weld it back on pointing in
the opposite direction because the hitch hit the rear
aftermarket spring brackets, by turning the hitch around
it gave me enough clearance that no other modifications
were needed. |
 |
 |
 |
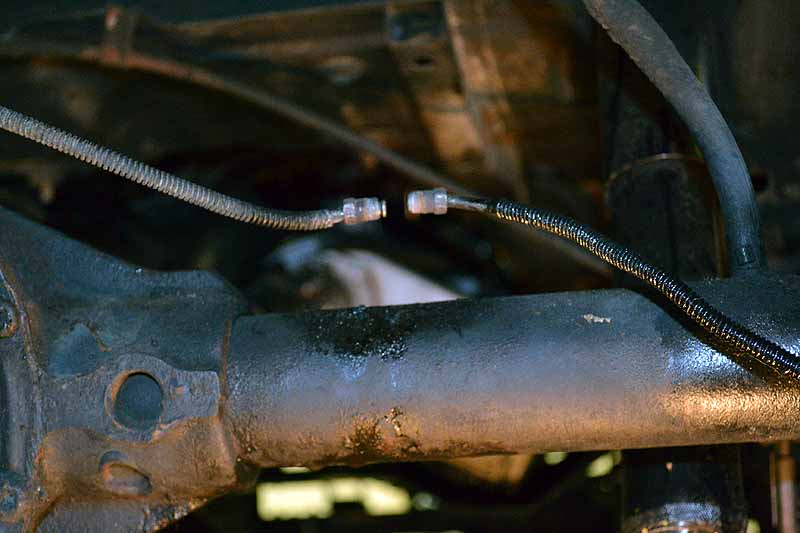
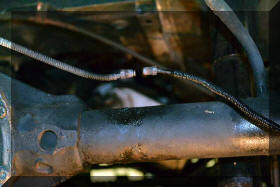
I cannot get a good shot of the
rear brake line that was installed. The original rubber
line was too short with the lift that has been installed
on the Jeep, but now there is plenty of slack in the
line to allow articulation of the rear axle. |
 |
The tank went in with not to many
problem. The decision was made not to replace any of the
vent of fuel lines as they were all in good shape and we
did not want to risk braking an plastic nibs off the
rollover valve |
 |
The plastic float was replaced
with a brass one. This unit may come back to hunt me
because I pulled a real rooky mistake, read on to find
out what that was. |
 |
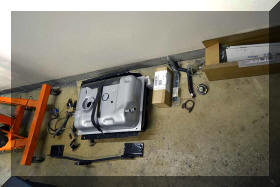
Here we have the cleaned up skid
plate, the tank painted to look like a galvanized
original tank, the hitch, and the bumperets |
|
|
 |
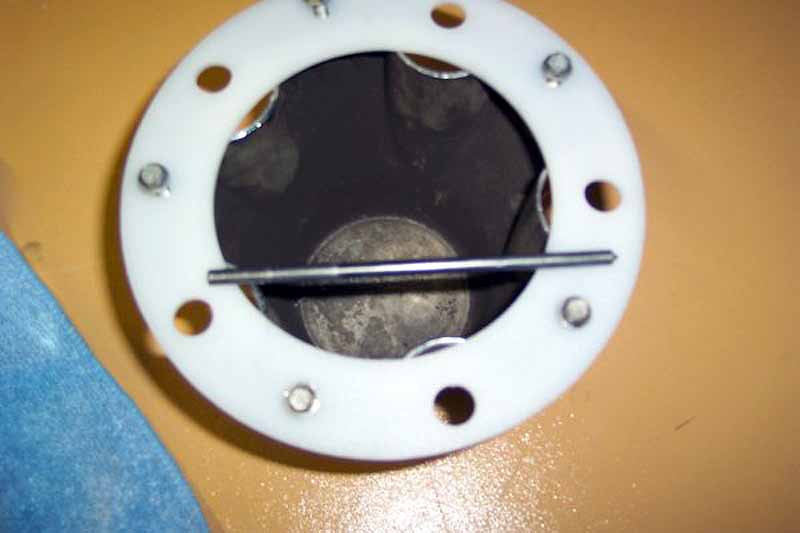
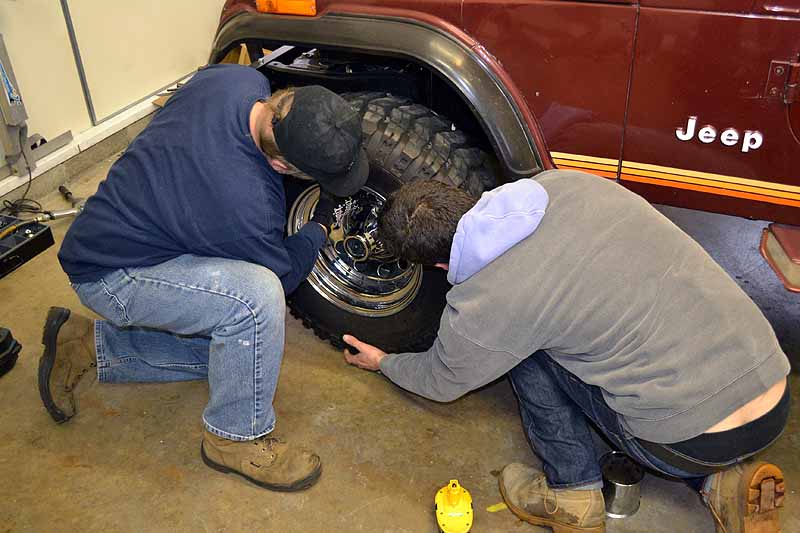
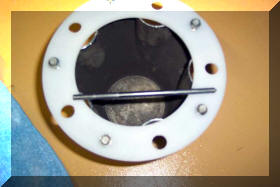
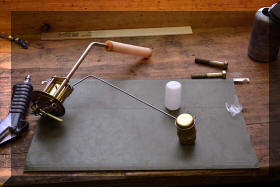
This is the plastic template that
was made up last week to locate the bolt holes needed
for the caps. It is not clear, but it is made out of
white plastic and is an 1/8 inch thick and worked
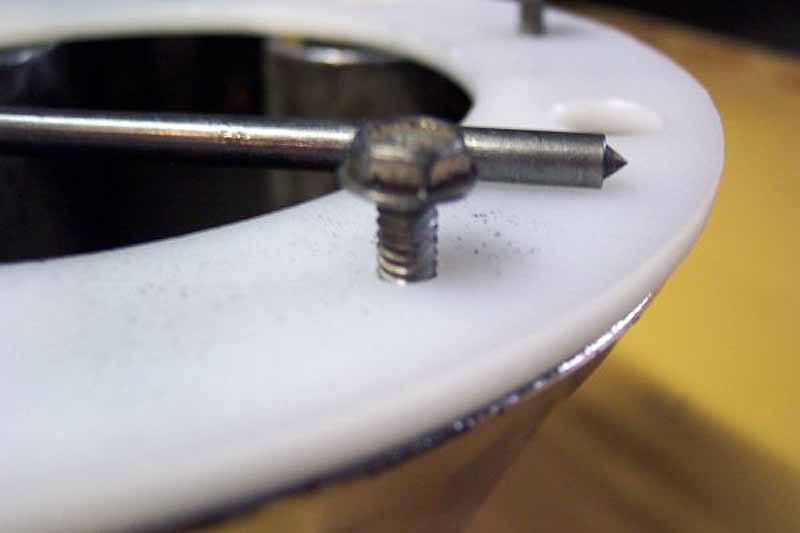
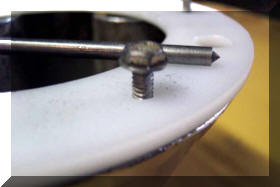
perfectly. We slip in a couple of studs to locate the
template and them center punched the bolt holes for the
bolts to hold the cap on. |
 |
We also used the after market
center cap to take an slop out of the studs holding the
template in place. |
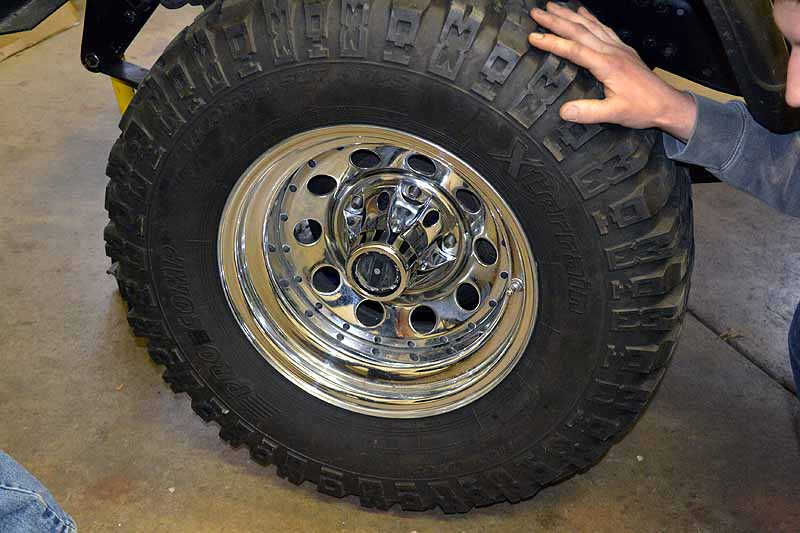
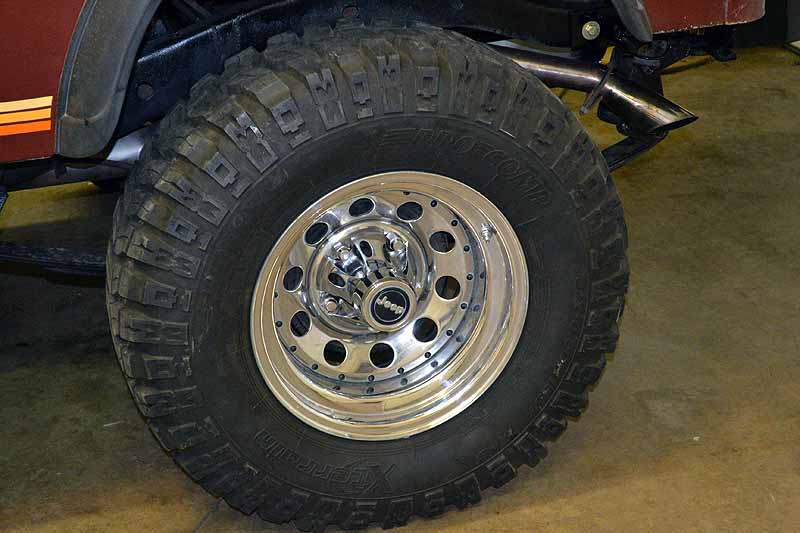
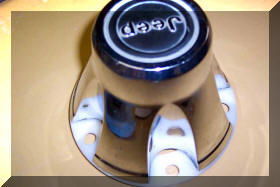
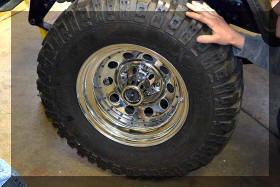
| I know
it is a small change for all the work but I think it was
worth it. I will continue to look for a GOOD set of
original 8 inch wide chrome wheels. |
 |
 |
 |
 |
 |
|
| Ok, I
know you are all waiting for the rooky mistake to be
explained. I never checked to see if the new sending
unit worked before installing it and the tank into the
Jeep. I check the old one and it did work and played
with the idea of putting it back in, but boxed it up and
saved it. It's a Crown
part, why would I not check it before installing it. a
really stupid mistake! |
 |
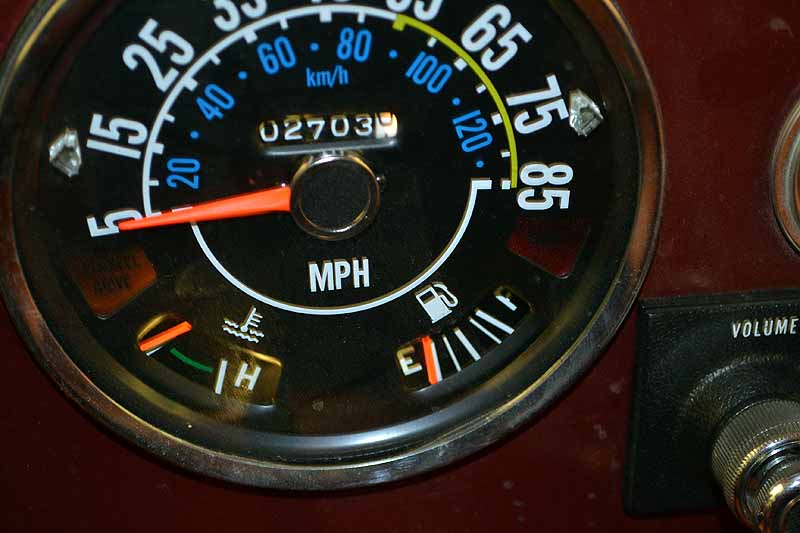
I only had four gallons of gas
that I could put into the tank |
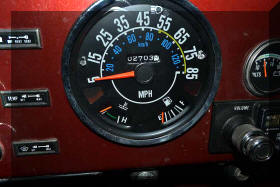 |
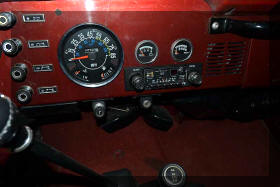
This is how the gauge looked
before I started |
 |
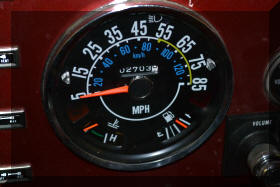
And this is how it looked with
four gallons in the tank. It did move but I would have
thought that it would have moved more with four gallons
in a fourteen gallon tank. I'll have to get some more
gas tomorrow and see what happens. Just shows you what
happens when you get in a hurry and don't check
everything as you go, I may end up pulling it all apart
again and putting the original sender back in |
 |
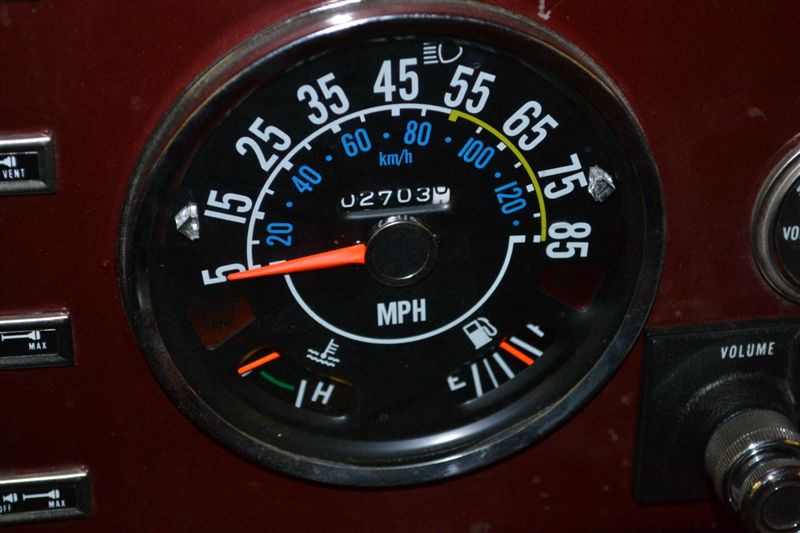
Well I lucked out, I added another
nine gallons and the gauge reads about what I would
think it should. I now know that it will read empty
awhile before it actually is. Tomorrow I will top the
tank off and see it it reads full. Even if it does not
I'm happy as I now have some indication on how much fuel
is in the tank. |