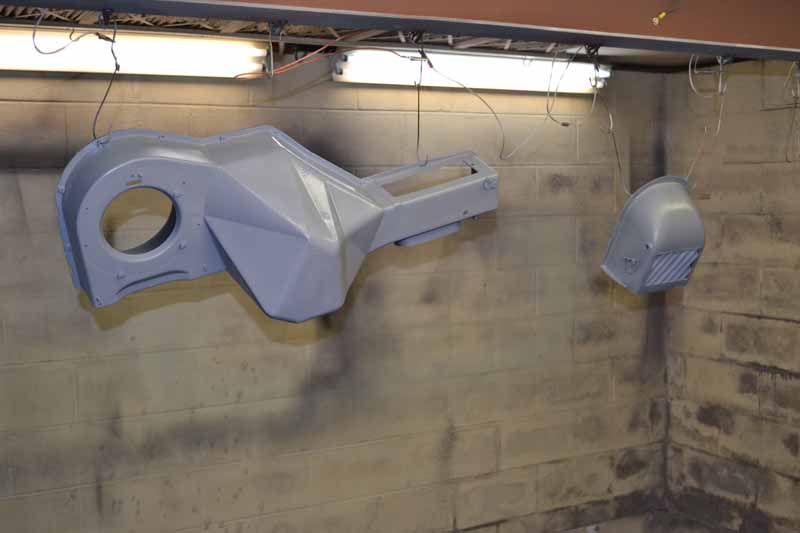
| Still
working on completing task that need to finished before
the Jeep can go on the road. This one (the heater
upgrade and reinstall has been hanging around for awhile
now. There was an excelent of how to restor the heater
on the Jeep Forum that can be seen at this link
http://www.jeepforum.com/forum/f8/cj-heater-box-restoration-pic-heavy-975999/
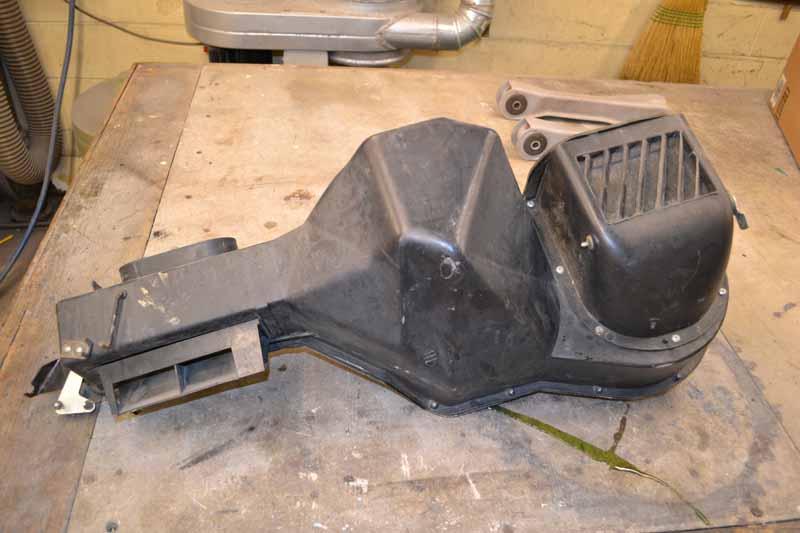
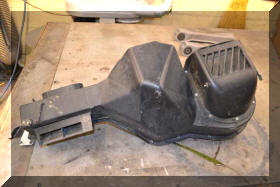
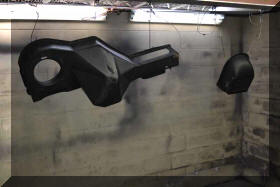
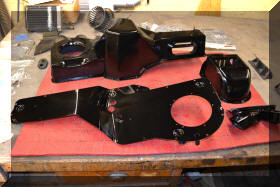
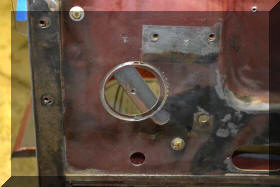
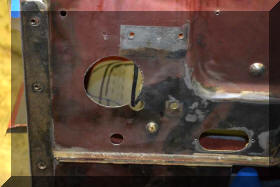
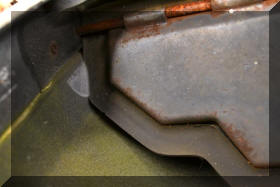
The first task was to
remove both the upper and lower heater components. Most
of the work was done in the lower componet, but there
was work on the upper halsf as well. Below are the
before images of the lower half |
 |
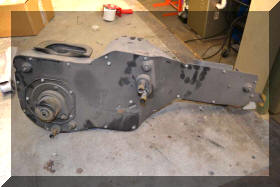 |
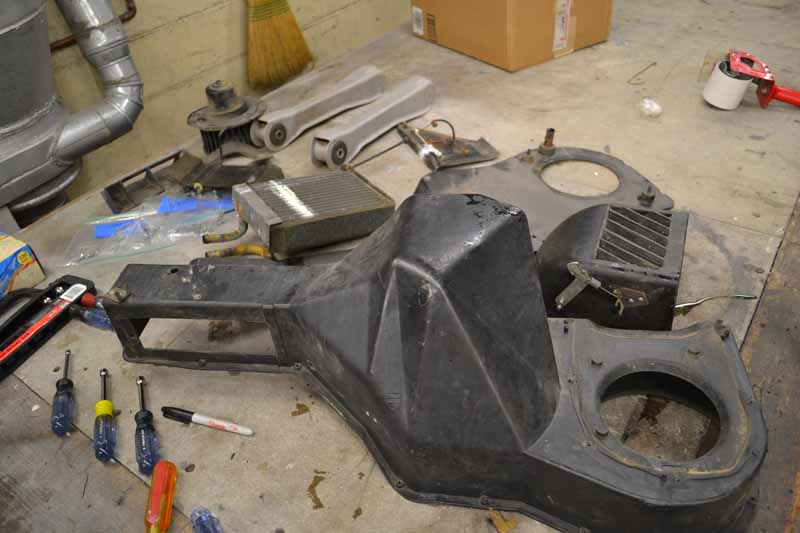
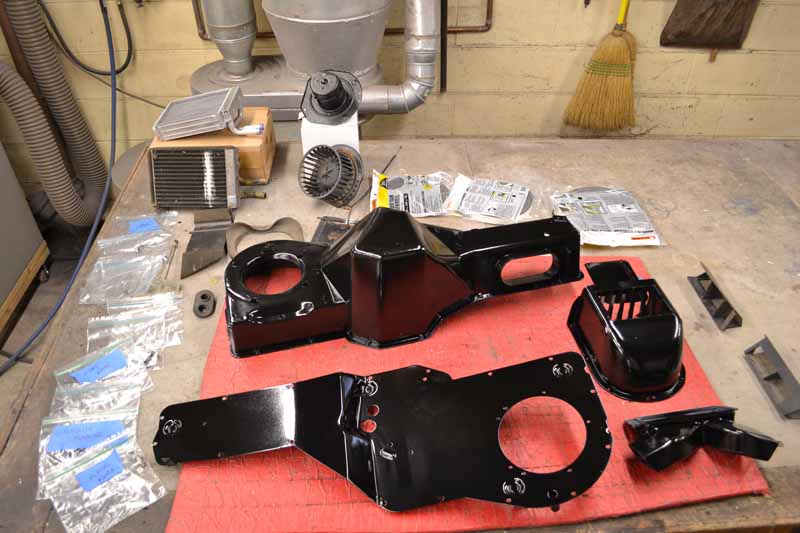
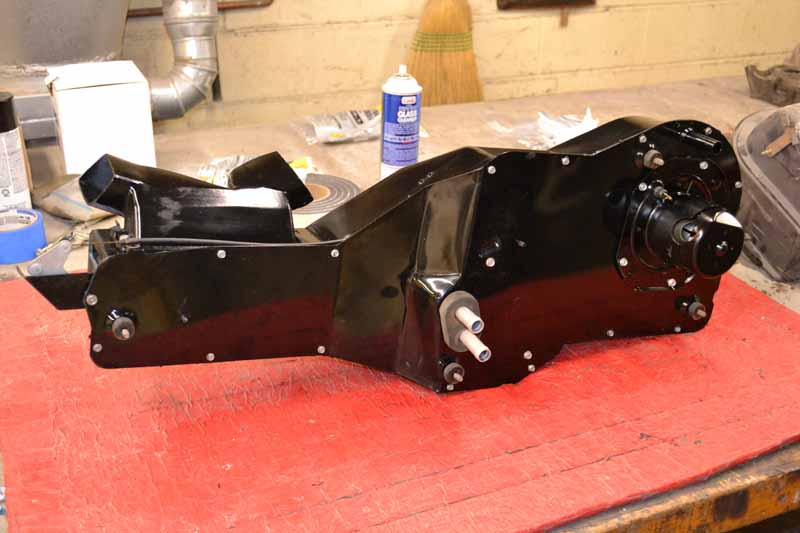
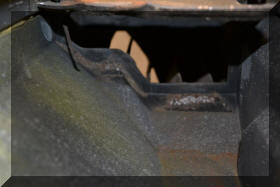
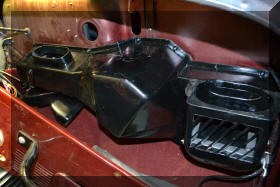
| The
lower half was dissasembled down to it smallest pieces |
 |
 |
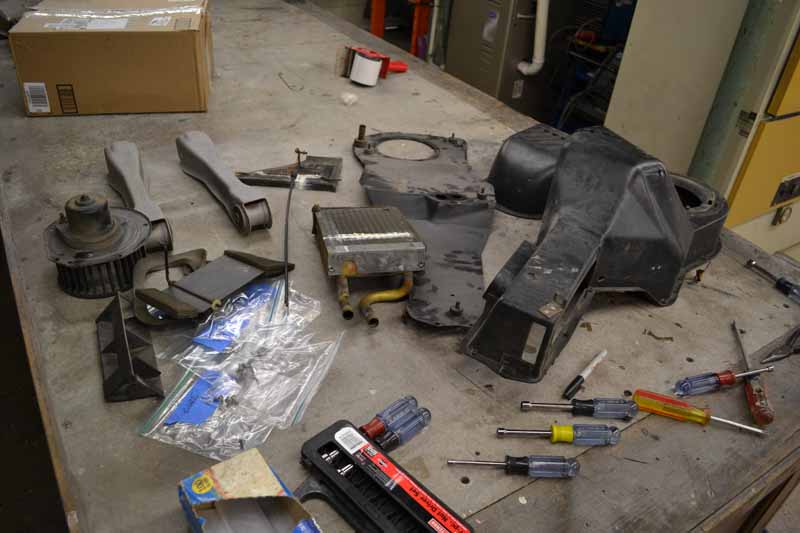
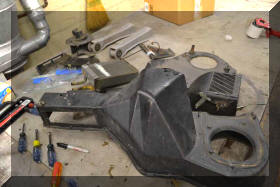
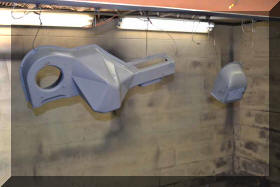
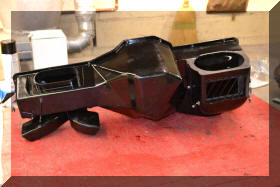
| The
plastic pieces were sanded, primered and painted, the
metal pieces were sand blasted and powder coated |
 |
 |
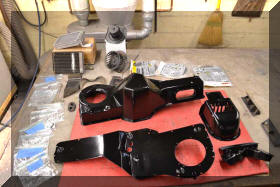 |
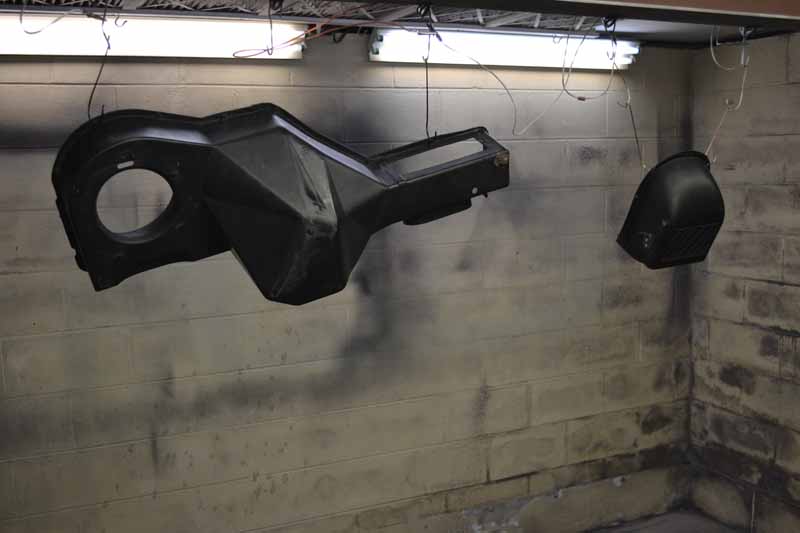
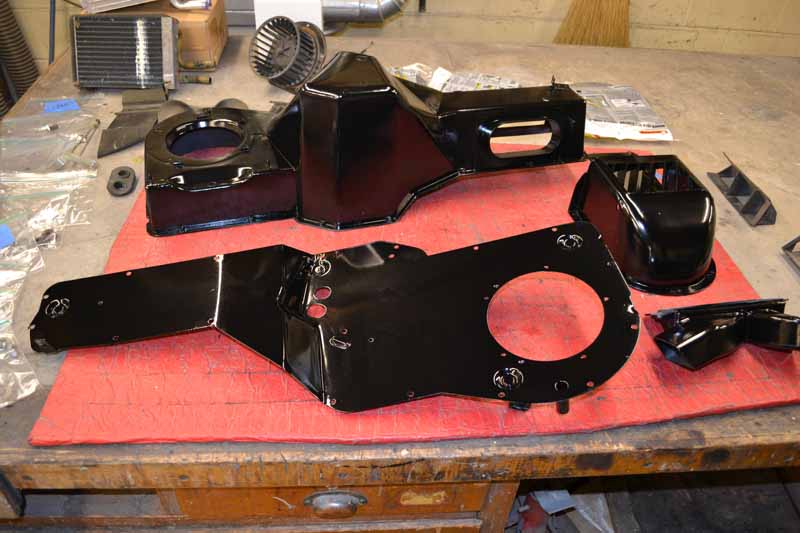
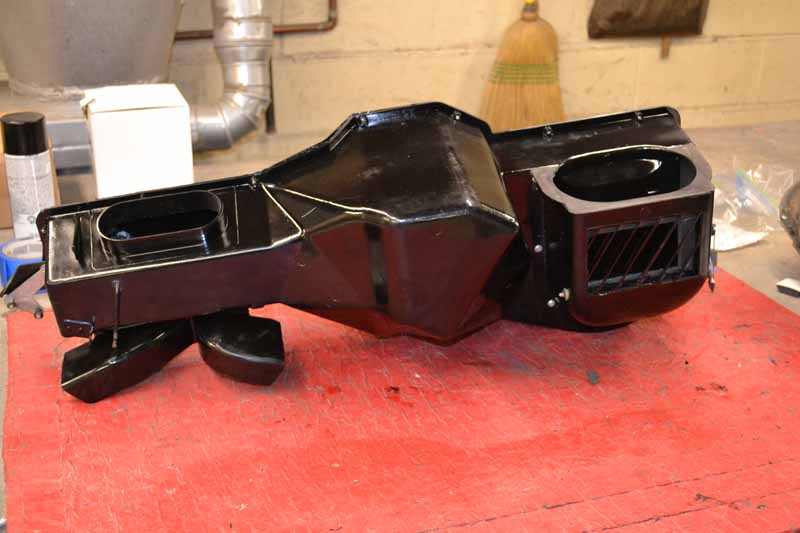
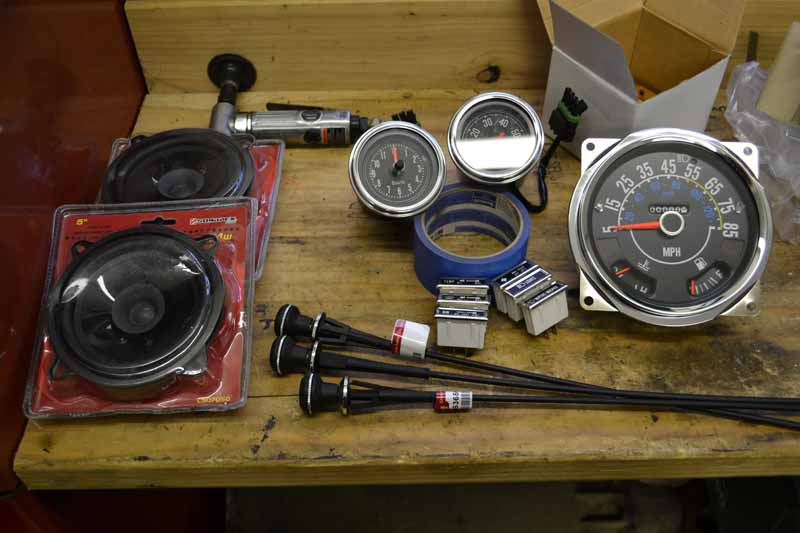
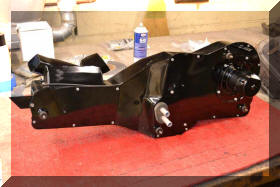
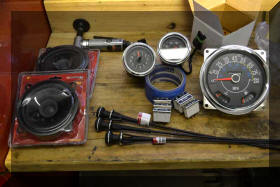
Now it is time to put all the
pieces back together. However we will put in the
"upgraded electric motor. I called NAPA and ordered NAPA
PN 655-1039 |
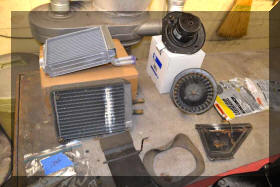 |
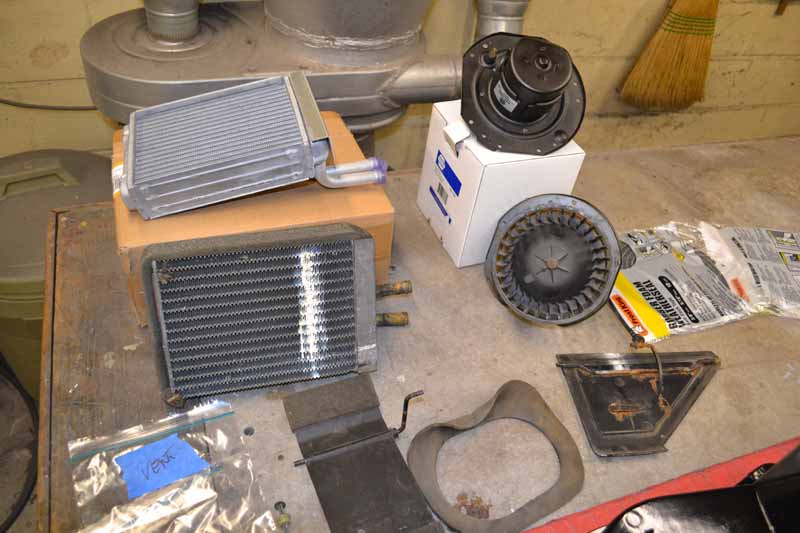
And at the same time got a new
heater core |
 |
 |
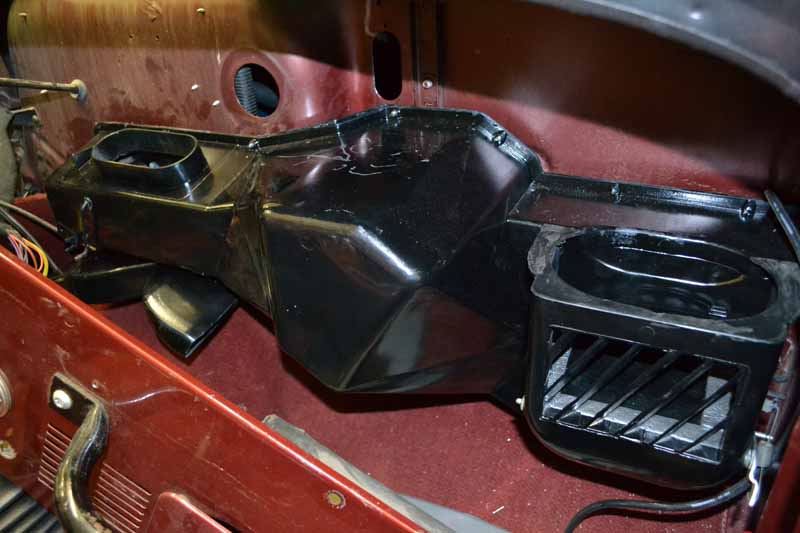
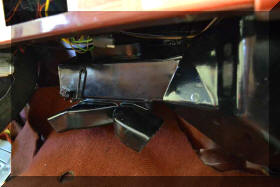
| The
heater ducts are out of a YJ and were suggested by MoC.
They fit perfect and the mounting screw and hole were
the same. The heat is now directed directly on the feet
of both the driver and passenger |
 |
 |
 |
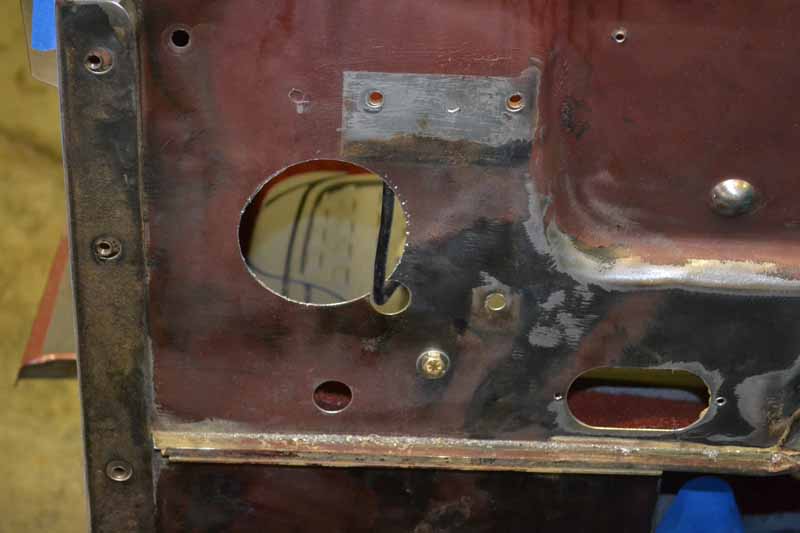
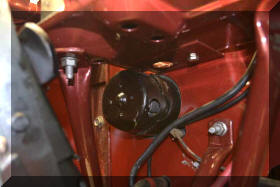
In order to accommodate the larger
heater blower motor the hole in the fire wall has to be
enlarged (this is the only modification needed to the
Jeep for this upgrade (what a difference in the amount
of air blown out of the heater). In order to enlarge the
hole I bolted a piece of scrape metal across the
original hole to give the pilot drill of the hole saw
something to hold on to. |
 |
 |
| I
found that the heater / vent control worked very hard.
In fact the control knob was broken off because it work
so stiff. It took me a long time to find the cause. It
turned out that the flapper gasket on the vent flapper
in the upper half of the heater was rubbing against the
housing. When you tried to open that vent the rubber
would double over on itself and make opening that
flapper very difficult. I trimmed a small portion off
the edge of the gasket and it corrected the problem.
There is a half inch over lap of the gasket to the
housing so this trimming will not cause an air leak |
 |
 |
 |
 |
| I
replaced all the control cables with new cables |
 |
 |
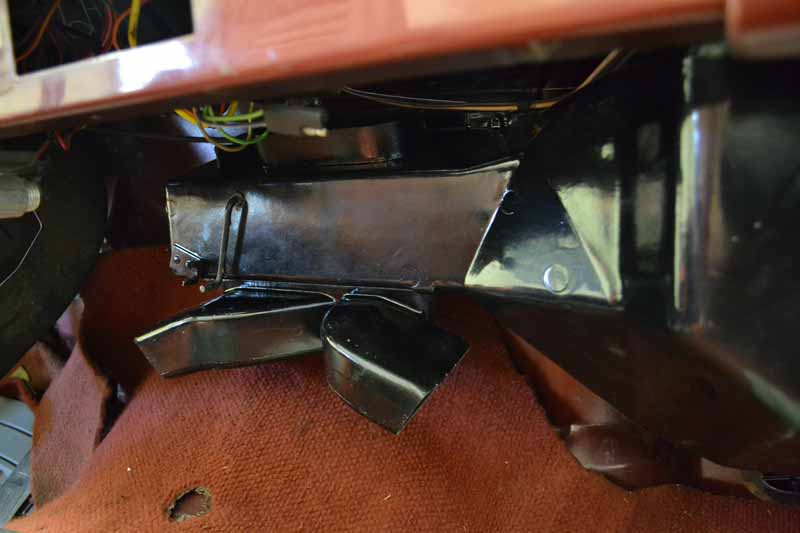
| I
installed the heater and took the Jeep for a test drive
and it all worked well |
 |
 |
|
|
|
 |
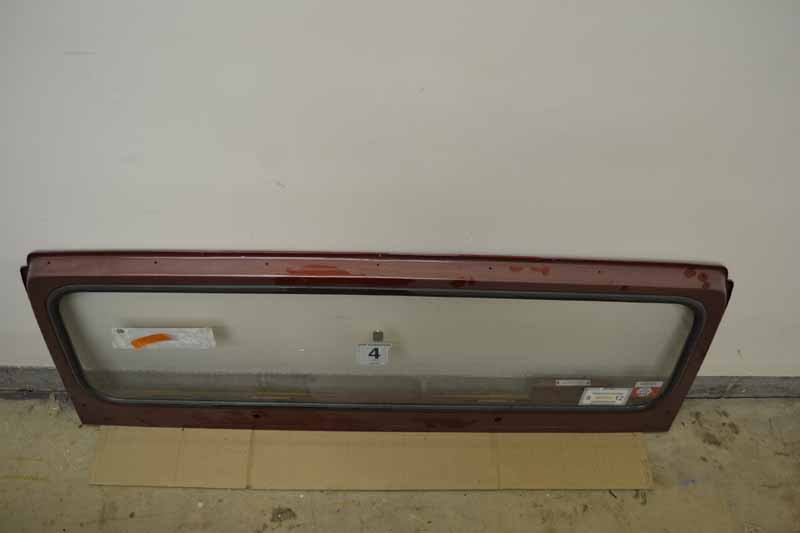
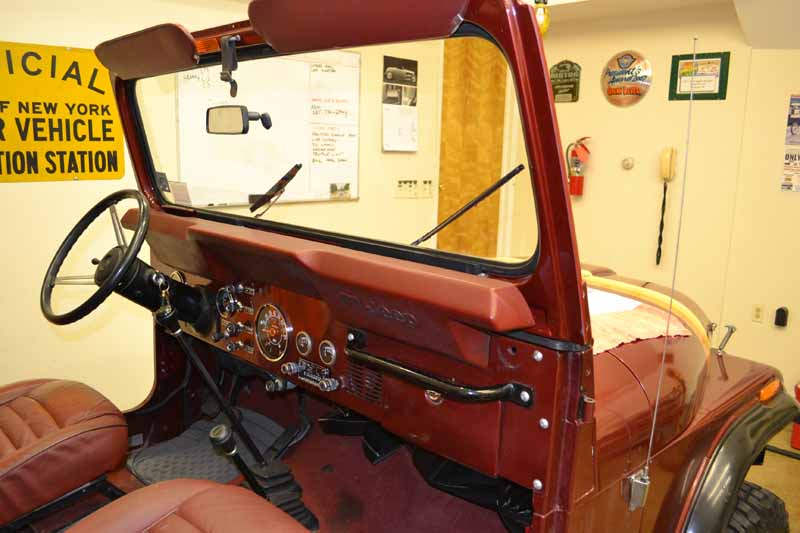
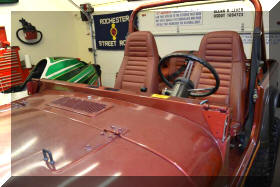
Time to move on to another
project. Now that the heater is in and the dash is in
lets put the windshield on. That sounds simple but there
is a bunch of small things that have to happen first.
befoe we can put this. |
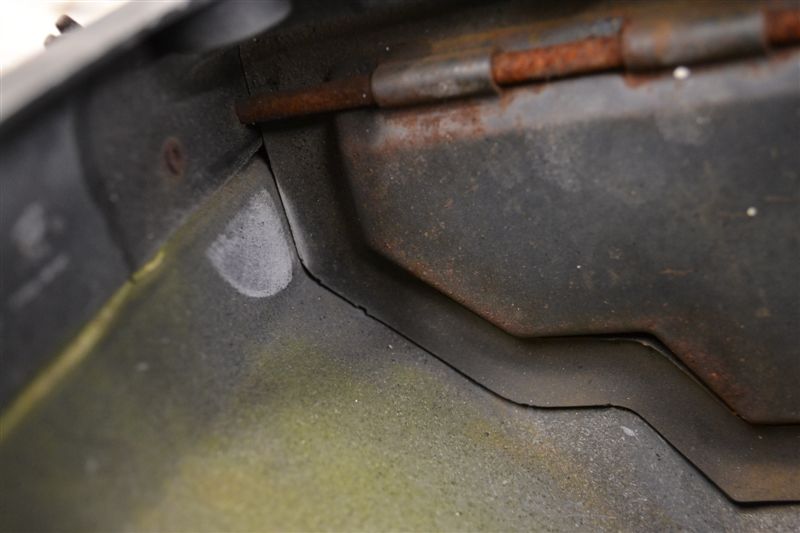
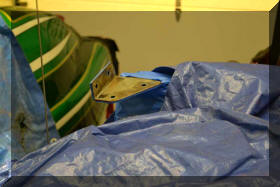
| Here |
 |
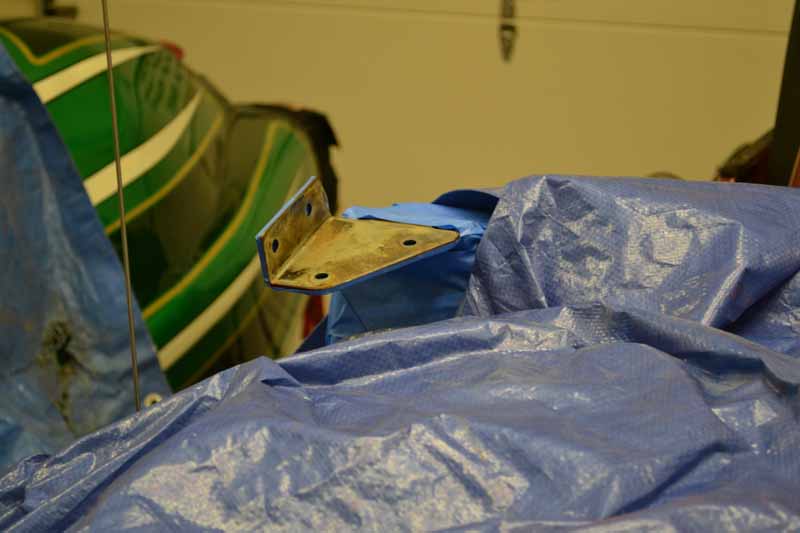
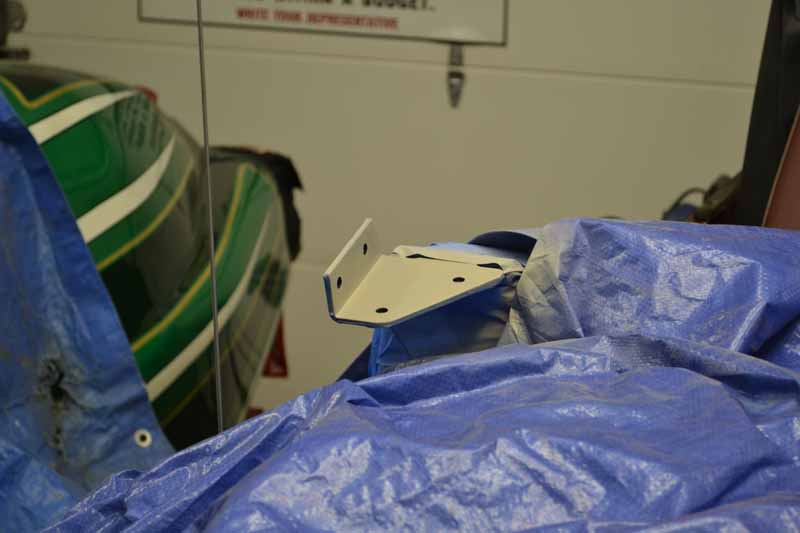
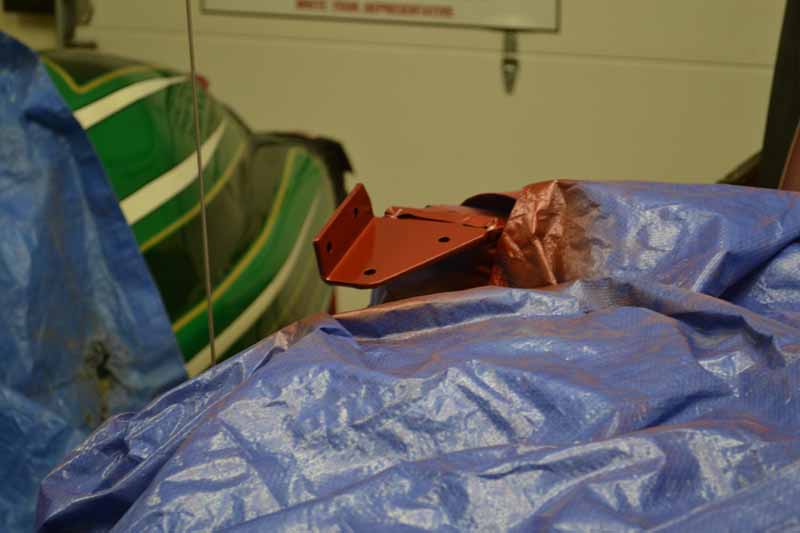
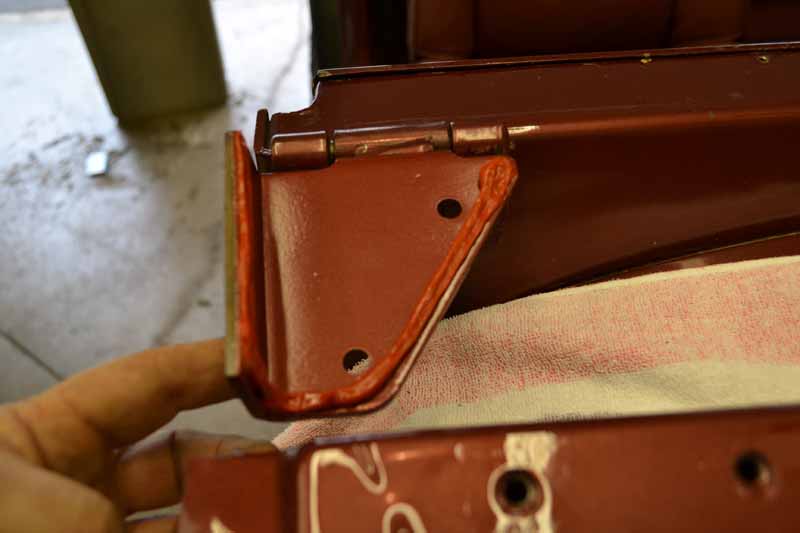
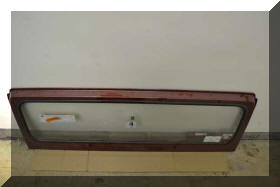
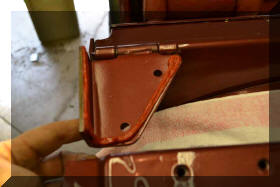
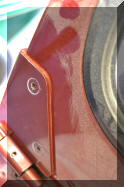
| The
back sides of the hinges were all rusty and I was not
going to bolt the rust up against my newly painted
windshiel fram, so ... they were sanded, primered,
painted and finially coated with clear. |
 |
 |
 |
 |
 |
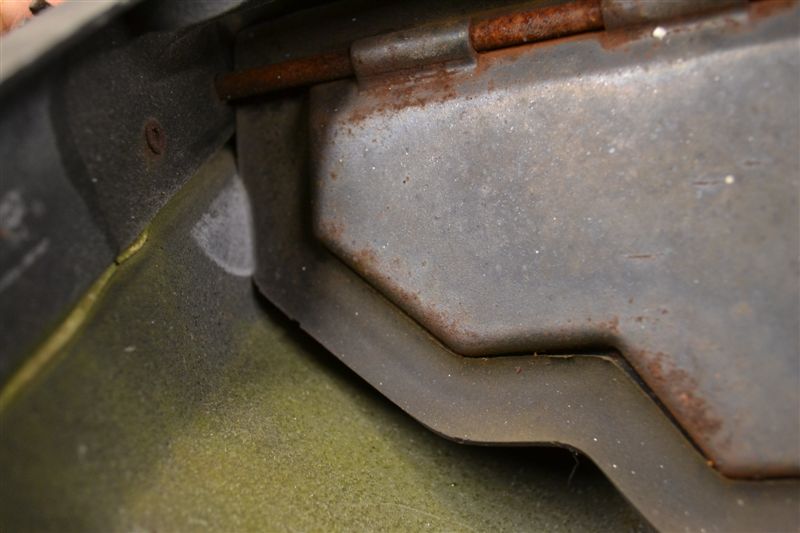
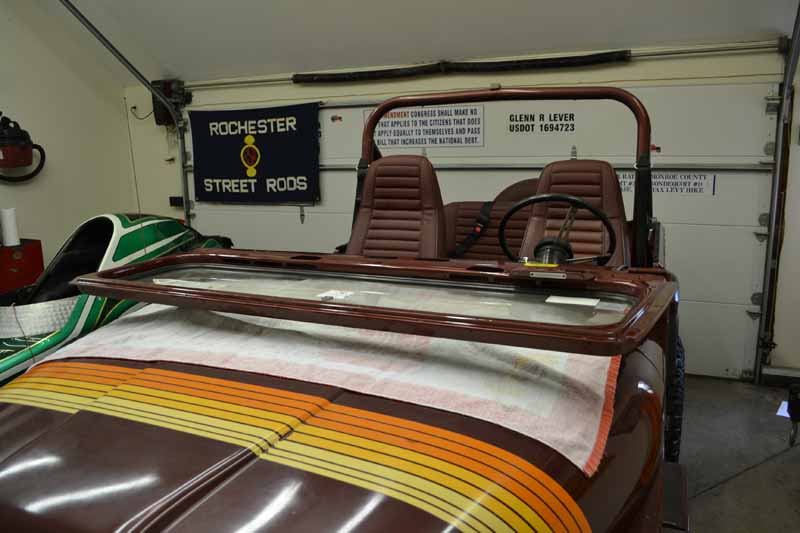
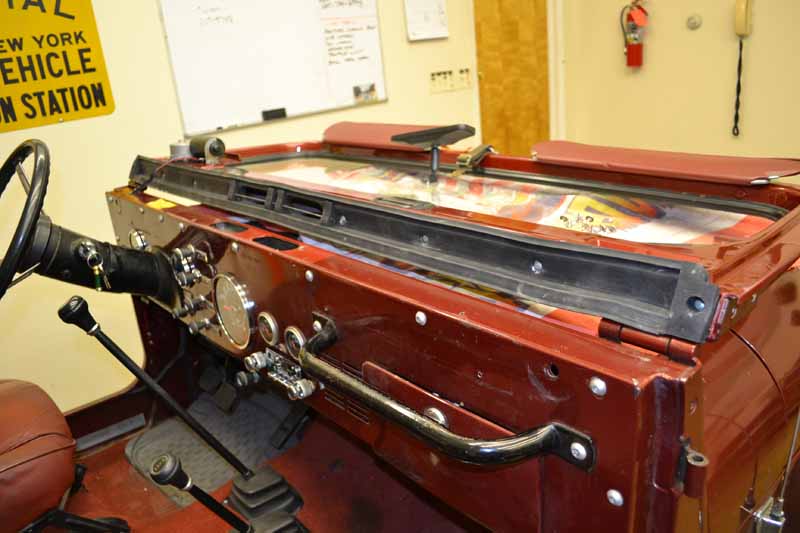
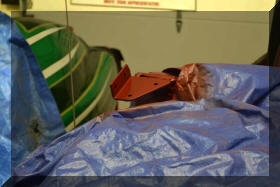
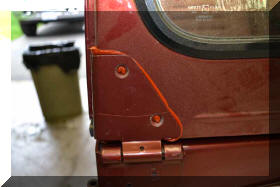
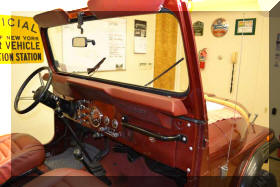
The windshield is getting closer
to it's correct position |
 |
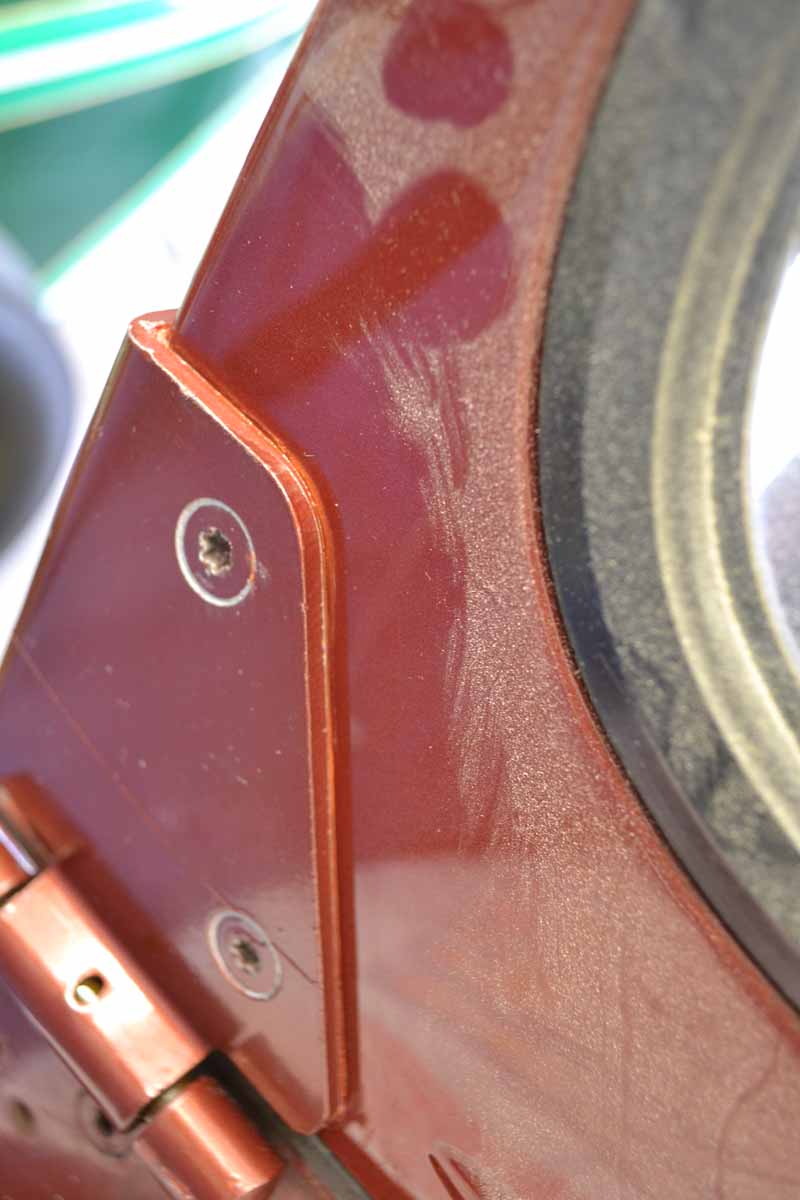
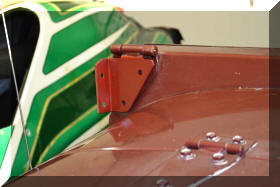
To try and avoid the rust on the
back side of the hinge again I put a bead of silicone
sealer along the top edge of the hinge, this will allow
any water that does get behind the hinge to drain out
the bottom and seal the top so water cannot get in. The
bolts were treated to a hefty coat of antisease. Once
the hinge was tighten up I wiped all the excess off |
 |
 |
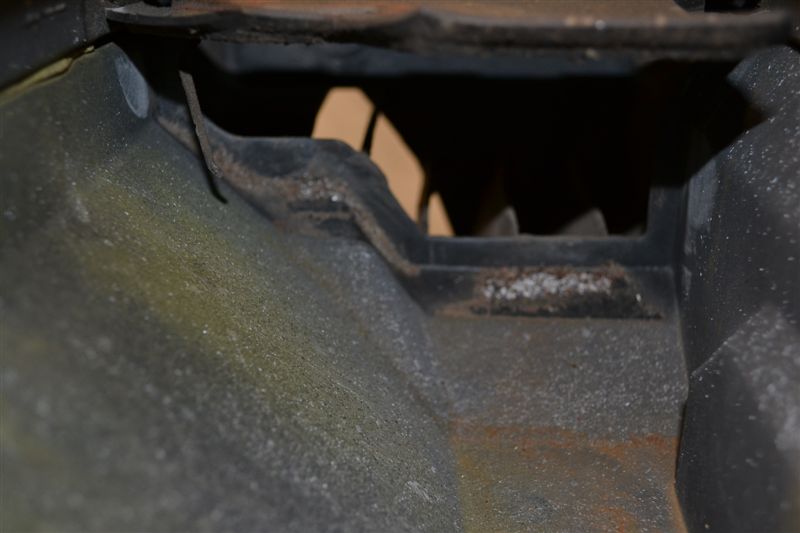
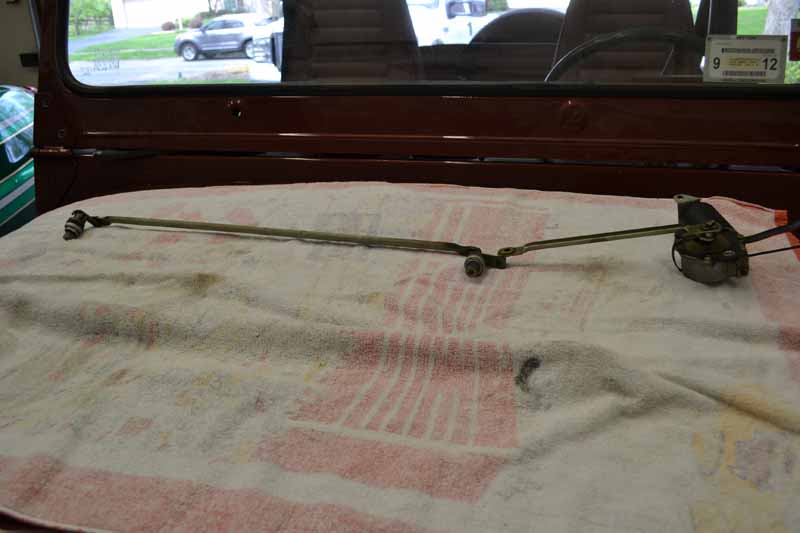
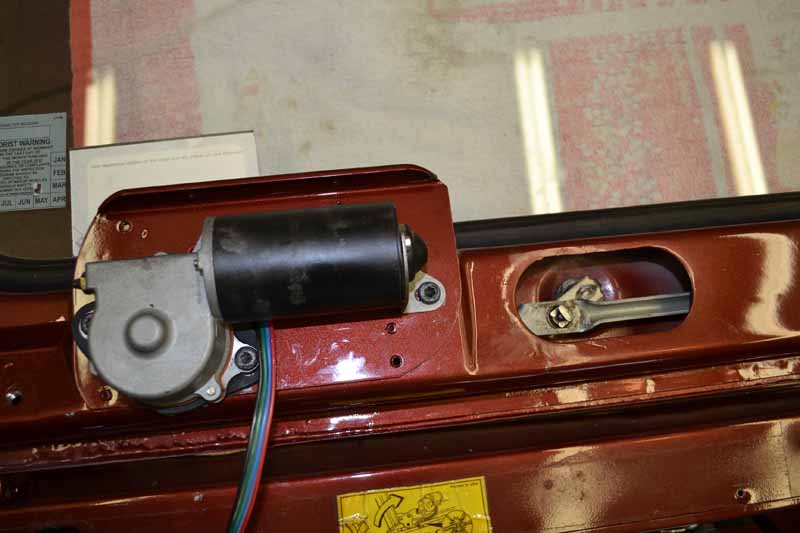
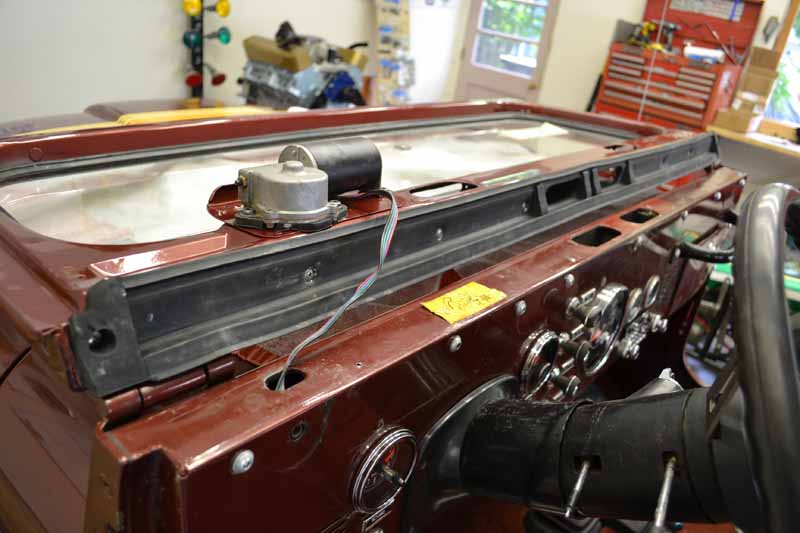
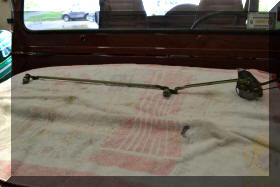
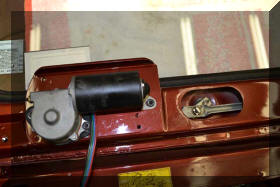
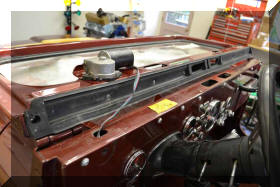
| The
wiper linkage and motor were next |
 |
 |
 |
New bottom gasket was installed |
 |
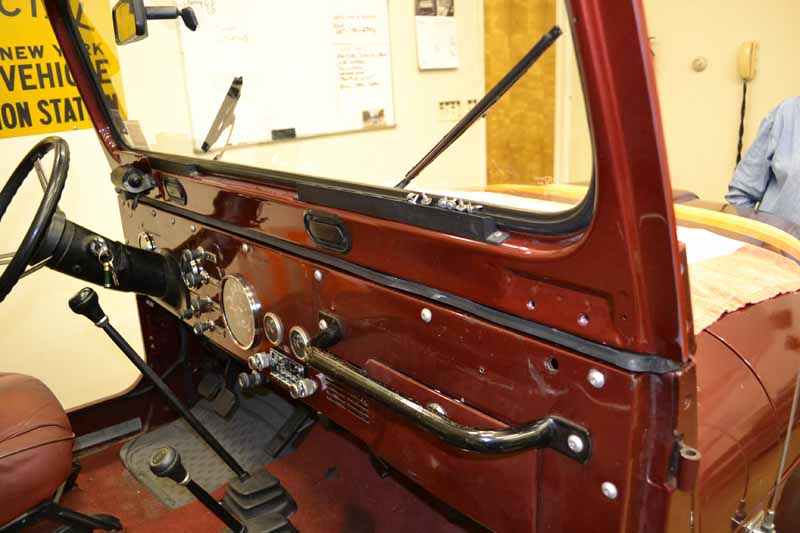
Rear view mirror, sun visors, and
windshield tie down strap were installed. |
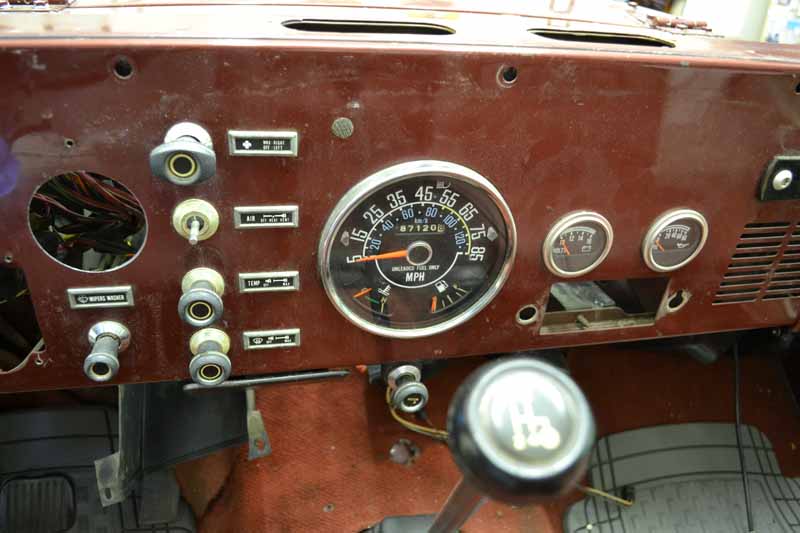
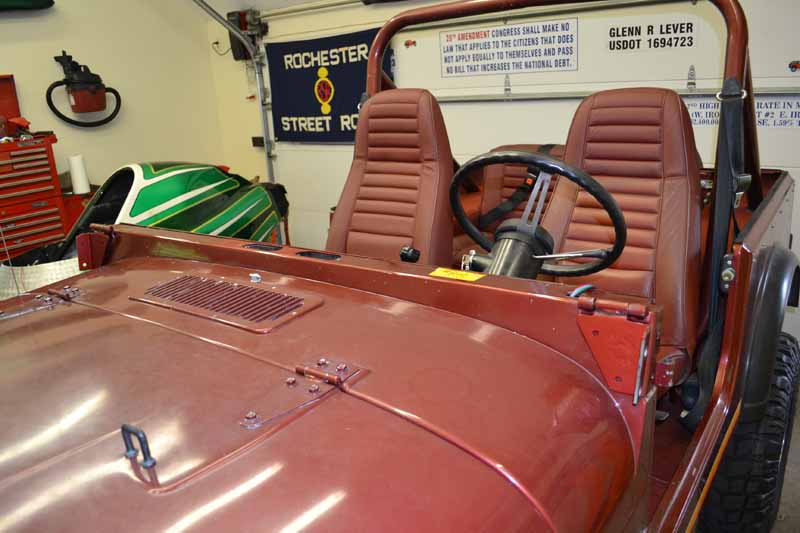
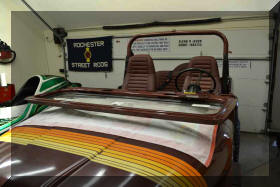
| The
dash pad was installed, I have not decided if it will
stay or if I will remove it again to give the jeep that
nostalgic look |
 |
 |